Those of you who have read my previous articles, may also have had a look at my website and noticed that there was a Vision Engineering 'eyepieceless' microscope for sale, amongst others. Well, last week a chap came round to purchase a Meopta microscope which I also had, and when he came to pick it up, he mentioned a machine in his boot he'd bought as a microscope but which was of no use to him. Imagine my surprise and delight when I saw what he had!
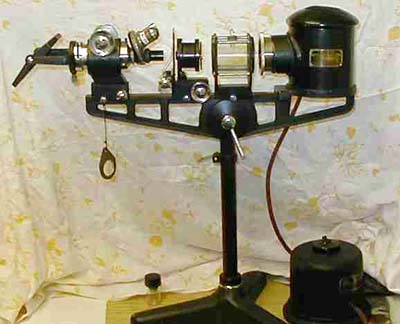
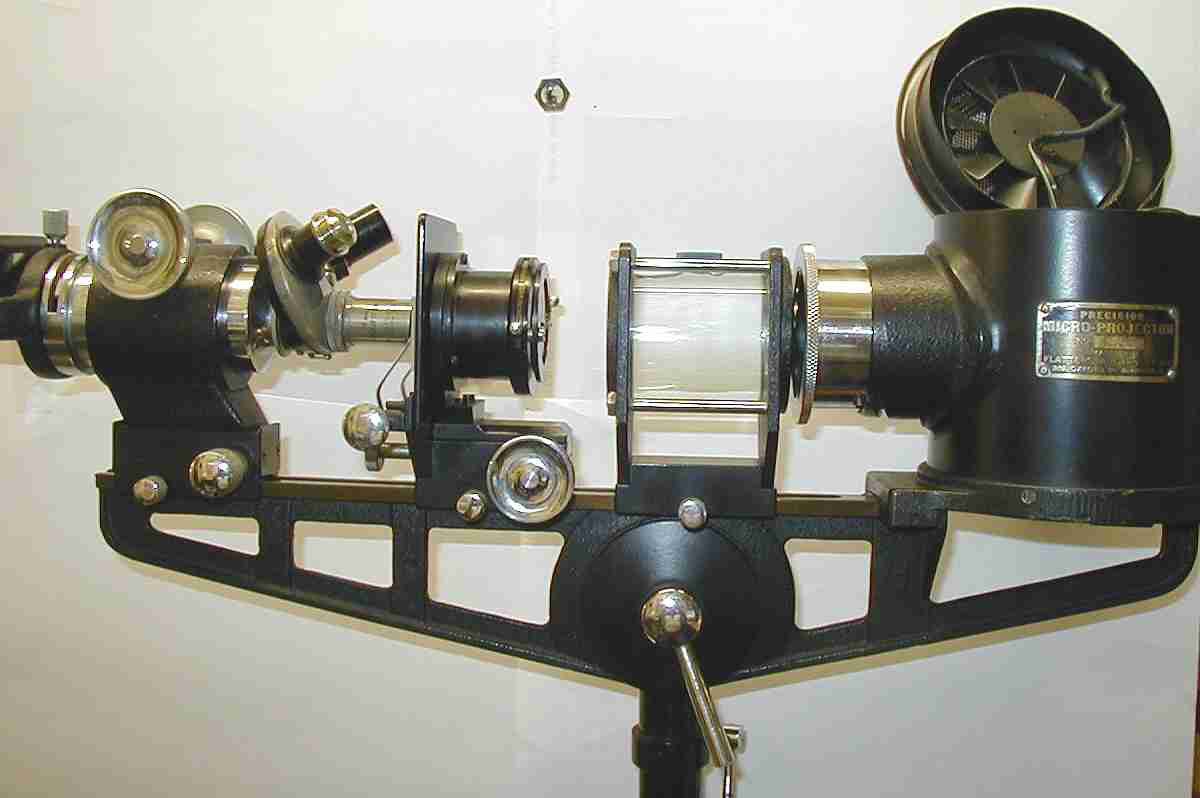
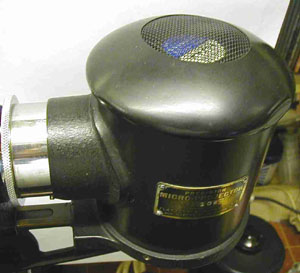
Complete unit on stand and with power supply.
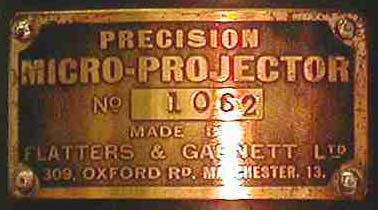
Maker's detail.After some bantering we came to a deal and I swapped the V.S.1. eyepieceless 'scope for it! It wasn't in the condition you see it now as it was very dirty, dried out and all the tracks were covered in verdigris. Anyway, as far as I can find out to date, it is a Flatters & Garnett 'Precision Micro-Projector' No. 1062, and I guess about C. 1930, that is unless you know better! In which case let me know.
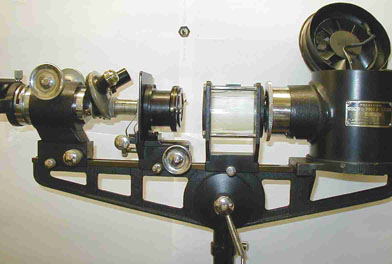
Main assembly detail. Click to view a larger image.It came with an encased 240V/12V AC transformer with original rubber/cotton cabling. As you can see from the photos, it has a lamphousing (on the right in above photo) fitted with a condenser/focus unit. The original lamp base had an old car lamp (12V/48W) soldered into it which gave a very poor light output. This I changed to a quartz halogen 55W lamp with some little dexterous soldering! I say this as there are no adjustments available to the lamp base or the reflector mirror mounted at the rear of the lamp and I had to engineer slots in the mirror base for adjustment and unsolder the lamp a few times to centre it!
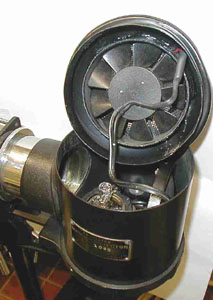
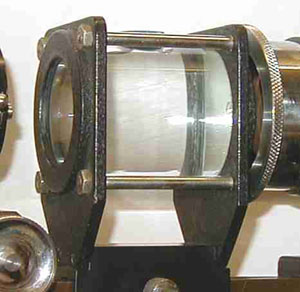
Lamp unit with added cooling fan (see below).Next in the "light path" is a glass/liquid condenser. I do not know what the liquid should be but I am using distilled water. This of course is to reduce heat transference to the object on the slide. The glass container is of three piece construction, a tube and two glass ends which were clamped in the housing with rubber gaskets either end to waterproof it. The rubber gaskets had perished so I used bath caulking to seal them and the old gaskets as cushions at either end. For a few days bubbles in the liquid adhered to the glass but shaking cleared these. Originally this tube had a bung in the top with a bent glass capillary tube through it to allow for expansion and to allow the condenser to be completely filled. This is necessary as the instrument can be tilted vertical for use with "wet" slides and of course any bubble in the condenser would be in the light path! I have yet to find a new rubber bung with a hole through it. (The hole is 15 mm the glass tube 7 mm, any helpers?)
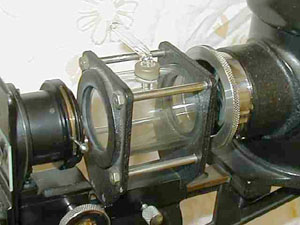
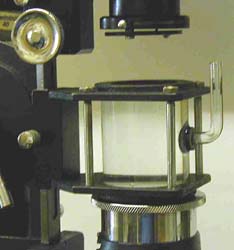
Image left and right: Glass/liquid condenser detail.The modification shown left allows the liquid condenser to be used upright. To allow for liquid expansion, a rubber grommet was Araldited to the glass tube and a bent capillary tube pushed in to give a tight fit. Removing air bubbles has been difficult but by experimenting they can be removed with a bent hypodermic needle and syringe. I have found that by judicious use of the
substage rack, that anything in the liquid condenser can be focused onto the screen. This gives me the idea of a "live tank" for study. Something for the future!
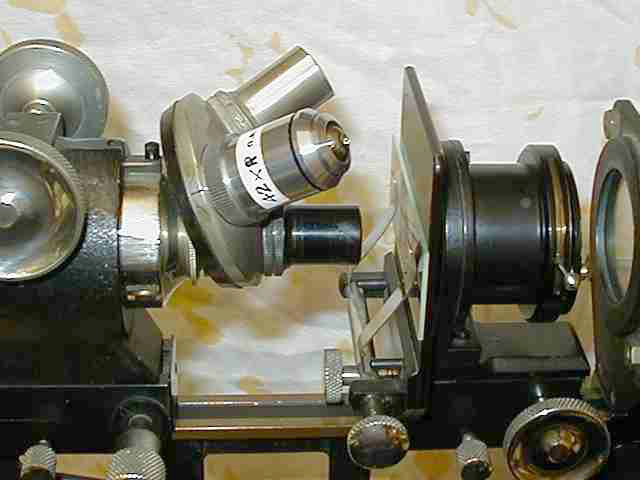
Next in line is the substage unit. This comprises a filter housing, iris unit and two stage condenser, the final lens of which is 12.5 mm (unmarked), all on a rack slide. These are all mounted on a slide base with the spring loaded slide holder. The final unit on the base slide is the microscope. This has a three lens turret of standard RMS screw thread. The lenses fitted are:
1. F & L 16 mm projection.
2. F & L 22 mm projection.
3. 1 in. Para W. Watson.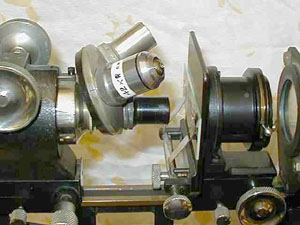
Objectives and substage.
Click to view a larger image.I have had success using almost any other standard objective up to 45X but you then need quite a dark room due to the light loss. I have cleaned all the lenses and runners and get good results. I found that the light housing got rather warm (damned hot!) so decided to fix this. Having some old computer fans in my "shack", one was trimmed on the bandsaw to remove the mounts, just leaving a round fan unit and this was Araldited into the fan housing lid (see photo). As the fan unit runs on 12V DC, and the lamp transformer is 12V AC, I fitted a small full wave rectifier and 200uf/25V capacitor in the fan lead. It now runs very cool!
Actual measurements using a 2 mm object on a slide projected onto a screen 12 inches away, give the following enlargements.
1. 22 mm lens = 60 mm on screen = X30And this is only at 12 inches!!
2. 16 mm lens = 78 mm on screen = X39
3. Para Lens = 54 mm on screen = X27
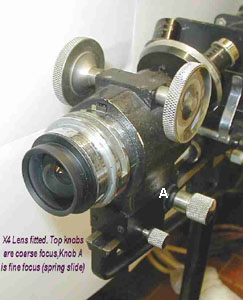
X4 lens fitted. Top knobs are coarse
focus, knob A is fine focus (spring slide).Still, not satisfied I looked round for a further lens to add. I came up with the focussing lens out of an old Japanese 35 mm camera which I dismantled. This gives a X4 addition! (Shown above). So now using this lens and a X20 objective gives me X280 at 12 inches from the projector! This is the easy way of micro-viewing!
Using an electronic thermal sensor at the object point I noted a rise in temperature as follows.
After 1 min from ambient (72ºF) 74ºF.After 4 minutes the temp. rose a bit rapidly so only about three mins. of continuous viewing of live specimens is available.
After 2 mins from ambient 76ºF.
After 3 mins from ambient 78ºF.
After 4 mins from ambient 80.6ºF.
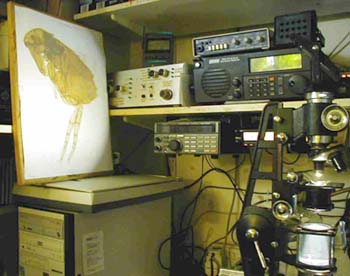
The projection setup showing an image of a common flea (prepared slide) with a projection distance of only 18 inches.
The "shack" is crowded with other gubbins, but I have many hobbies and not a lot of room!
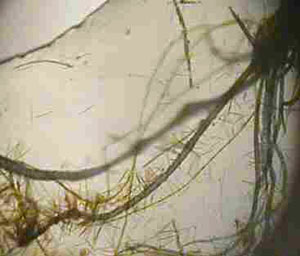
Projected image of filamentous algae in pond water.
Photographing the projected images is also quite feasible and gives good results. As there is a mirror on the end of the projector it can be used to project downward onto paper, upward to the ceiling or straight forward. A very handy piece of equipment! Well that's about it till I get another "toy" or the urge to write. I hope this has been of some interest, it has to me.
If you have any comments or further info' please email me. Good viewing.
Dave Bull J.O.A.T. (Mon) (Jack of all trades. Master of none!)
All comments to the author are welcomed.