 |
I - MOUNTING MICROSCOPIC SUBJECTS. Part 3 - The mixed formulae |
|
|
|
I - MOUNTING MICROSCOPIC SUBJECTS. Part 3 - The mixed formulae |
|
|
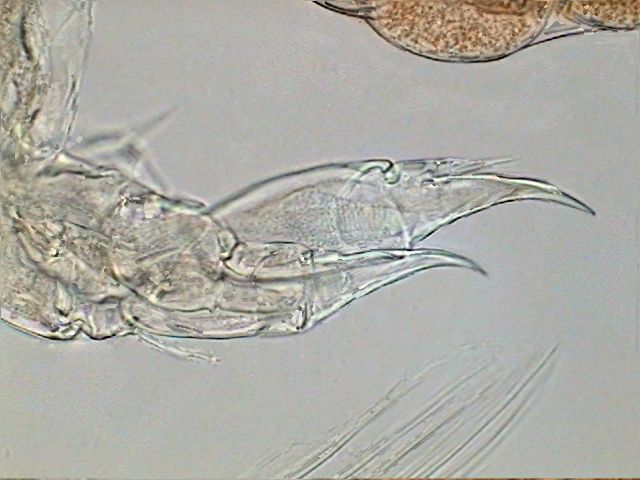
All pictures originally captured at 640 x 480 pixels. Many of them are amalgamated with CombineZ. Click on the name of an image to see the picture. The title image is a picture of the fifth leg of a female Diaptomus mounted in fructo-glycerol medium.
I have shown previously what you can do with the principle components of the safer mountants. (Glycerol, Karo or Fructose, PVA, NPM and even Damar). But searching for more alternatives and to accomplish some special tasks, microscopists have designed mountants made of multiple ingredients, which complement each other. I want to review two PVA derivative mountants, fructose syrup derivatives, with added gum arabic and glycerol, and also the useful glycerol derivatives with added gelatin or PVA.Editor's note: Part 3 of this series will be published in four monthly sections. They will be interlinked as they are published.
Part 3a below: Introduction; fructoglycerol and modified Brun medium as mountants.
Part 3b: PVA-lactic acid and PVA-glycerol mountants.
Part 3c: von Apathy's original formula and Lille's medium as mountants.
Part 3d: Gum arabic fructose, glycerinated gum and glycerinated lactic acid mountants.I've tried to always present at least one original formula, for those that have the opportunity to obtain the right reagents, and have also the equipment to prepare the professional mountant. All are safe formulations.
For the youngest of you, and those that need to work in less favorable environments, I present functionally similar formulations with the products you can gather from the supermarket, the normal drugstores, the old style pharmacies, the suppliers to college laboratories, the hardware stores, or the artists suppliers.
I think that my own experiments were successful and encourage you to be creative and to look around you for the required reagents.
Note: When I say water you must understand that ideally it must be distilled water so as not to introduce undesirable chemicals into the formulae. You probably dont have a distillation unit in your house, and to install one is neither easy nor totally safe. Most of the time you can buy distilled water in the supermarket, sold as water for the steam irons, or for car batteries. Possibly this is not really distilled, but demineralized. The difference doesnt matter for amateur uses. If, in spite of all your efforts you cant obtain these qualities there are in many countries bottled potable water that is acceptable. Please! Never use the water from the municipal supply.
ANOTHER NOTE: Even when using safe chemicals you must be careful. Protect your clothes with laboratory aprons; and tables and floor, if they arent exclusively for laboratory use, with thick plastic sheets. Never use the kitchen ware and measuring tools. Have a dedicated set of equipment for your own laboratory work. You really only need a few essentials. Take special care when you need to use heat to make diluted solutions. Use a low flame, or preferably an electric mantle, use safety glassware, a long glass stirring rod, some insulated matting, or a piece of wood to prevent the contact of very hot glass with cold surfaces, and never put your face and eyes over an open heated vessel. There can be unexpected bubbles and splashes and even the hot vapors can be dangerous. Have your chemicals well stoppered and labeled, and read the label twice before opening the bottle to use the content. Return the stopper to the bottle immediately after use.
ABOUT THE IMAGES.- I try to give you the most faithful images I can, showing the aspect with which the mounted objects appear under my microscope. It is really difficult because my camera has a resolution of only 640 x 480 and each medium has its own RI, which requires some adjustment to the illumination. All this is complicated by the use of CombineZ which is needed to render the three-dimensionality of many subjects. I diversified the test subjects to better assess the applicability of each mounting media, but this has increased the number of images, without increasing the variety. You may finish being bored of wings, and epithelia, but I think it is worse not to give you an idea of what any media can do.
FORMULAE DERIVED FROM FRUCTOSE
FG.- Fructose-Glycerol mediumBruns medium was formulated to use glucose as the sugar ingredient. I have modified the formula to replace the glucose with fructose (in my case, Karo syrup).
Fructose at a 76% concentration 24 ml
Glycerol 3 ml
Antiseptic (I use Listerine) 3 ml
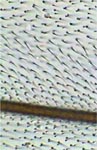
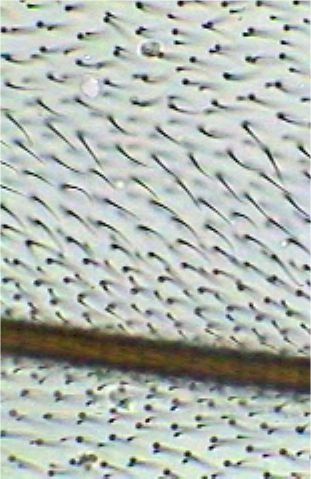
FG, wing-1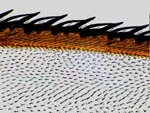
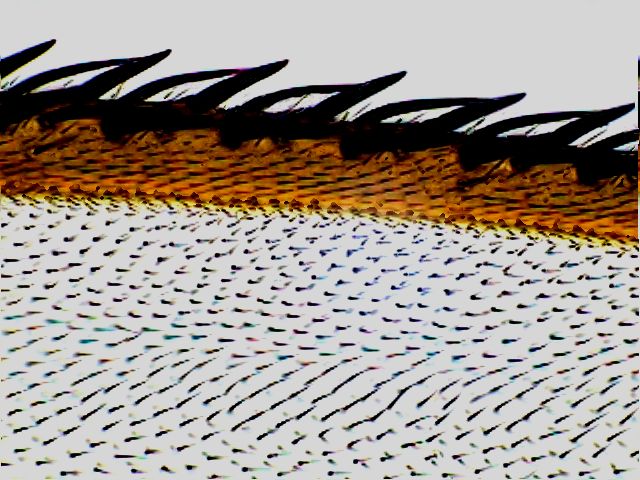
FG, wing-2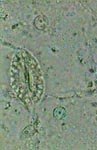
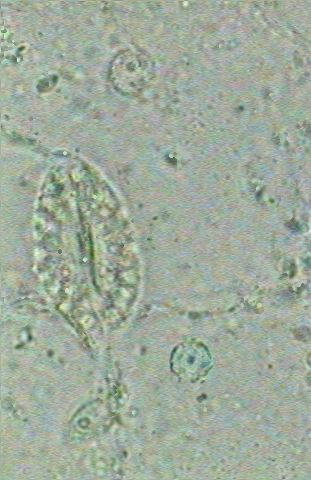
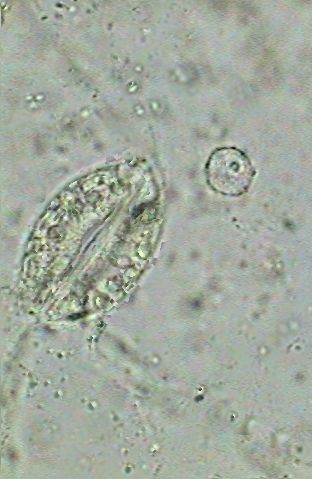
FG, epit.The first picture shows the surface of a fly wing, and the second the border of the same. The picture on the left is from the epithelium of the underside of a leaf, showing one stomata and the nuclei of two marginal cells. The fourth is the compound image of the 5th leg from a female of a species of Diaptomus, a genus of copepod (crustaceans). The sixth is the ovisac (a sac in which the female carries the eggs). All were taken of slides mounted in FG. The wings were stored in alcohol 70%. The epithelia was fixed for 24 hrs in AFA (a fixative composed of Alcohol, Formalin, and Acetic acid) and the picture taken with the 100x objective (1000x), The copepods were fixed more than a month ago in lactocupric, a fixative that I will discuss in a future article, and this specimen was washed in water for ten minutes and directly transferred to the mounting media. As will see in other images, this is responsible for the collapse of the eggs. Some intermediate steps through glycerinated water can prevent this. 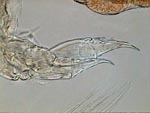
FG, 5th.leg.fem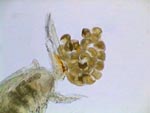
FG, ovisac.A modification that is also working for me is the addition of lactic acid as a clearing agent
FGL.- Modified Brun medium
Fructose (76% concentration) 21 ml
Glycerol 3 ml
Lactic acid 3 ml
Antiseptic 3 mlThese two media, give good results with the test objects but take longer to dry. I estimate the drops so they dont exceed the coverslip, and twenty four hours later I seal, with the same care as with a glycerin mountant. If not well sealed the coverslip continues to be "slippery" for more than a week.
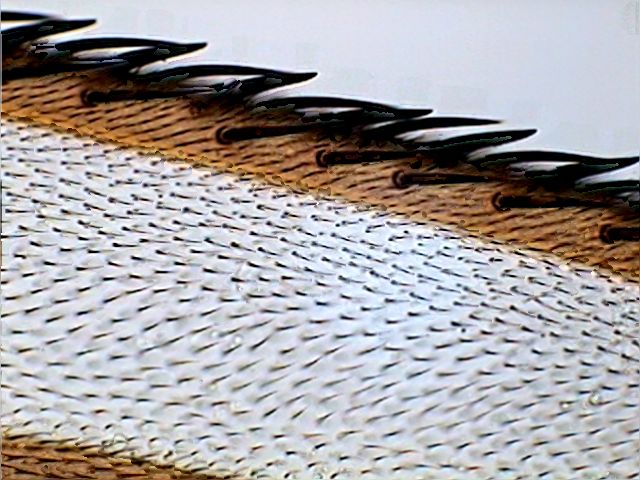
FGL, wing 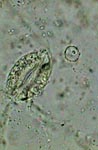
FGL, epit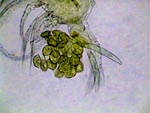
FGL, ovisac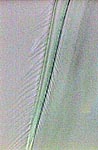
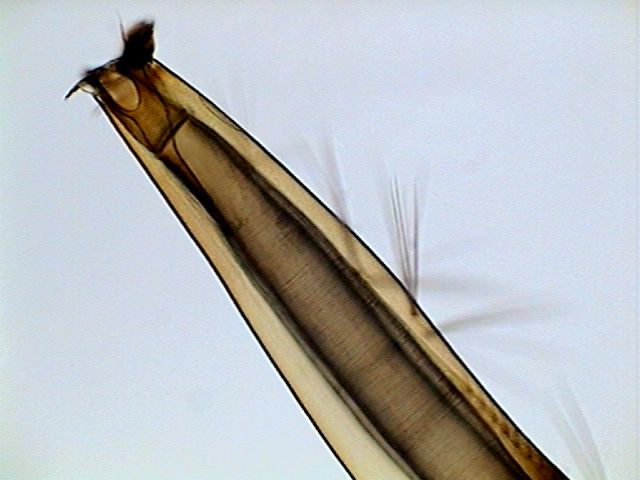
FGL, telson setae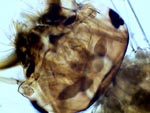
FGL, larva head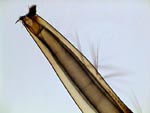
FGL, airtube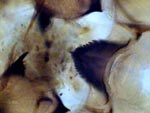
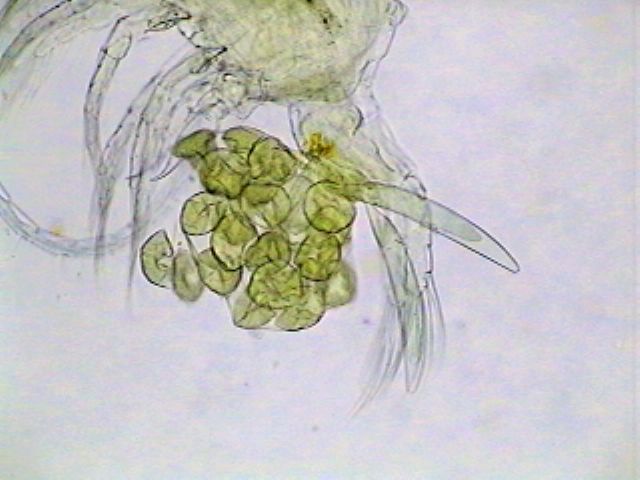
FGL, ventral headThe first two are similar to the FG pictures. The Diaptomus female in the third picture has adhered the ovisac, and also two spermatophores (sperm packets). Comments as in the FG case. The last three pictures are from a mosquito larva, fixed in alcohol 70% and first cleared in lactoglycerol, before being mounted in FGL. The head shows clearly the interior structure with the brain lobules, the nerves connecting to the eyes, several muscles and other sensitive organs. The ventral side of the head shows part of the buccal armature. The air tube is part of the caudal complex I depicted and labelled in the first article; you may wish to reread as a reminder of the anatomical features.
Comments to the author, Walter Dioni, are welcomed.
Microscopy UK Front Page
Micscape Magazine
Article Library
Editor's acknowledgement: Thank you to Ian Walker who prepared the thumbnail images.
© Microscopy UK or their contributors.
Published in the March 2003 Micscape Magazine. Please report any Web problems or offer general comments to the Micscape Editor,
via the contact on current Micscape Index.Micscape is the on-line monthly magazine of the Microscopy UK web site at Microscopy-UK
WIDTH=1