|
Luxeon K2 LED by Howard Webb (St. Louis, MO, USA) |
I am not an electronics person, nor a machinist; so all mistakes or problems should be considered my own. On the good side, if I can handle this project, anybody else shouldn't have any problems. The first issue I encountered was the inability of getting the electronics to work with 2 AA batteries, it gave a medium light, but would not dim. When I boosted the voltage to 3 or 4 AA batteries, the electronics work just fine (for now, I have settled on using 3 AA batteries). I am not sure of the cause, but assume it is something I did not get wired up correctly.
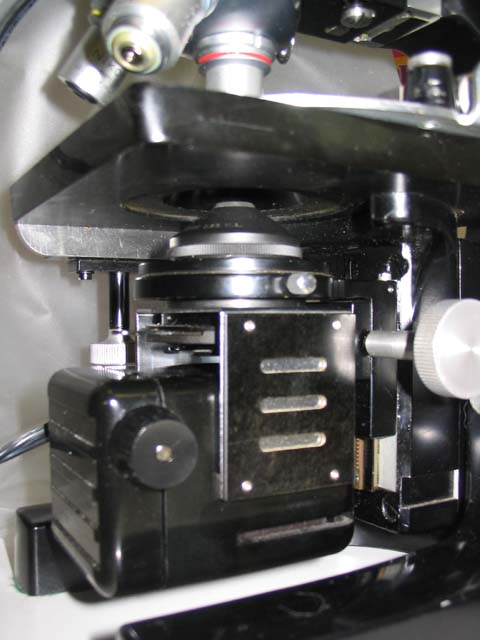
The electronics are similar to what Mike describes in his article, though I have the more recent K2 which is already mounted on an aluminum base, I also used the manufacturer's LED holder and focusing lens. Since my microscope has an open bracket for a light, I made a simple base from some scrap poly-carbonate that slides into the existing space, the LED is held in place with four nylon machine screws (the poly nicely drills and threads). A wire from the LED runs to a project box that holds the electronics and batteries. The lens sits at almost the same height as the frosted glass of the old illuminator. Since the microscope is covered when not in use, and the low voltage is not a hazard, I am not concerned about the parts and connections being exposed.
|
|
| Old incandescent illuminator (15w 110 bulb) |

|
| New LED |
As Mike said, this LED is bright, at these voltages (4.5v) you will have (at least) temporary eye problems, the brightness will cause a dark after-image when you look away from the microscope, about like having a camera flash gun go off in your face. Be careful with this light.
For visual observation, this LED setup (set very dim) works fine, however there is an interesting side-effect in using it for digital photography. The illumination control is a PWM (i.e Pulse Width Modulation); the LED is being rapidly turned on and off, the longer the pulse (total time) the LED is on, the brighter it appears. For visual observation, the eye can detect pulses of 60 cycles a second or less, the pulses of the PWM are so high that the LED appears to be a steady light. However digital imaging is sensitive to higher cycle rates than the eye. I found my camera clicking away trying to keep up with the alternating light and dark, and my software (Canon Zoom Browser) also picks up the strobe effect (faster at low light, slower or stable at high illumination). This can be quite anoying, and makes focusing more difficult.
To compensate for this strange behavior, during initial observation I would often leave the PWM at the maximum setting, and use a neutral density filter to reduce the brightness. I then would remove the filter and adjust the illumination when capturing images.
This problem is in part a limitation of my set-up. I have a monocular microscope, so when the camera is mounted, the only way I can see the image is through the camera (or computer monitor). If you have a tri-nocular head for your microscope, and can observe the slide via an optic path independent of the camera, this is not an issue.
The cold wave that settled over the American mid-west has made field collecting impossible for the last month (January-February), but aquarium filters and old culture bottles are always good for a few ciliates and rotifers. They may not be exotic, but they are convenient for testing new equipment.
Click on the images for a larger (1024x768) version. You can download the image and look at the jpg properties to see the camera settings.
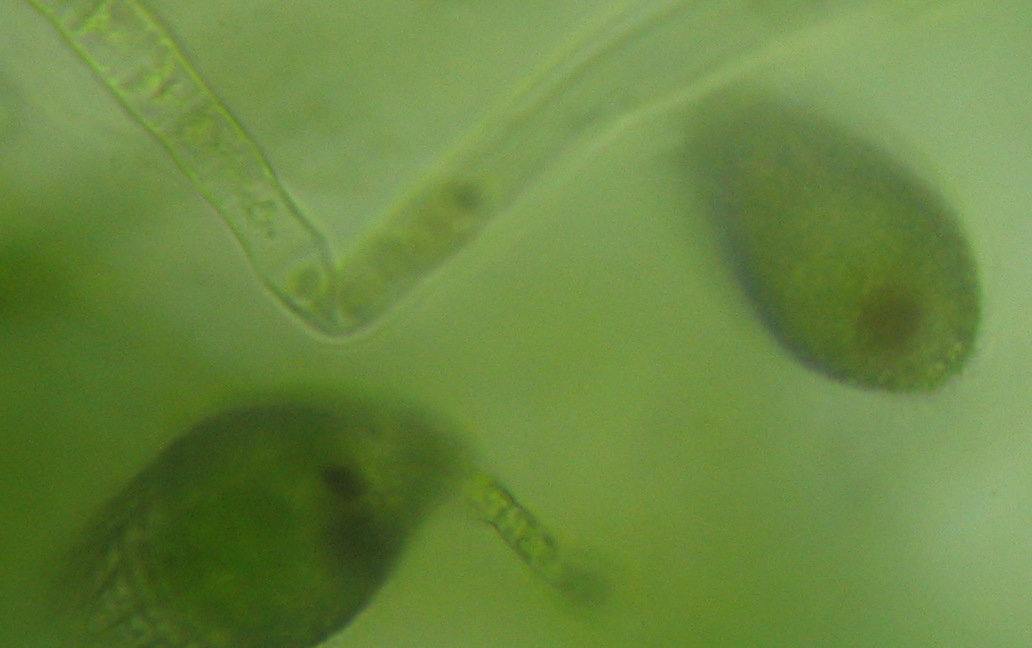
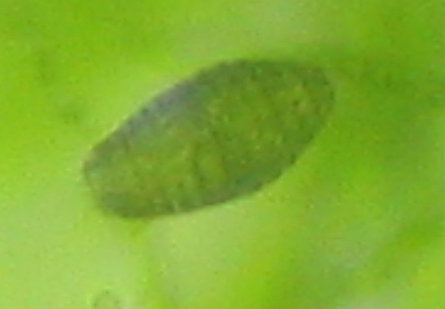
Ciliate
(Coleps) (cropped)
Ciliate
(Coleps?)(full sized -
cropped)
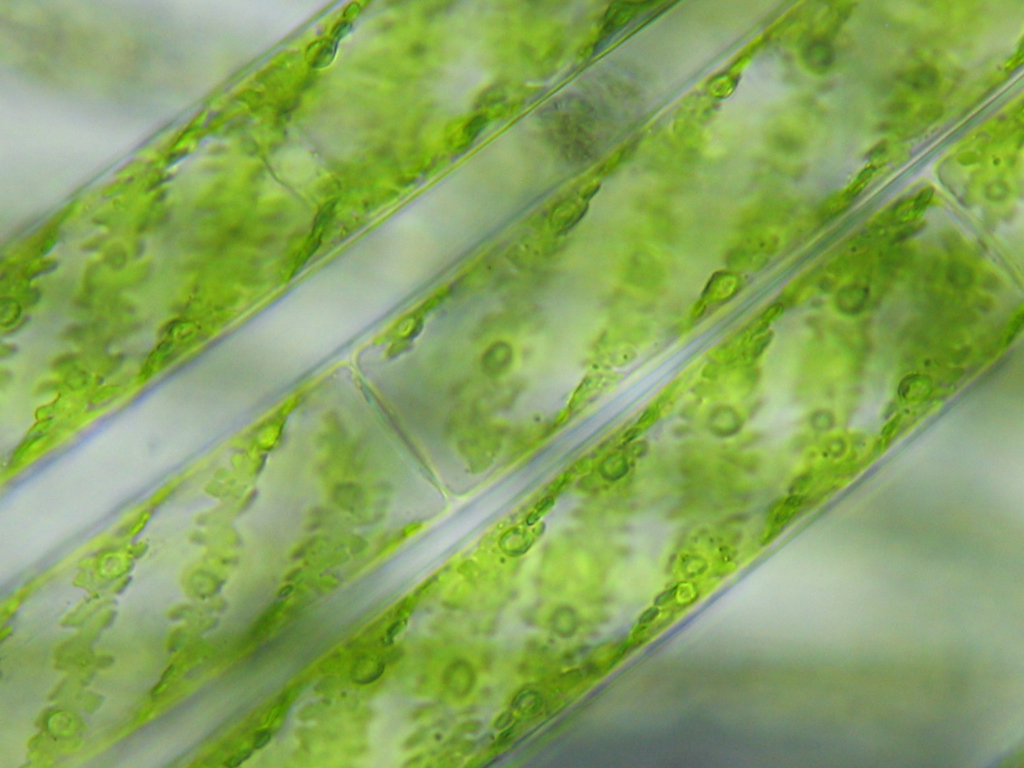
Algae
(Spirogyra)
Vorticella
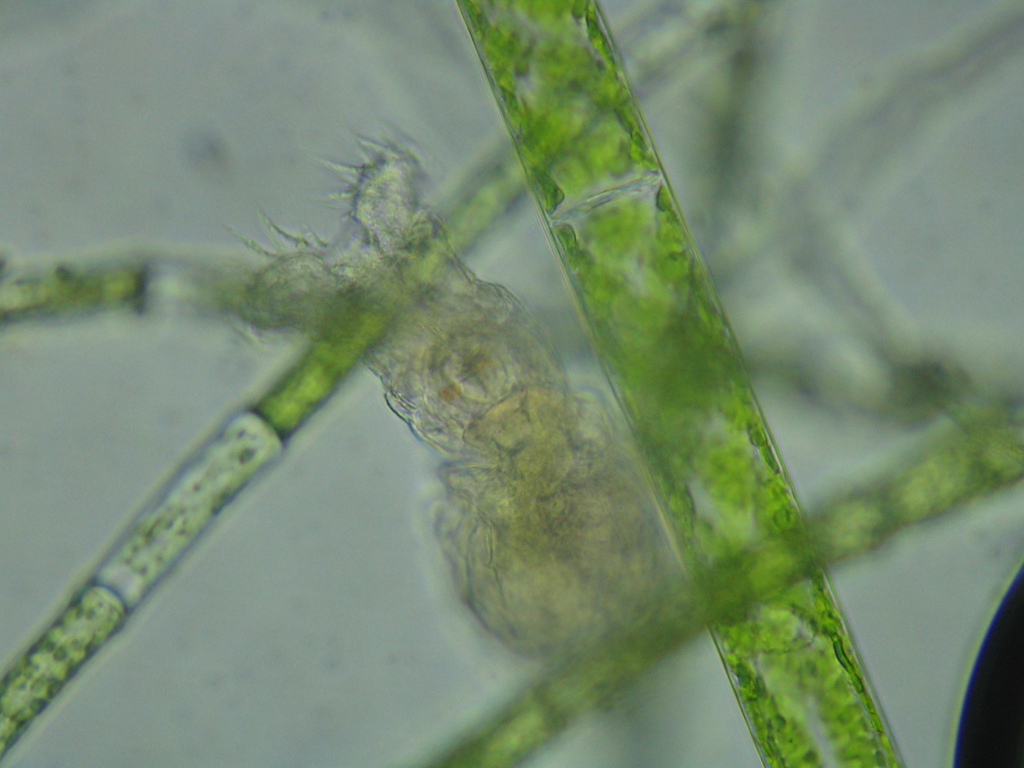
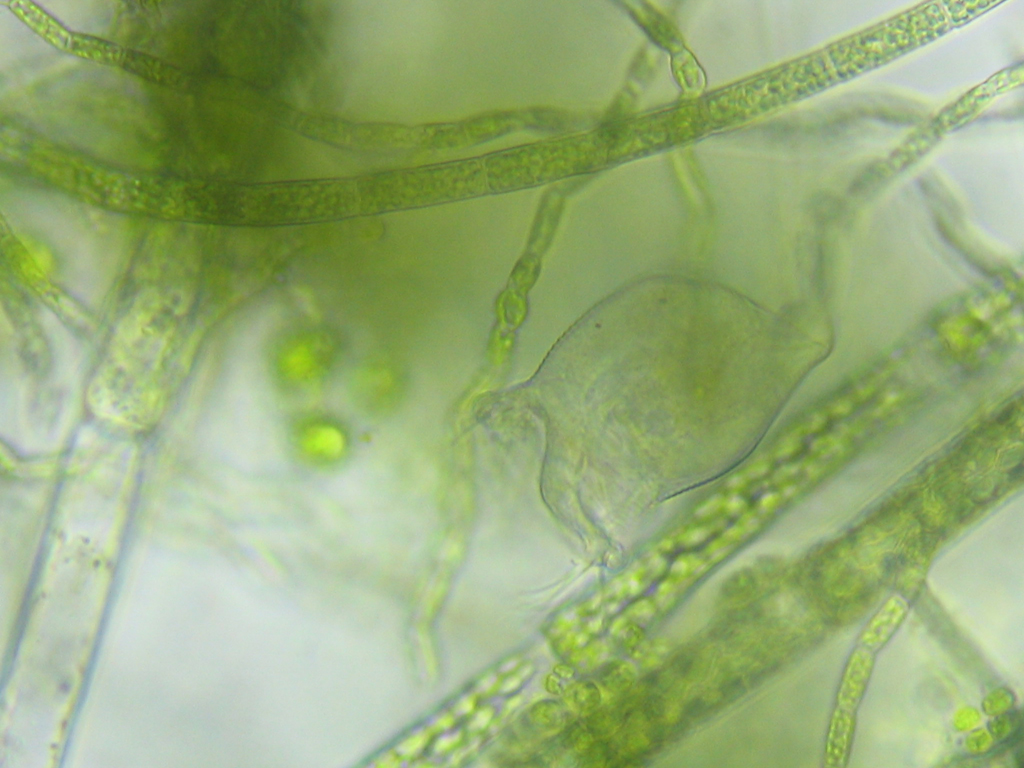
Rotifer (
Collotheca sp?)
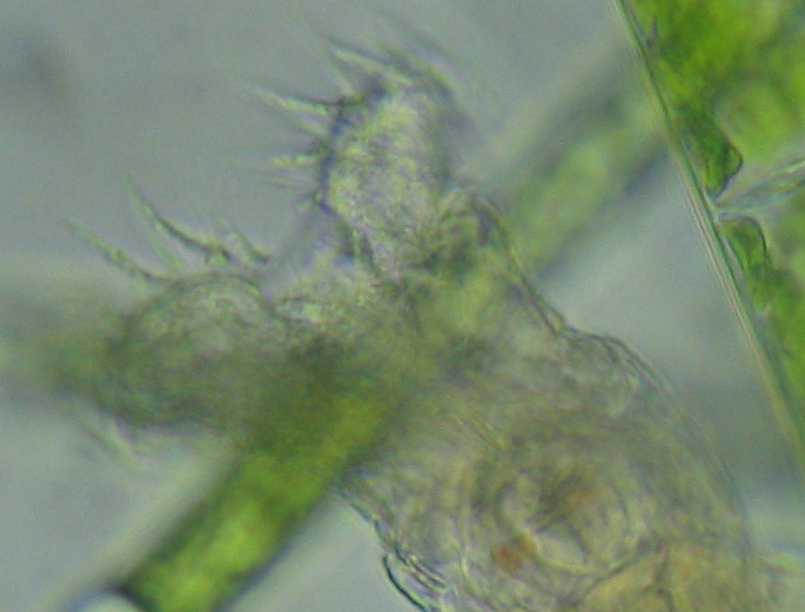
Click for full size
portion of the above image.
Video clip
of rotifer in avi and wmv
format.
Comments to the
author
Howard Webb are
welcomed.
Camera: Canon A540
Software: Canon Remote Capture
Published in the March 2007 edition of Micscape Magazine.
Please
report any Web problems or offer general comments to the
Micscape Editor,
via the contact on current Micscape Index.
Micscape is
the on-line monthly magazine of the Microscopy UK web
site at
http://www.microscopy-uk.org.uk/