|
Exploring Computer Graphics Special Functions: Part 1
Richard L. Howey, Wyoming, USA |
One of the side benefits of photomicroscopy is that one can learn a great deal about processing images both to improve them and also as a rich source of creative play. The program which I use is not the most popular, but it suits my needs well and is not overloaded with functions I will never use. Also, it doesn’t require seminars or tutorials to learn how to use it provided one approaches it with practical intelligence and a healthy dose of patience. I say this because it is well-known that software developers are sociopaths with a nasty, mean streak. I will illustrate what I mean. The program which I use is PhotoImpact Pro 13. I bought this a few months ago as an updated to an earlier version which I had had for a number of years. I had my computer crash and I updated to Windows 10 (finally, my friends said) and so I update my PhotoImpact (hereafter, PI) as well. Those same friends tell me that I am both a tech dinosaur and a stubborn curmudgeon. I agree with these friends on both counts. (I guess, I should say former friends.) I tried Photoshop and hated it; way too much and way too byzantine. I also still use WordPerfect rather than Microsoft Word. However, most of what I am going to write about and illustrate here can be adapted to other graphics programs, so continuing to read on here, might not be a total waste of time.
In approaching a new program or even a new version, you must have a willingness to explore and the accompanying patience which I mentioned above. In my old version of PI, I sometimes amused myself by putting picture frames around images. There was quite an interesting selection of possiblities from 2D, 3D, to Classic frames. Some, I thought worked quite nicely; others were overdone and distracted from, rather than, enhancing the image.
One afternoon, after I got my new, updated version of PI, when I was feeling rather lazier than usual, I decided to try putting frames on some of my new images. I started looking at the menus. In the old version, it was very easy, there was a menu called “Effects” and it made sense to me that that would be a place to locate the “Photo Frame” function. Ah, but in the new version, that’s not where it is to be found. So, the hunt was on. I checked menu after menu without success, but with increasing frustration and irritation toward software developers. I went on Google and searched for help–NOTHING! I went to the online–non-searchable–manual–NOTHING! After several hours of poking around over a period of three days, I finally got a hint and found “Photo Frames” under the very extensive menu called “File” buried in another menu called “Share” and there at the bottom, after Photo Projects, Calendar, Web Album, Web Slideshow, and Mobile image, was, miracle of miracles Photo Frame Shift-F. Such an arrangement is what I call “tech-perverse”; it is not user-friendly nor is it intuitive, but it is certainly a pain in the asset. [find a good word here].
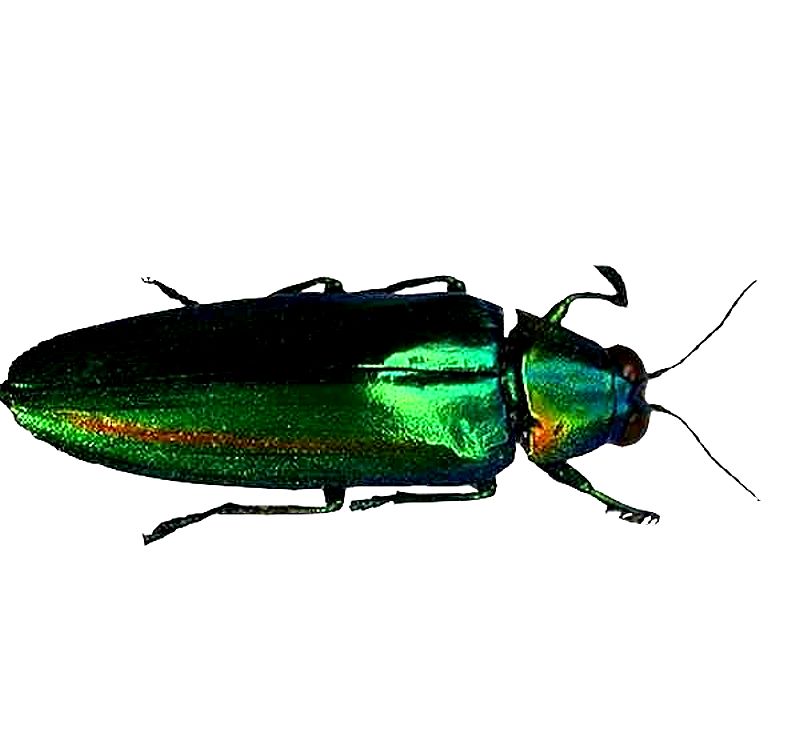
So, let’s begin with looking at some images and then seeing how they look with frames. First up is a jewel beetle of the family Buprestidae and probably of the genus Chrysochroae. These beetles often have a metallic sheen and a variety of beautiful colors.
This first frame is quite modest and presents the beetle nicely.
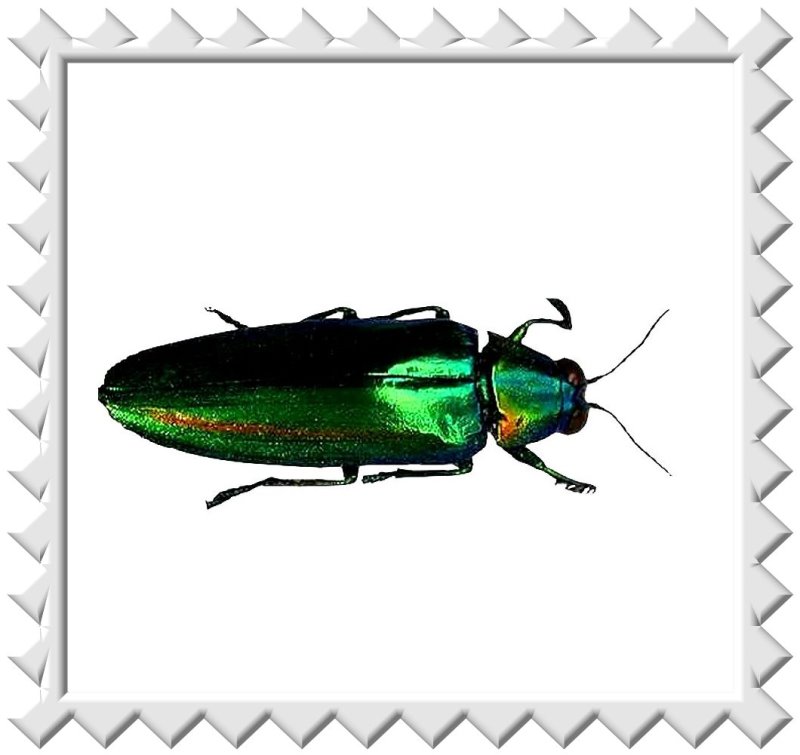
We can make it more ornate while still using the standard 2 dimensional option. While the frame colors do, in one sense, complement the image; overall I think they distract from the total effect.

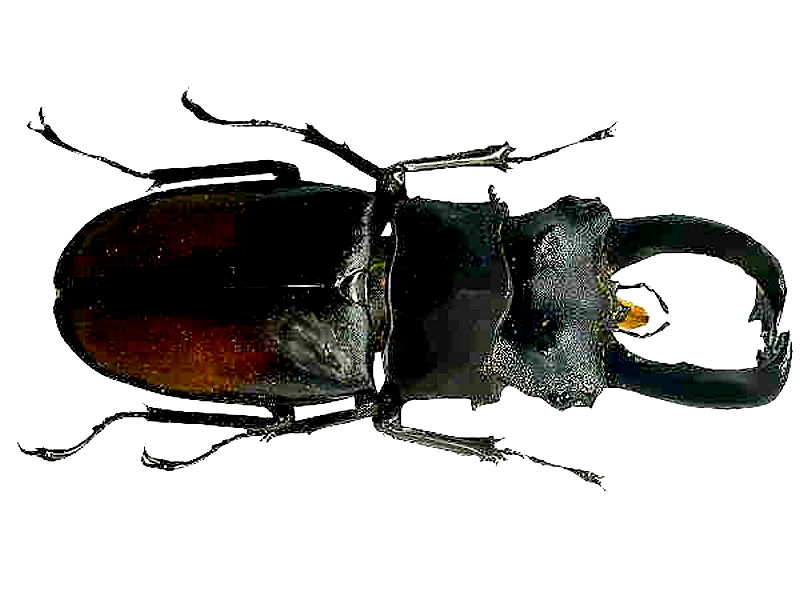
Another kind of beetle can be addressed rather differently. This is a stag beetle with a nice set of pincers that can discourage even humans.
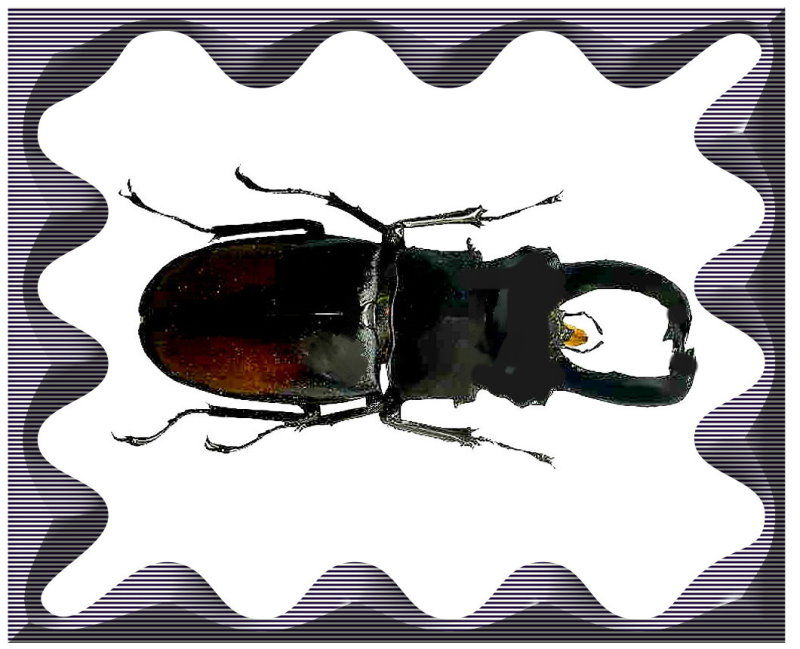
On this one a black frame with an undulating border projecting inward seems quite appropriate.
And then, there is the intriguing “violin bug” which has the less romantic scientific name, Mormolyce phyllodes. It is found in southeast Asia. It lives among bark and dead leaves and can defend itself by spraying poisonous butyric acid.
For a beetle that can play the violin, we need an ornate frame and I found just the thing.
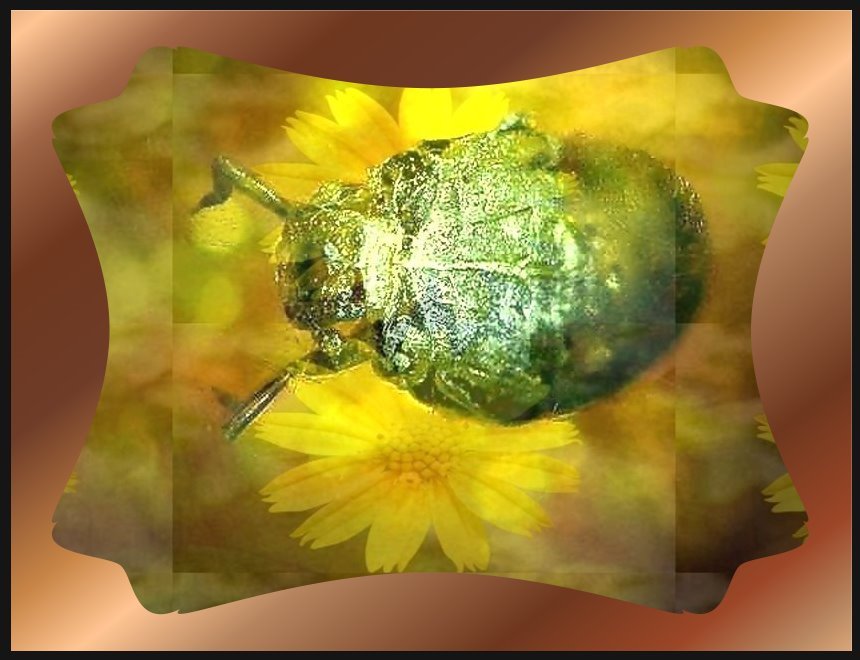
Next, I’ll show you a beetle that’s even older than I am. This one is embedded in amber. First, the original image before any graphics magic.
Then to make the background a bit more cozy, I added a floral backdrop.
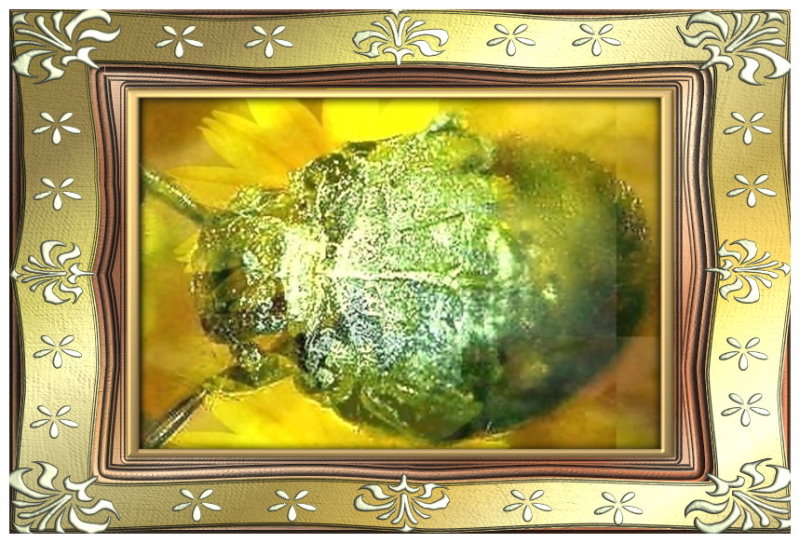
Finally, either a frame with the beetle floating on a floral strip or even more appropriate to its ancient age, an antique frame.
While we’re discussing beetles, let’s consider another function, namely, the “inverse” function. Sometimes, this can, by means of the radical color shifts, provide us with a different perspective that allows us to see more detail, especially when we go back to look at the original image.
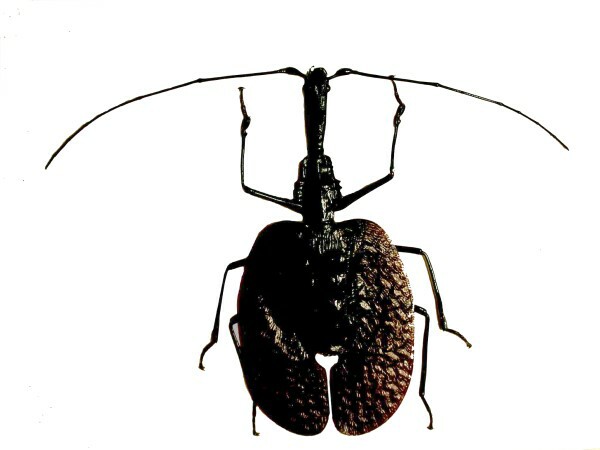
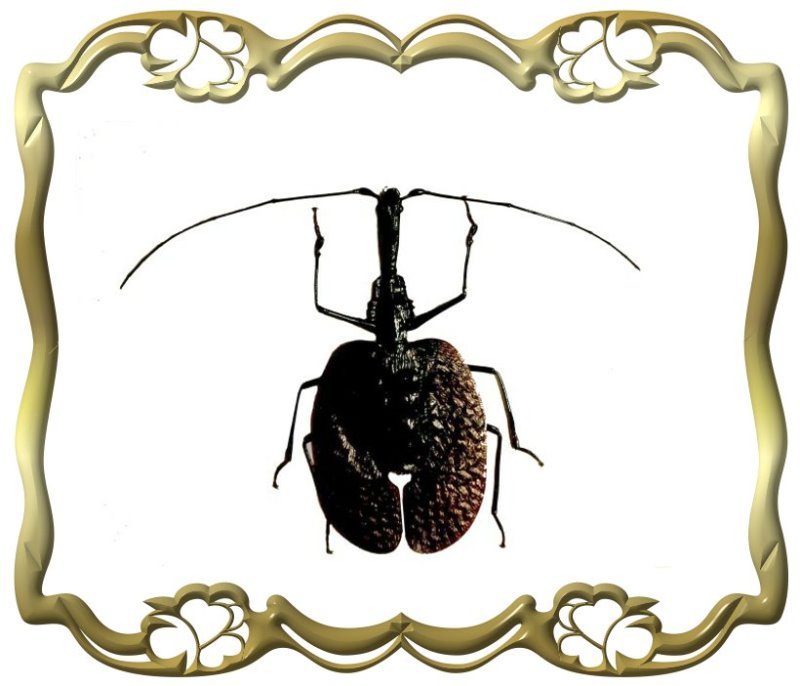
First, let’s look at a so-called “longhorn beetle” named for its exceptionally long antennae.
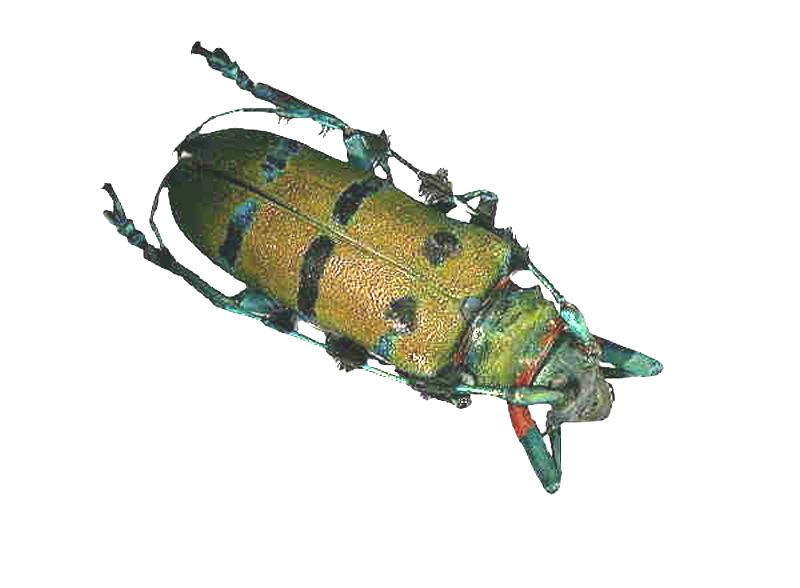
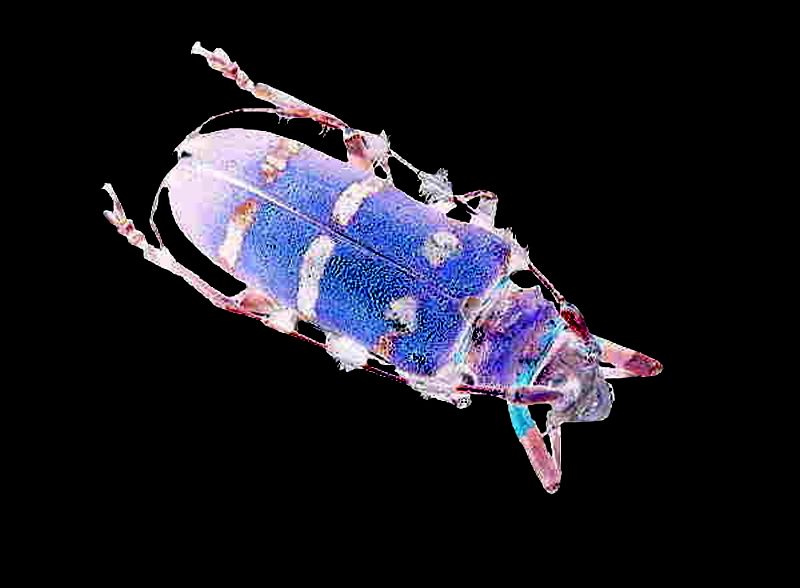
Now, here is the inverse image. This is not simply an aesthetic shift but, in my view, does allow us to grasp more detail.
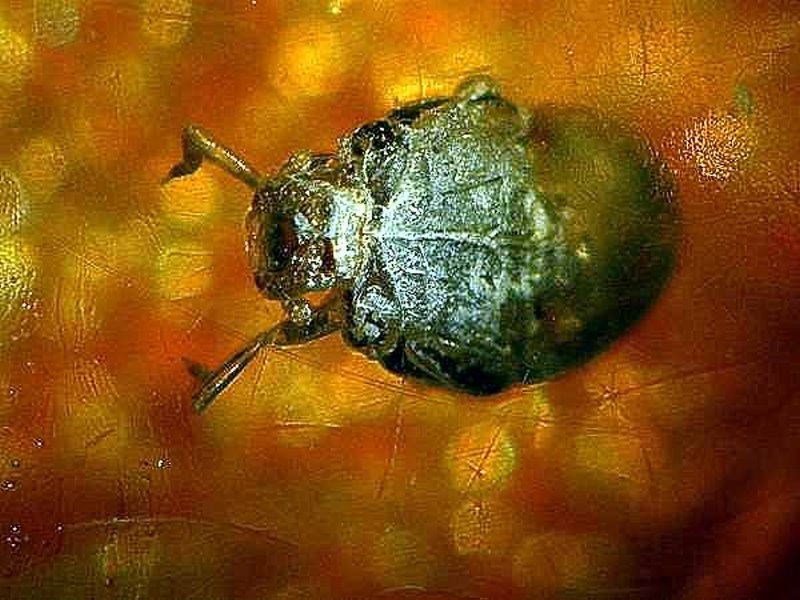
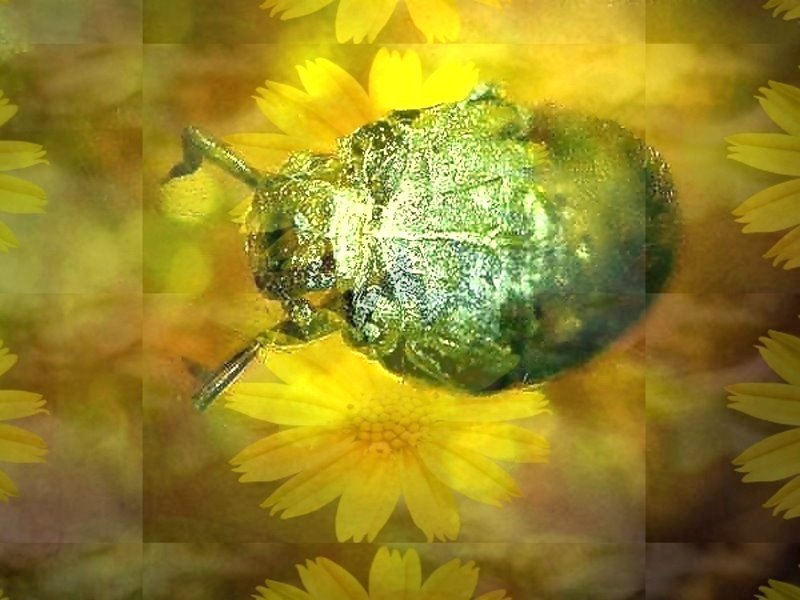
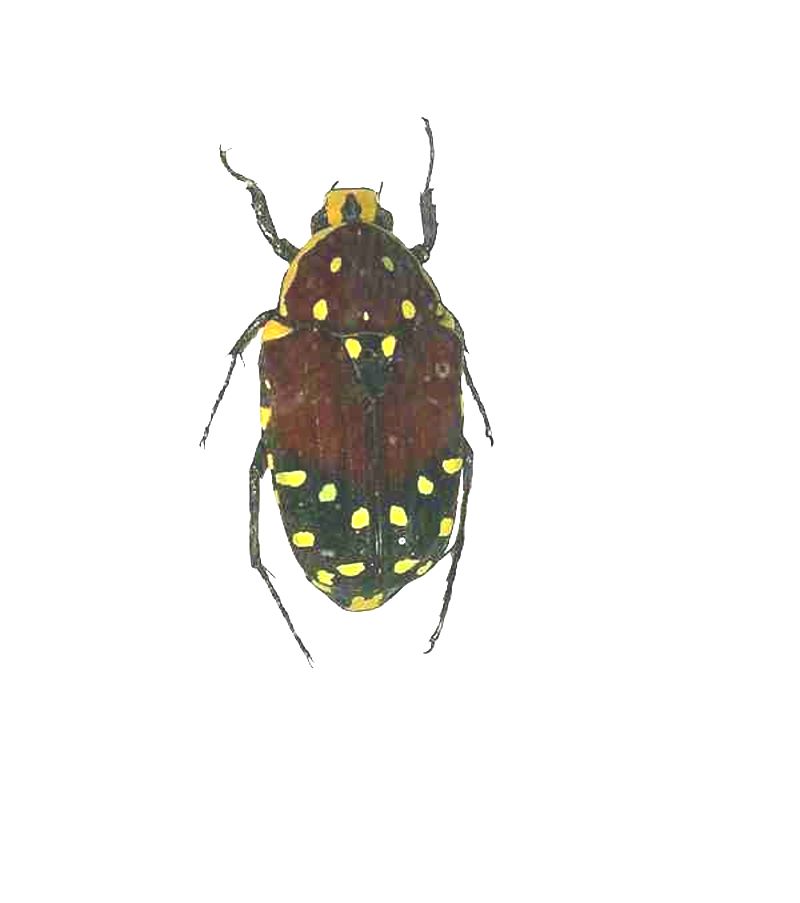
Next, let’s consider a small, yellow-spotted beetle.
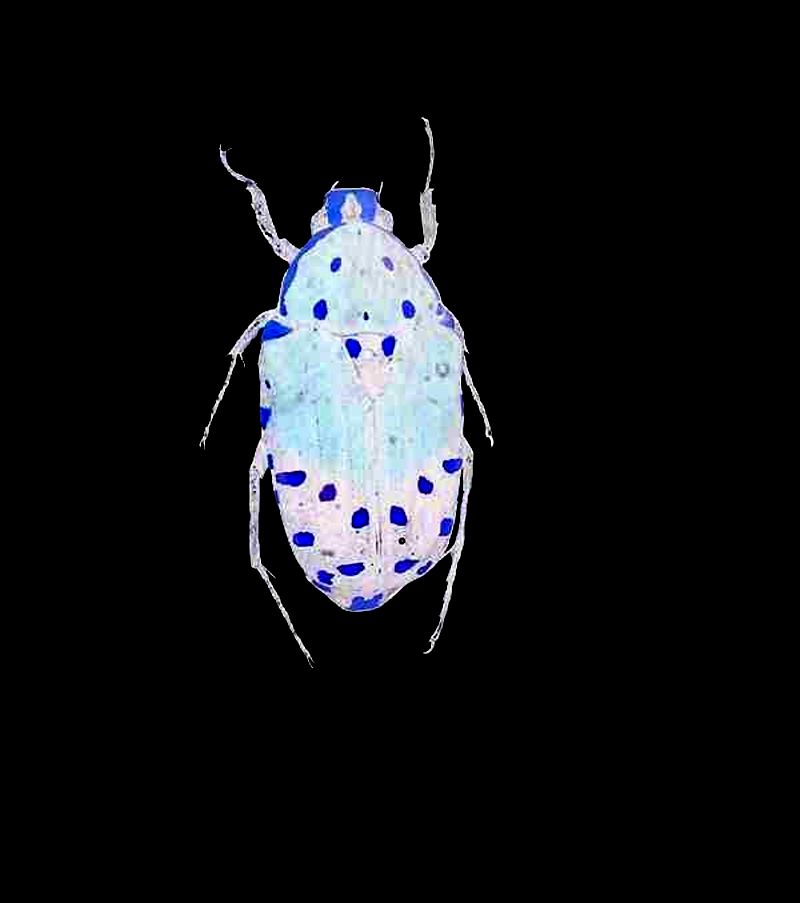
In the inverse version, it seems to be that, somehow, the positioning of the spots shows up more distinctly. However, I will admit that such a notion may be a consequence of my failing eyesight and brain.
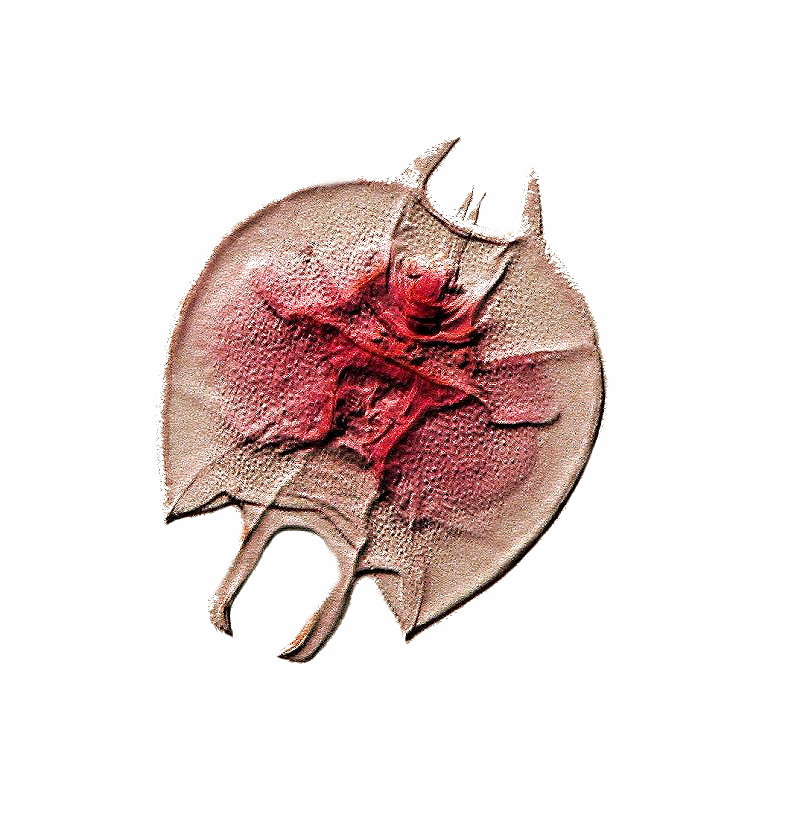
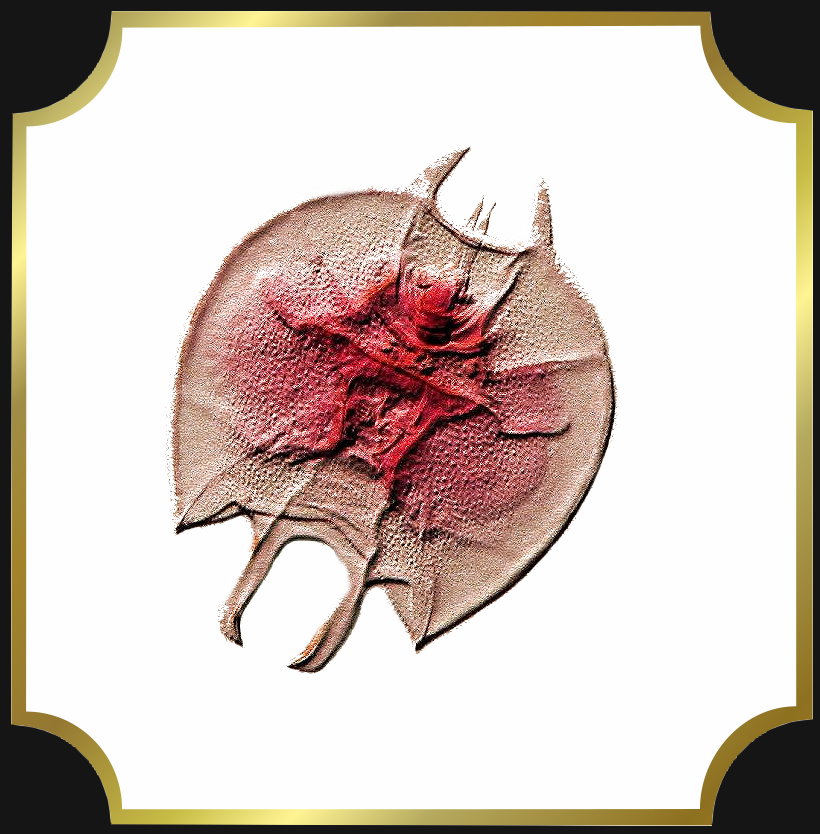
If we apply the inverse function to a rotifer, we get quite an interesting result. The rotifer is likely a specimen of Platyias quadricornis, but not being a rotiferologist, I plead for mercy if I’m wrong and ask that the taxonomic police not put me on the rack.
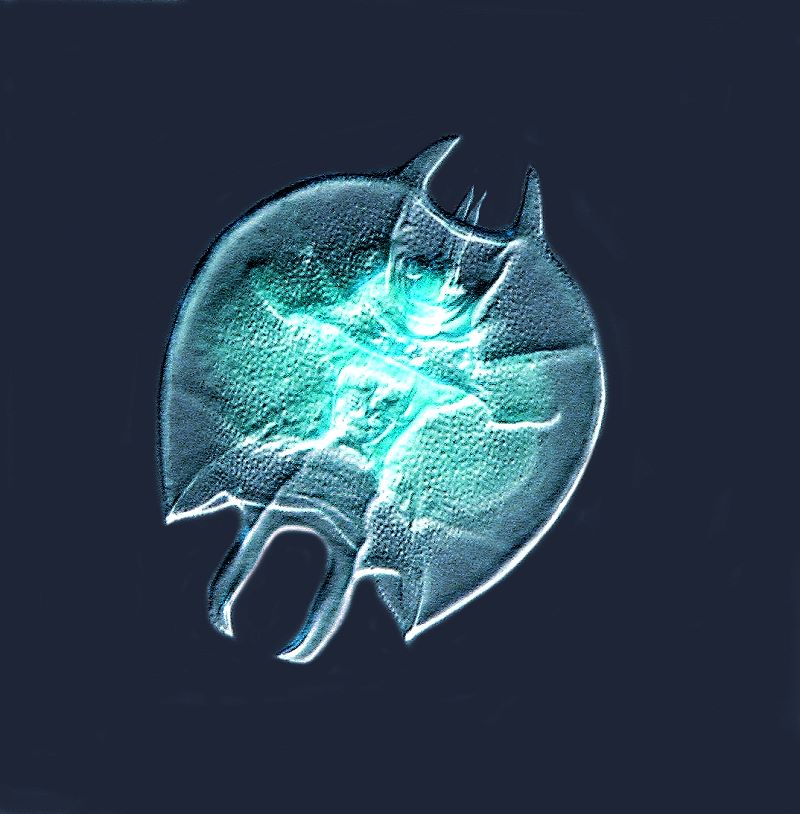
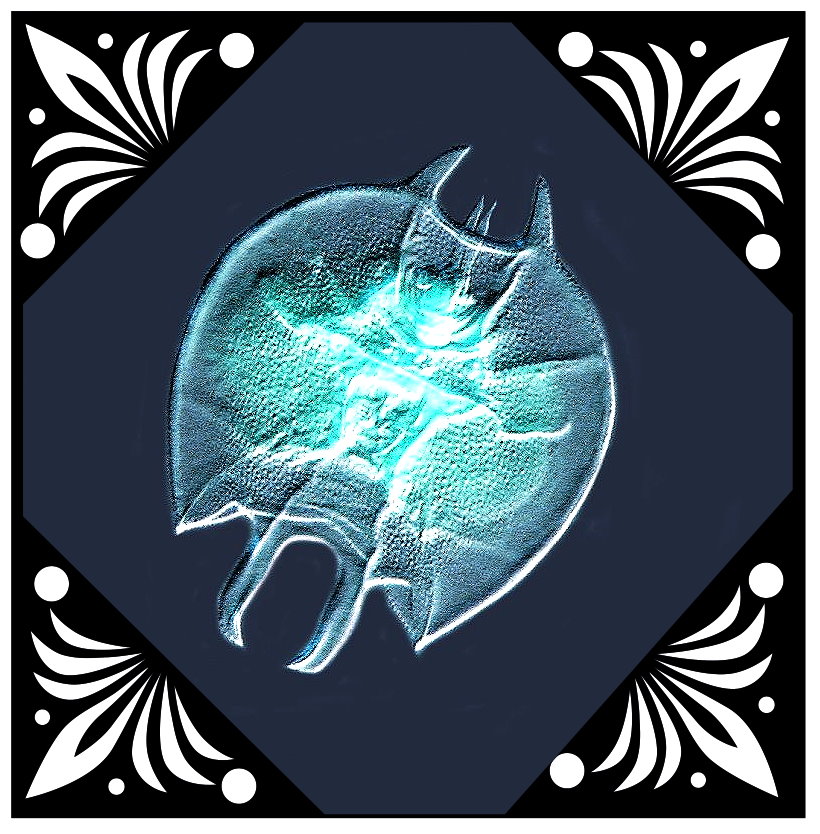
Now, the inverse image. It is almost as though the first image is giving us a view of the surface and this image lets us look inside.
We can, of course, at a frame. Let’s start with the original image and use a modest one that doesn’t clash with the image.
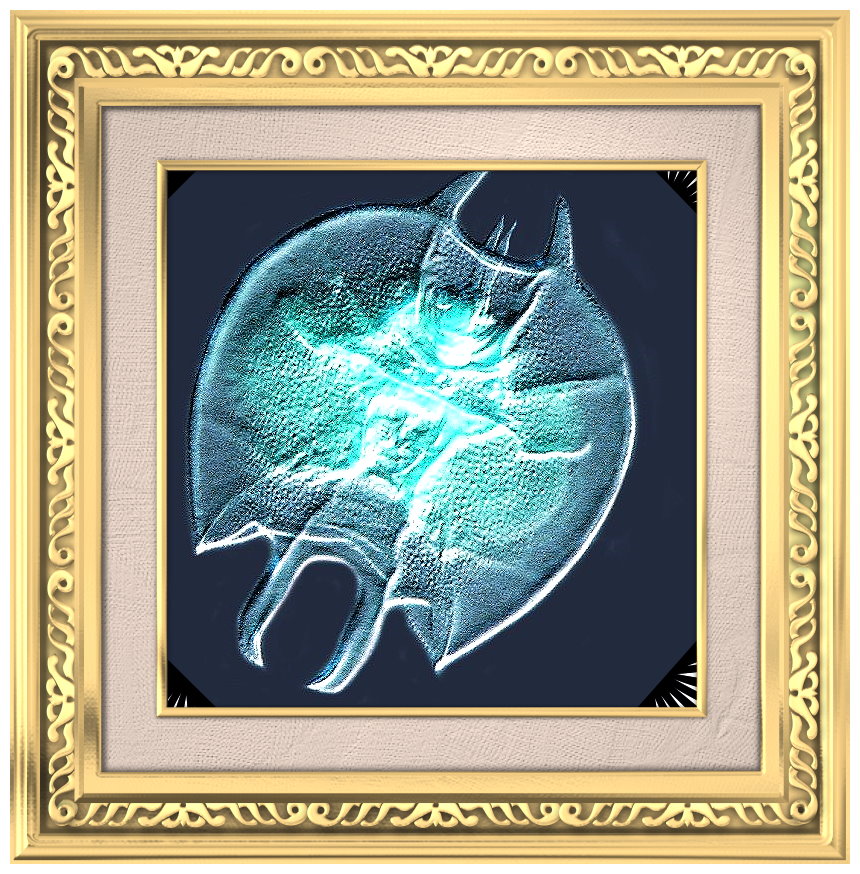
I suggest that we be a bit more flamboyant with the inverse image and try out 3 different frames. The first one might be appropriate for a drawing room wall.
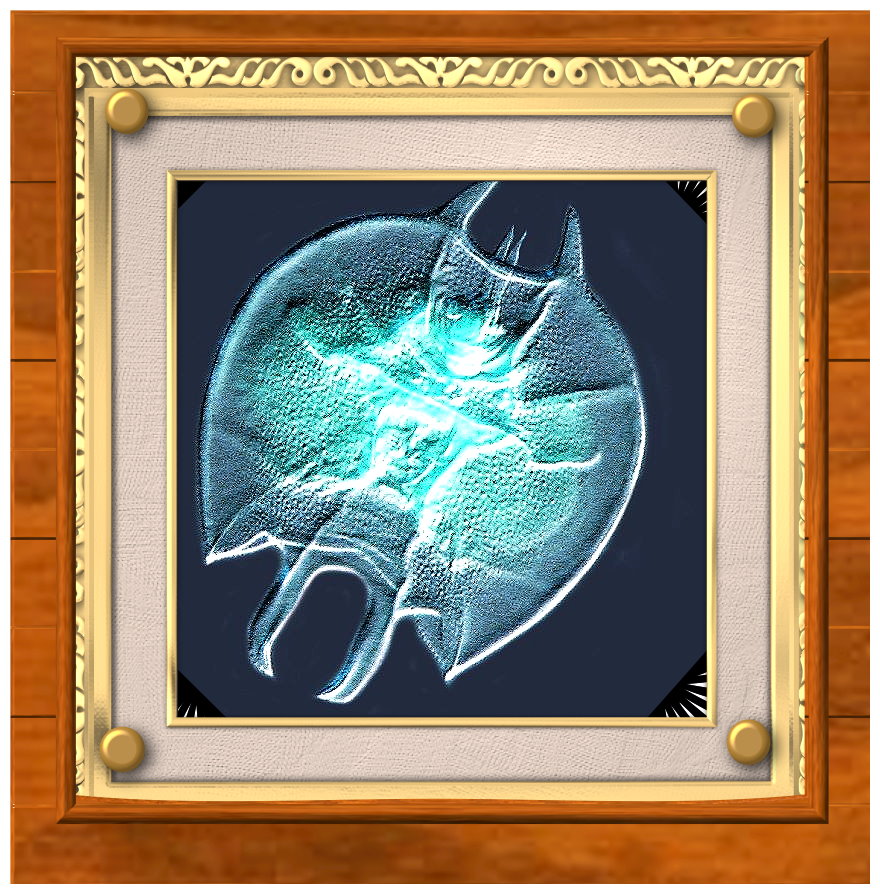
The second one is, perhaps, more fitting for the person who is interested in introducing an antique flair.
And the third one could be for the den of a sportsman along with all his other trophy animals.
Let’s now proceed to quite a different function for, as usual, this article is getting a bit long. The final function that we’ll consider here is the “FOCUS” algorithm which can serve an important role in revealing detail. Sometimes, the camera captures information which is not directly visible in the immediate image.
My first example is of Trichnympha which is a symbiotic protozoan that lives in the guts of certain species of termites. For more information on the various symbiots, here is a link to an article which I wrote some years ago.
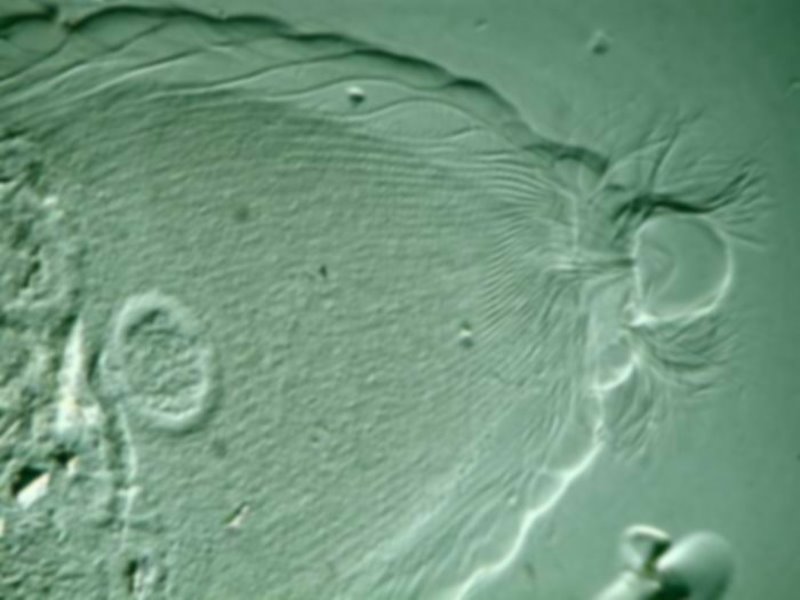
First of all, I’ll increase the focus moderately and immediately, we can see a slight increase in detail.
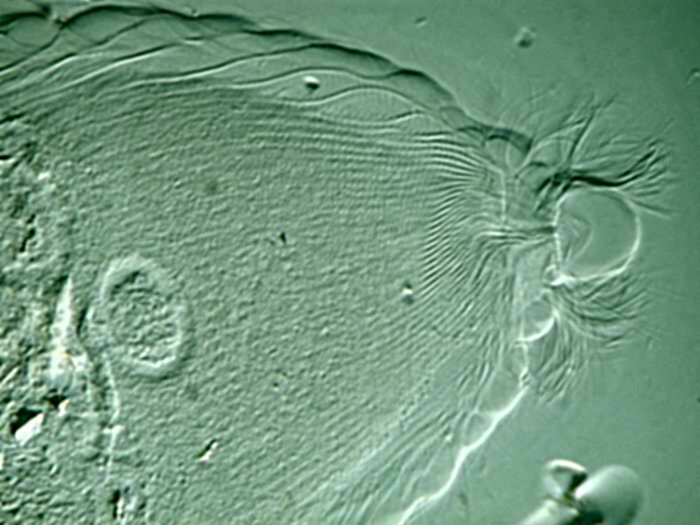
An increase of yet another step, shows a distinct increase in detail and we can see more of the incredibly elaborate fibrillar system that underpins the staggering number of flagella; thus the name for this group: Hypermastigina. Just to the left of center is the macronucleus.

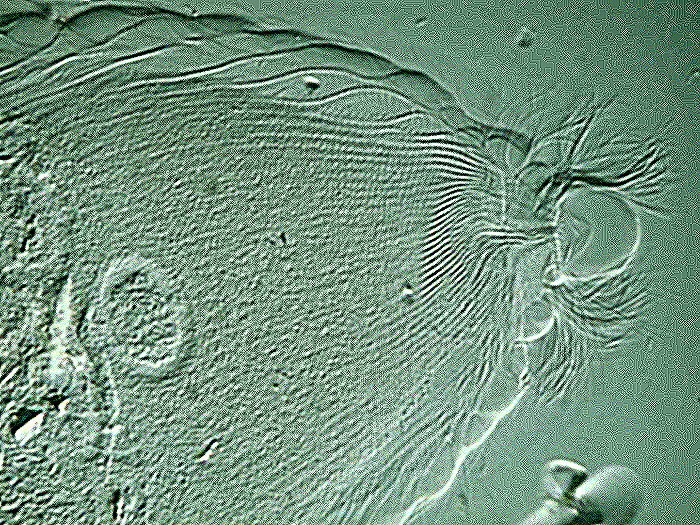
An increase of focus yet one more step, does highlight some of the fibrils a bit more, but it is starting to make other parts of the image a bit fuzzy. Any additional increase turns out to be distinctly disadvantageous.
Let’s consider one more example of the application of the focus algorithm; this time to an image of a Thecamoeba which I “fed” some filaments stained with Neutral Red. First the initial, unprocessed image.
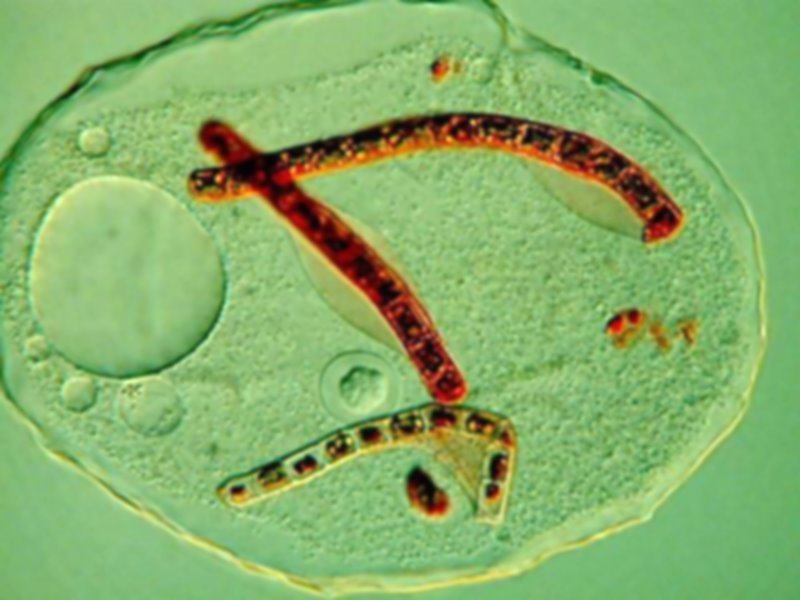
Then an application of the focus function which, as you can see, makes a significant difference.

And then, one more application, which seems to make virtually no difference, except perhaps around the filaments which, to my eye, seem to be a tad sharper.

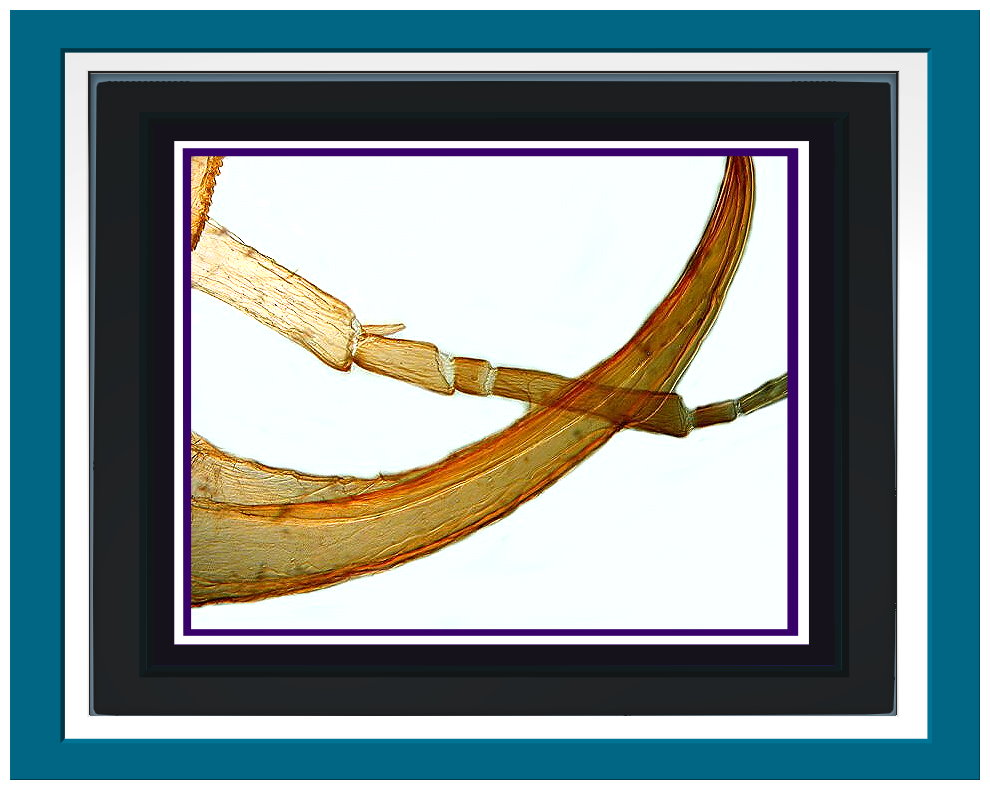
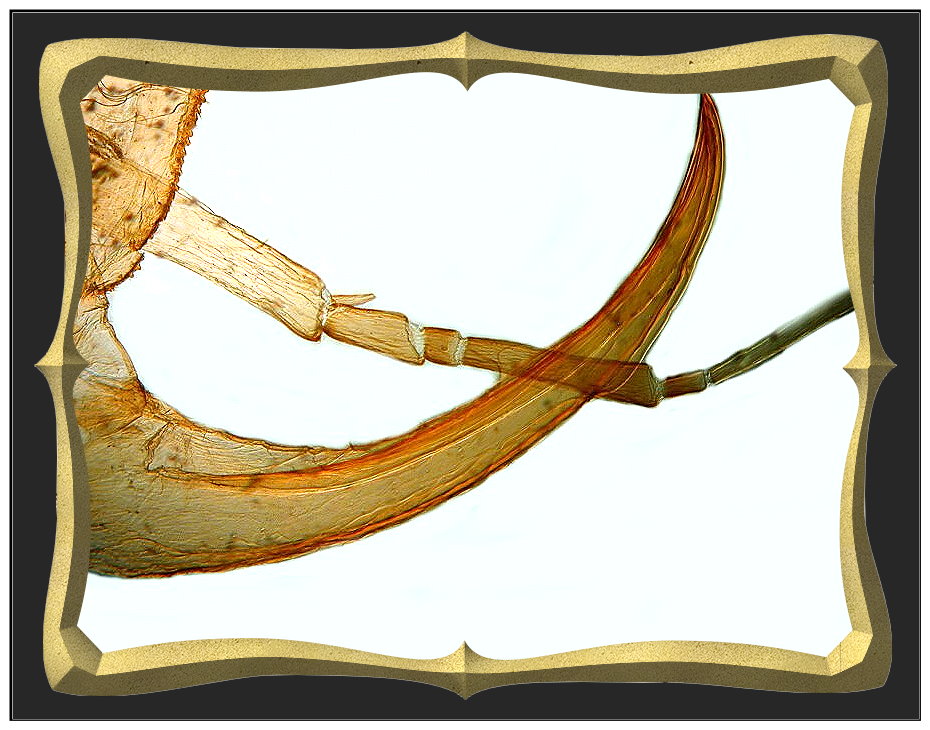
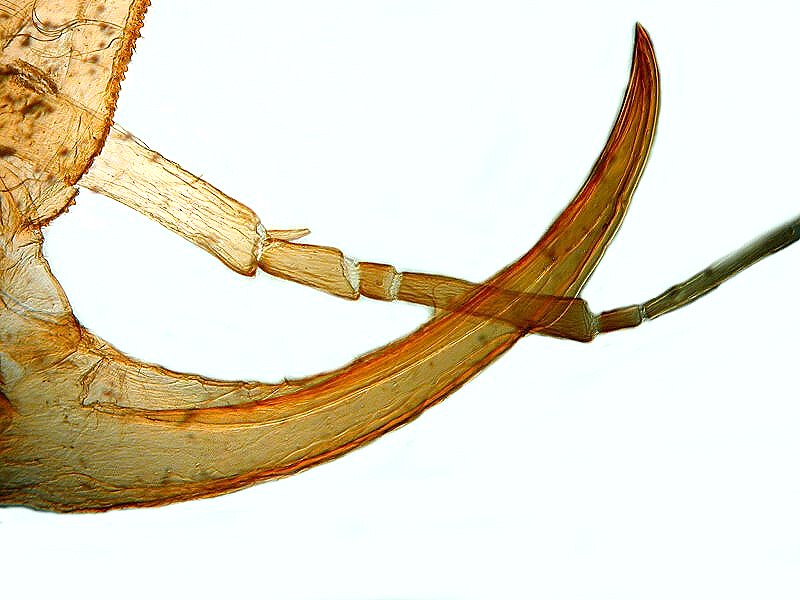
Finally, there are many cases where one can get a good image and it’s best not to tamper with it. I’ll show you 2 frames images of a pincer of a hellgrammite and then the original image which I think should be left alone. There are lots of other images where my initial results were not that good, so I feel free to experiment with them and I hope to share some more of my “secrets” for tampering an another article.
All comments to the author Richard Howey
are
welcomed.
If email software is not linked to a browser, right click above link and use the copy email address feature to manually transfer.
Editor's note: Visit Richard Howey's new website at http://rhowey.googlepages.com/home where he plans to share aspects of his wide interests.
Microscopy UK Front
Page
Micscape
Magazine
Article
Library
Published in the May 2022 edition of Micscape Magazine.
Please report any Web problems or offer general comments to the Micscape Editor .
Micscape is the on-line monthly magazine of the Microscopy UK website at Microscopy-UK .
©
Onview.net Ltd, Microscopy-UK, and all contributors 1995
onwards. All rights reserved.
Main site is at
www.microscopy-uk.org.uk .