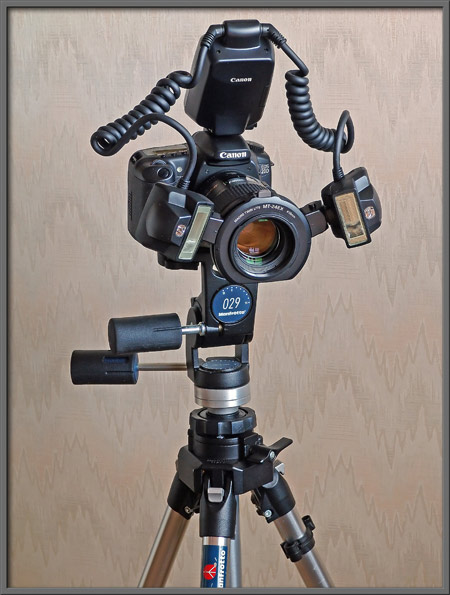
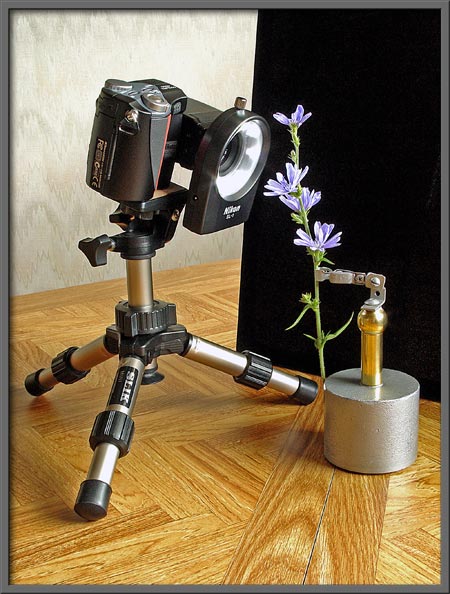
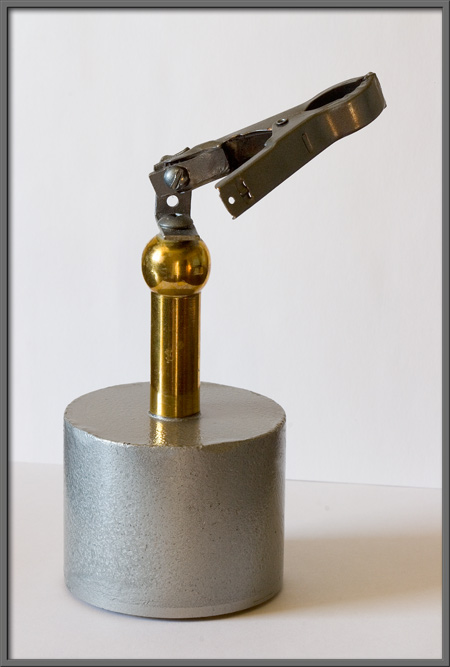
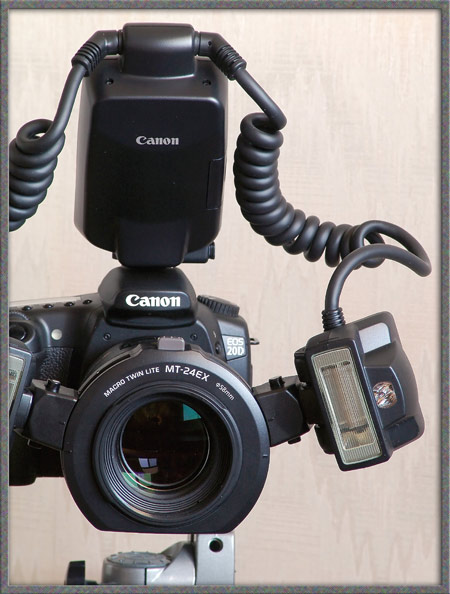
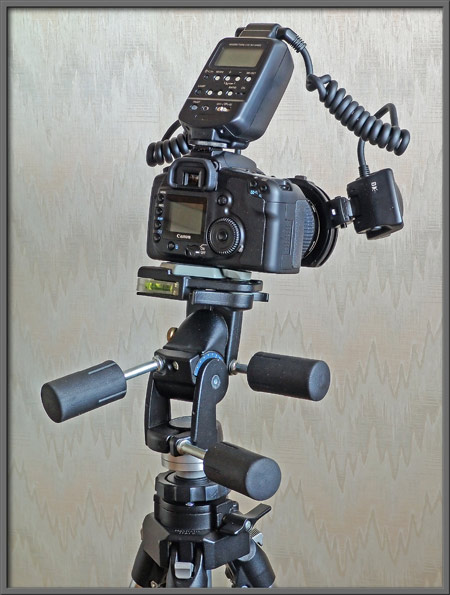
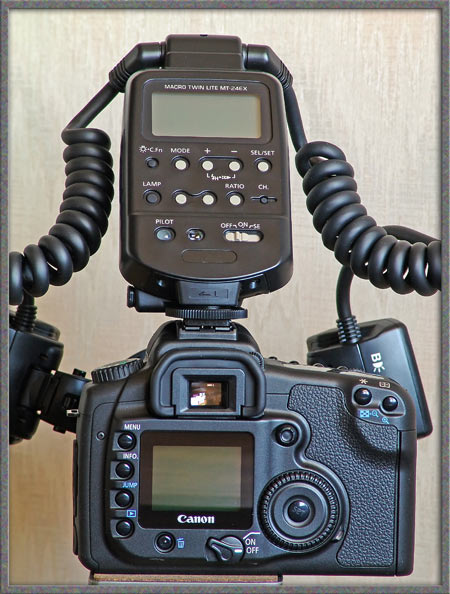
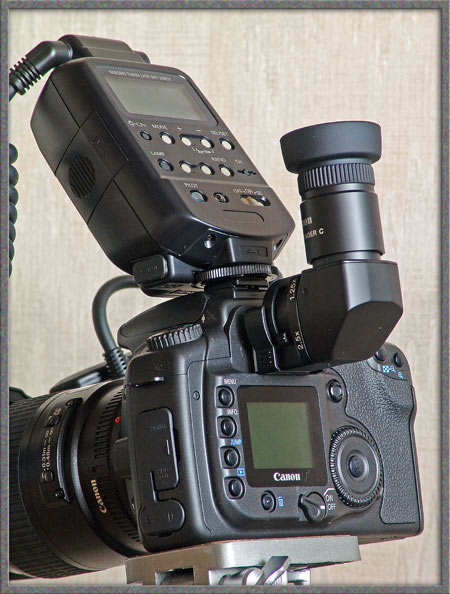
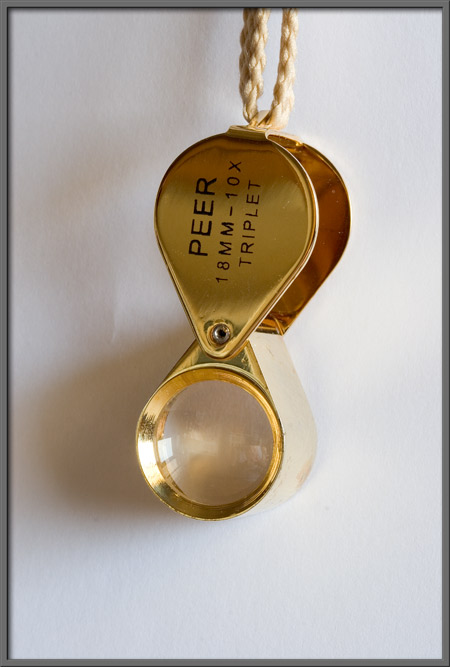
Macro-photography:

A personal equipment retrospective


by Brian Johnston   (Canada)


Regular readers of Micscape over the last two years may know that I have produced a series of articles about common wildflowers using both macro-photography, and photomicrography.  In this article, my intention is to give an overview of my changing digital macro equipment, with comments about the advantages and disadvantages of each camera setup.  In particular, I intend to compare each camera’s ability to produce images for two completely different purposes: web-based Micscape articles, and high quality 8.5 x 11 inch prints.


The image above reveals my latest macro camera, while the one following shows the equipment that I used at the beginning of my quest.  The Nikon Coolpix 4500 seen below is a 4 megapixel camera which was purchased for the sole purpose of taking photomicrographs with my Leitz SM-Pol Microscope.  It turned out to be excellent for the job, and in fact I still use it constantly to produce the images in my chemical crystal series of Micscape articles.  About a month after I acquired it, I took several photographs of small household objects, and was amazed at the clarity and detail in the resulting images.  Shortly thereafter, Chicory flowers began to bloom in my area, and the camera was used to produce the images for my first wildflower article.


At that time, I made an important decision.  Although I greatly admire the work of macro-photographers who do their work “in the wild”, I do not enjoy having to cope with the vagaries of light and wind in the out-of-doors.  Instead, all of my flower macro-photographs are taken indoors on a table beside a westward facing window.  The image below shows my home-made device for holding the flower stems in position.  The base is solid lead, making the clamp extremely sturdy.


The Coolpix 4500 has an excellent macro mode which allows the lens to focus 2 cm from the front element.  The quality of the images produced is wonderful, with virtually no pincushion or barrel distortion.  Unfortunately, at high magnification, the camera and subject are so close together, that getting light to the front of the subject is nearly impossible.  The photograph above shows one possible solution to the problem – a ring light.  In this case it is the Nikon Macro Cool-Lite SL-1, which contains 8 bright white LEDs driven by a battery.  A closer view of the SL-1 is shown below.  Another solution would be to connect a short focal length close-up lens to the front of the camera’s fixed lens, positioned at its maximum zoom position (155 mm in 35 mm camera lens terms).  This would allow the camera to subject distance to be increased, while still maintaining high magnification of the subject.  The Nikon however, has a non-standard lens thread, making any such connection difficult.


In use, the Nikon has a few additional disadvantages.  Since it is an “earlier generation” digital camera, the digital noise produced by the CCD, in shadow areas, is considerably greater than in more recent cameras.  In particular, random colour noise is more prevalent than it should be.  For JPEG images on the web, this is not a problem, but if large prints are produced, noise removing software such as Neat Image does a good job of cleaning up the unwanted speckles.  I also find that the Nikon’s toggle-type “zoom by wire” control on the camera is less than ideal.  It is difficult not to over, or under shoot, the position required.

Since the Nikon is too small to hold industry standard close-up lenses, I determined to obtain a camera that had a larger outer diameter lens thread,  and a higher megapixel count.  After much investigation, I settled upon the Sony Cybershot DSC-F717 five megapixel camera that can be seen below.  Here the lens thread is 58 mm in diameter, and the lens has a fixed physical length during zooming and focussing.  (Unlike many modern digital cameras, the lens doesn’t elongate when the camera is turned on.)


The zoom control, (the wide dark grooved ring immediately in front of the silver lens body), is still a “by wire” type, but the control is very smooth and precise – a definite improvement over the Nikon.


The two previous images show a multi-element close-up lens (black) screwed into the lens threads.


This lens is produced by the Martin Microscope Company in the US, and is referred to as their MM99-58 microscope adapter.  I purchased it to allow the F717 to be connected to my microscope.  The fact that it didn’t work for this purpose is not the fault of the company, but of my microscope.  The Leitz SM-Pol requires a particular eyepiece to form the image, and not the special correction lens designed by the manufacturer which is built into the adapter.  Instead of using the lens for the purpose intended, I found that it acted as a superb short focal length, (high magnification), close-up lens.  (Note that the image shows a “step-down” ring attached to the base of the lens.  The ring is unnecessary when used with this camera.)

As can be seen below, the rectangular body section of the Sony can be rotated through a wide range of angles for easy viewing in difficult situations.  (The Nikon does essentially the same thing in a different way.)


In order to obtain higher magnifications, I sometimes use an ancient 50mm f 1.4 Olympus lens as an add-on close-up lens.  For better optical results, such a lens must be reversed when it is connected to the zoom lens of the image producing camera.  Large photographic stores such as B&H Photo Video in New York supply “reversing rings” which have a male thread on each end.  One thread must match the filter size of the camera and the other must match the filter size of the lens to be reversed.  The “reversing ring” can be seen clearly in the second image below.  (Note:  If the zoom lens on the camera has insufficient capability at the telephoto end of the scale, some vignetting may occur in the image produced.  The Sony F717 has a 190 mm maximum zoom which produces barely noticeable vignetting of the image corners.)


My experience with the F717 was very positive.  The macro images produced were sharp, and had excellent contrast and resolution.  The digital noise problem that I had seen with the Nikon was noticeably improved in images taken with this camera, although longer exposures still required the use of noise removing software, if large prints were to be produced.  My biggest pet peeve with the 717 was getting the camera to focus on a particular point which was not positioned within one of the five focus areas on the LCD screen.  The camera has excellent auto-focus capabilities.  The problem, (common in macro situations), is that a particular stamen that I want in critical focus may not be in the central area of the screen where the focus areas are located.  I know that I could simply re-frame the shot to solve the problem – but I don’t want to!  Ideally, I should be able to pick any spot in the field of view and have the camera auto-focus there.  Manual focussing is possible on the LCD screen, but very, very difficult in practice.

Almost as if by magic, in late 2003, Sony came out with another generation of the 717 called the Cybershot 828, with an 8 megapixel CCD sensor.  This camera had what I wanted!  The superb joystick on the camera back allowed a very small square to be moved anywhere on the image and the camera would auto-focus at that precise location.  I was so eager to obtain this new camera that I managed to get one of the first available in the Toronto area.  After more than one and a half years of constant use, it still performs flawlessly as an almost, (see later), perfect macro camera.

The image below shows the 828 in portrait orientation.  The wide grooved zoom ring on the lens (in front of the SONY mark), is a direct-coupled, old-fashioned, not “by wire” control.  I had almost forgotten how wonderfully precise this feature is!


In the previous image, several add-on close-up lenses have been screwed into the 58 mm lens thread on the front of the Sony’s lens.  Two types of close-up lens exist.  The first, less expensive type, consists of a single lens, while the second, considerably more expensive type, is composed of two lenses cemented together to form an achromat.  The second type produces noticeably better images with its better optical corrections.  Close-up lenses are referred to by their diopter value.  This is defined as the reciprocal of the focal length of the lens expressed in metres.  For example, if the lens has a focal length of 100 mm or 0.100 m, the diopter value would be 1 / 0.1 = 10.  The value is positive if the lens is a converging type, as is the case with a close-up lens.  The higher the diopter value, the greater the magnification in the final image.

One such achromatic close-up lens is shown below.  The Canon 250D has a diopter value of +4 and this makes it one of the highest magnifiers of this type that is available.


Although it is not recommended for optical reasons to stack more than two or three close-up lenses to obtain higher magnification, I have found that the technique works extremely well.  There is very, very little degradation of the image even with the stack of five lenses shown below!  Sony does not recommend hanging heavy attachments to the front of the F828 lens because it extends during zooming.  I, however, have been doing so carefully for more than a year with nary a problem!


Notes: 

Canon 250D  diopter +4;  Sony VCL-M3358 diopter +3.3;  Nikon 6T diopter +2.9;  Nikon 5T diopter +1.5.

When stacking close-up lenses, the highest diopter lens should be attached to the main lens and the remaining lenses screwed in place in order of decreasing diopter value.

The Nikon close-up lenses have 62 mm threads, and so you will notice that in the image above, a step-up ring has been used to mate the Sony VCL to the first Nikon 6T.

It is my experience that the image produced by stacking the five close-up lenses to obtain a total diopter value of +14.6 is better than one produced using a single close-up lens of diopter value +15.

In general, I prefer macro-photographs taken with natural light.  However some subjects are best illuminated by flash.  The image below shows the Sony HVL-F32X flash attached to the F828 camera.  This flash communicates with the camera and a pre-flash determines the proper exposure.  This system works extremely well.  All of my macro-photographs are taken in aperture priority mode using an f value of 8 (the maximum possible with the F828), in order to obtain the maximum depth of field possible.  When using the flash, I cover the front with white plastic or cloth in order to diffuse the light, and decrease the sharpness of shadows.


If no shadows are desired, a ring light can be attached to the front of the lens as shown below.  (The large upper flash would be removed when using this ring light.)


The photograph below shows this ring light, the Digi-Slave L-ring Ultra.  It consists of 24 very bright white LEDs whose intensity can be controlled by a volume-type control arm.  Although much brighter than the 8 LED model shown earlier, the intensity is sufficient only for very close-up situations.  At lower magnifications vignetting is also a problem.


Another light source that produces few visible shadows is the ring flash shown in the following image.  This is a true flash and it is designed to ignore the pre-flash of the main (upper) flash unit and to flash simultaneously with the second main (bright) flash of the upper unit.  The upper flash can be almost completely covered with an opaque card to prevent its light from influencing the image.


A closer view of this flash, the Digi-Slave RF-50 Slave ring flash is shown below.  A light sensitive cell in the unit measures the duration of the flash, and cuts current to the ring when it calculates that sufficient light has reflected from the subject.  The flash works well, but it does take some experimentation to determine the proper camera settings in each new situation.  Proper exposure is not automatic.


A view of the back of the Sony reveals the many controls on both camera and flash that allow complete control over the final image.


The Sony 828 is, in my opinion, a simply superb macro-photographic camera.  Whether producing small images for Micscape articles, or large printed enlargements, it does a magnificent job.  I continue to use it as the work-horse camera for my macro articles.

Why then, you might ask, did I recently buy an 8 megapixel Canon 20D DSLR for macro-photography?  For no good reason!  I did not need it!  I simply wanted to compare the experience of using a “serious” camera with that of using “prosumer” ones.  I chose for the lens, the highly regarded Canon EF 100 mm f 2.8 Macro lens which focuses down to 1:1.  (This means that the image sensor is filled by an object the same size as the sensor.  In this case an object 22.5 mm by 15.0 mm would completely fill the frame.)  The lens was engineered with internal focussing (the lens doesn’t change in length while focussing), and has two iris diaphragms!! As can be seen in the following image, the lens hood for this lens is much larger than the lens itself, and it is coated internally with black flock material to prevent reflections.


How do the images produced by this camera compare with the Sony 828?  First, the larger (CMOS) sensor in the 20D produces dramatically less noise in every situation than the Sony.  While “pixel-peeping” at 100% on the computer screen, there is no noise whatsoever at ASA 100!  The large prints produced by the Canon are better than those produced by the Sony.  (Considering how expensive the Canon is, they certainly should be!)

Secondly, the depth of field of the Canon camera-lens combination is less than the Sony, even if high aperture values are used (like f 16).  This is due in part to the larger sensor in the Canon.  Above f 16, diffraction effects start to degrade image resolution.

Thirdly, the problem of vibration caused by mirror-slap during exposure must be considered.  Fortunately, by using the mirror lock-up function in combination with the self timer, and the Canon Remote Switch RS-80N3 shown below, wonderfully sharp images can be obtained.  The images are sharper than those produced by the Sony 828.  (My standard test is the detail on wildflower pollen grains stuck to a stamen.)


Fourthly, at very high magnifications, it is necessary to focus the Canon manually using the typical SLR type viewfinder.  The nine auto-focus regions are usually not located near the desired focus point.  More about this later.

For flash situations, I chose the most sophisticated macro flash available today, the Canon Macro Twin Lite MT-24 EX.  This flash setup can be seen in the image below.  It consists of two independent flash heads attached to a ring that clamps to the front of the EF 100 mm macro lens.  The flash heads can be rotated into any desired position around the ring.  Each flash head can be angled both up and down and inward and outward.  (The heads can be disconnected from the ring and moved to any location limited by the length of the wires.  There is a tripod bushing on the base of each head to facilitate fixing it in position.)


A close-up of the ring is shown below.


The small circular object to the right of the flash tube in the following image is a small but powerful light that can be turned on to aid focussing in low light situations.


The two flash heads are attached by wires to the “computer” that is positioned in the external flash connector on top of the camera.  The computer allows control over the relative brightness of the two flashes.  The intensity of each flash head is adjustable in small increments from off to maximum brightness.  In practice, the camera is used in manual exposure mode.  The user sets a shutter speed and an aperture value, and the flash unit determines the flash settings to provide the proper exposure.  I have never had a poorly exposed flash picture with this system.  Kudos to Canon for superb engineering!  The twin head arrangement does a good job of producing contrast enhancing shadows where you want them, which are soft edged if diffusing material is attached to the face of each head.


As an aside, you may have noticed that some of the pictures of the camera with the flash unit attached show a different (black topped) tripod.  While browsing in my favourite Toronto camera store, I noticed a used Manfrotto 055C tripod with 029 head for sale for a very low price.  Both were in very good condition, and I asked the salesperson about the low price.  It turns out that photographers are trading in their older tripods for lighter, carbon fibre ones.  This one weighs 9 pounds and is built like a tank!  It is perfect for my application.  (I wouldn’t want to carry it over my shoulder on a hike however!)

I mentioned earlier that high magnification focussing must be done manually on the DSLR’s viewfinder screen.  The task is made much easier by using the Canon Angle Finder C, which provides a 1.25 or 2.5 X magnification of the focus screen.


Conclusions:

I still use three of the four cameras discussed in this article.  Only the Sony F717 has been retired.

The Nikon 4500 is my main camera for photomicrography and remains attached to my microscope.

The Sony F828 is used to take most of the images used in my Micscape wildflower articles.

The Canon 20D is used to take macro-photographs of wildflowers to be used to make large prints. It is also used to take some of my article images.  Do I regret purchasing the Canon 20D?  Not for one second!  The level of control provided by a DSLR is wonderful.  In particular, the 20D allows me to capture all images in RAW format, and then to use Photoshop CS’s Camera Raw plug-in to provide even more control over the finished product.

Finally, since this article is about the equipment that I use to take my macro-photographs, it would be remiss of me not to include an image of one of my most important aids.


The Hasting’s triplet magnifier shown above allows me to check that the botanical specimens that I pick in the field are “perfect” when viewed at high magnification, before I get home and start photographing them!  This frequently saves me the intense frustration of having to walk several kilometres to replace “imperfect” samples!

All comments to the author Brian Johnston are welcomed.

Addendum (August 2006):  A helpful reader has informed me that adapters to allow industry standard macro accessories to be connected to the Nikon Coolpix 4500 are available online at
http://stores.ebay.co.uk/Go4DC-Photo-Supplies-Online-Store_W0QQssPageNameZstrkQ3amewaQ3amesstQQtZkm


Microscopy UK Front Page
Micscape Magazine
Article Library


© Microscopy UK or their contributors.

Published in the October 2005 edition of Micscape.
Please report any Web problems or offer general comments to the Micscape Editor.
Micscape is the on-line monthly magazine of the Microscopy UK web
site at Microscopy-UK  


© Onview.net Ltd, Microscopy-UK, and all contributors 1995 onwards. All rights reserved. Main site is at www.microscopy-uk.org.uk with full mirror at www.microscopy-uk.net .