Objective alteration to increase contrast
Dan Holloway, USA
The Mathias Arrow is one way of achieving various contrast methods with the microscope. I was first introduced to this method by Walter Dioni in his Micscape article THE MATHIAS ARROW - A VERSATILE OBLIQUE LIGHTING DEVICE. At the Erhard Mathias website (which I found by Googling Mathias Arrow) I found another method that Walter Dioni mentioned in his article but did not go into detail. This involves taking an objective apart and making some alterations. This procedure is explained in detail at the Erhard Mathias website.
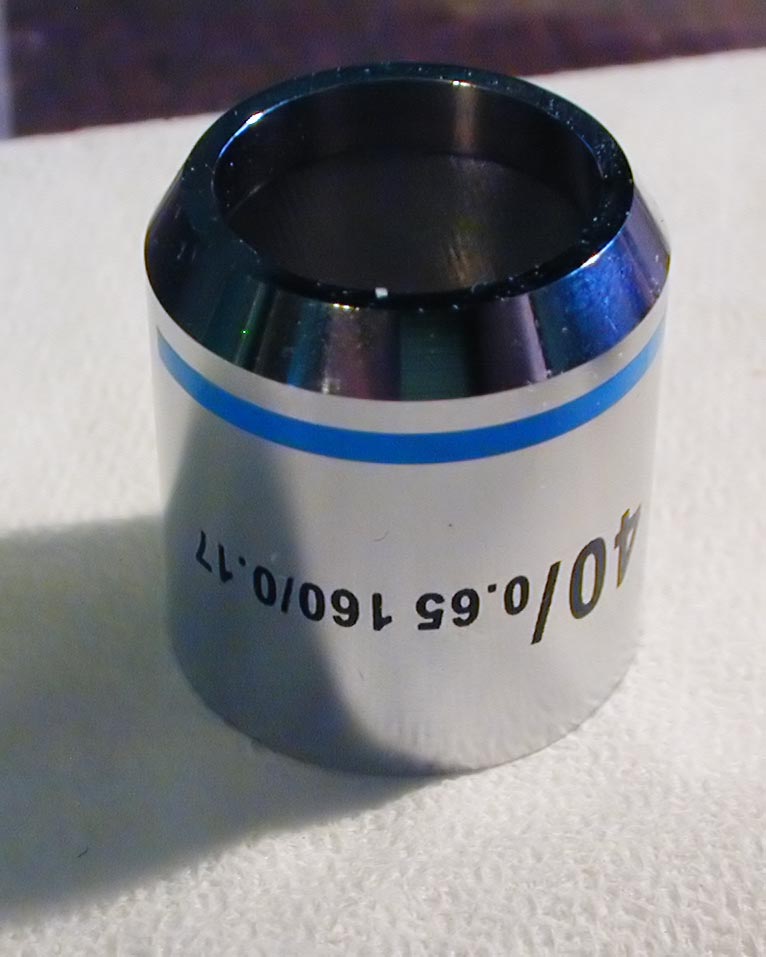
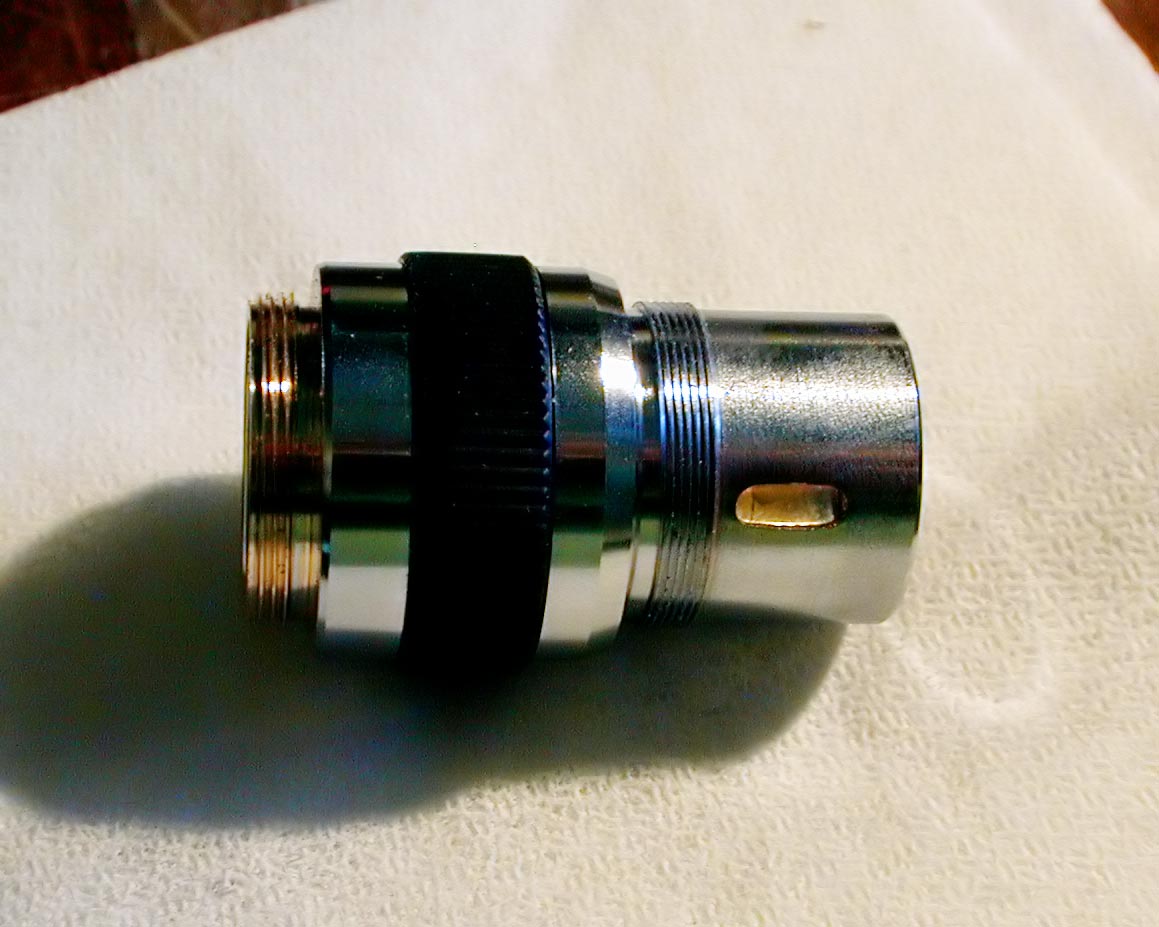
Here is my attempt at reproducing his work. First I searched my stash of objectives and found a generic 40x objective that I thought would suit this purpose. (It was an Amscope objective). I took it carefully apart and took pictures of the different parts to help in reassembling the objective.
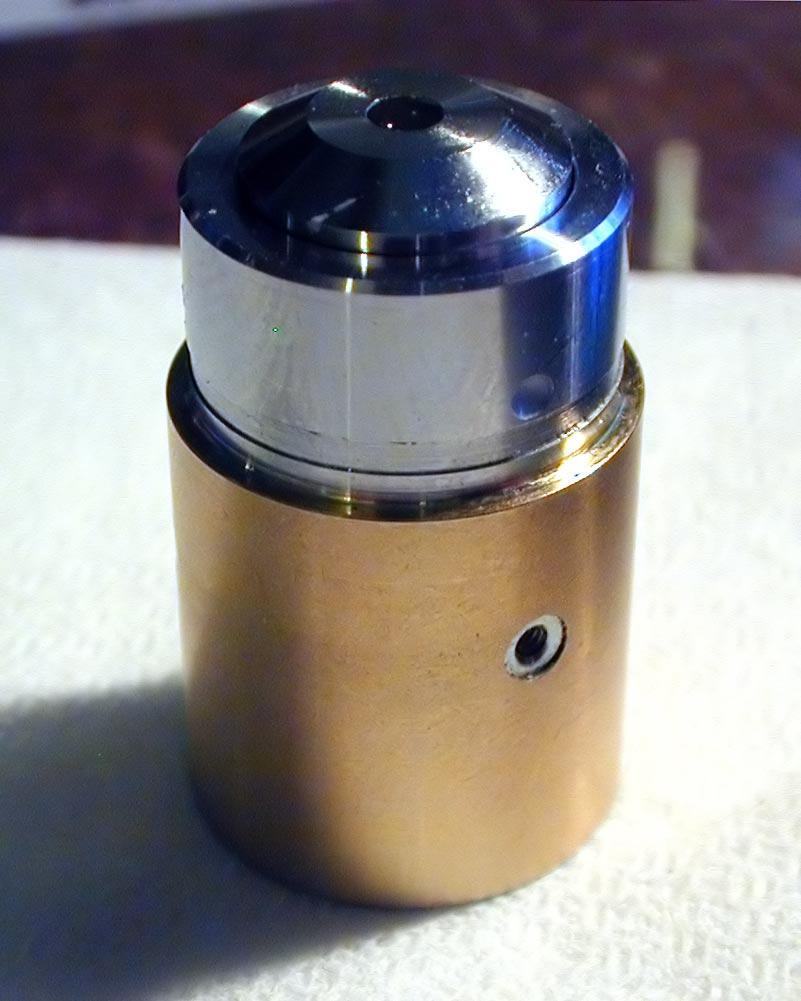
The objective body less the cosmetic sheath.
Take the objective apart over a bowl, or something to catch the small parts if they fall. I use a magnetic parts bowl, but I found many pieces were made of plastic or non-magnetic material. The bowl still came in handy and caught a few items as they fell. The retaining screw was the hardest part for me. It is made of brass and putting it back was a bit tough.
|
The cosmetic sheath (with identifier markings). |
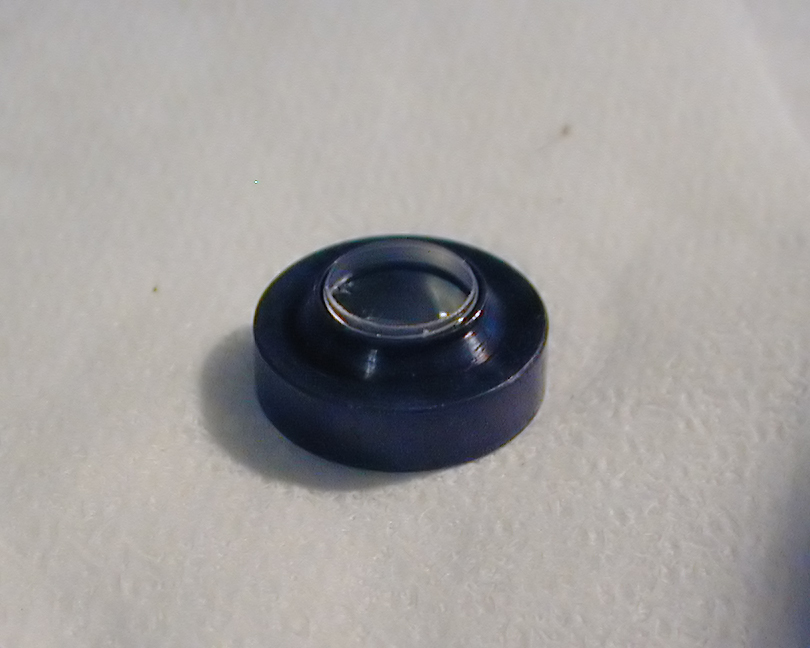
Top most lens (closest to the spring). |
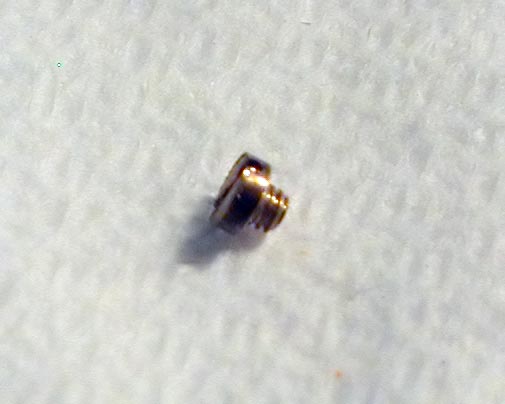
Tiny screw that keeps the lens group from being forced out of the objective. |
|
Lens group with the hole for the above screw. |
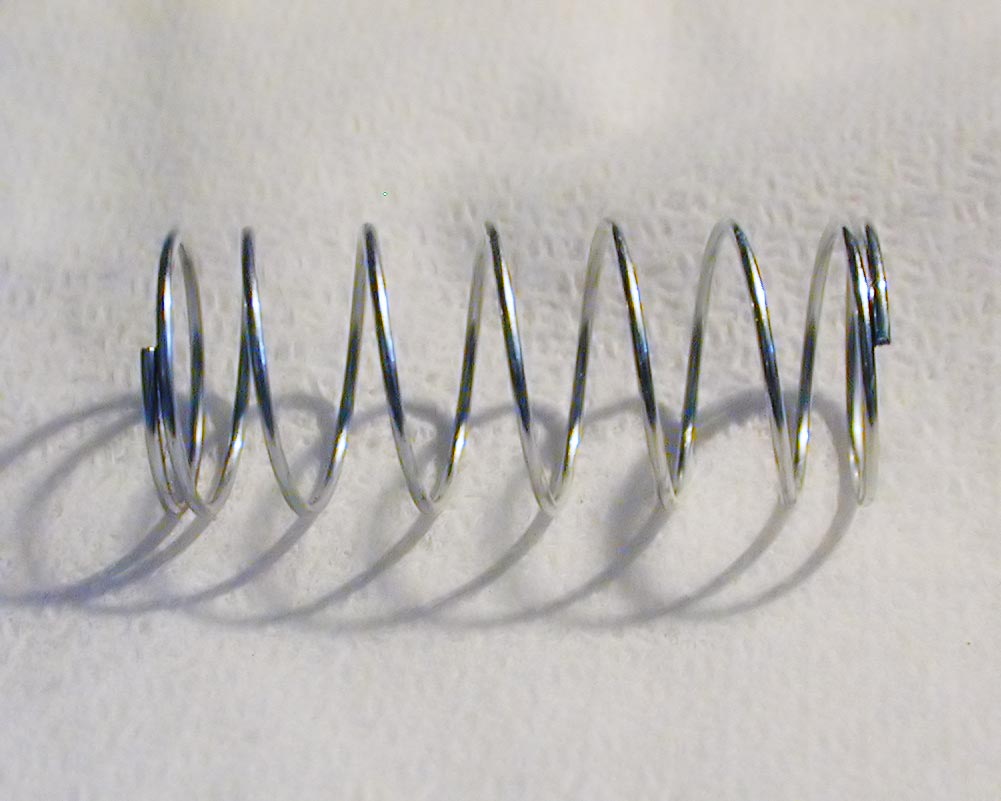
Spring for retractable nose on objective. |
This procedure can be done without removing the retaining screw. It's a toss up as which one is easier to do. Without the screw removed, it is harder to remove the retaining ring.
Other brand objectives may come apart very differently, so be vigilant!
|
|
|
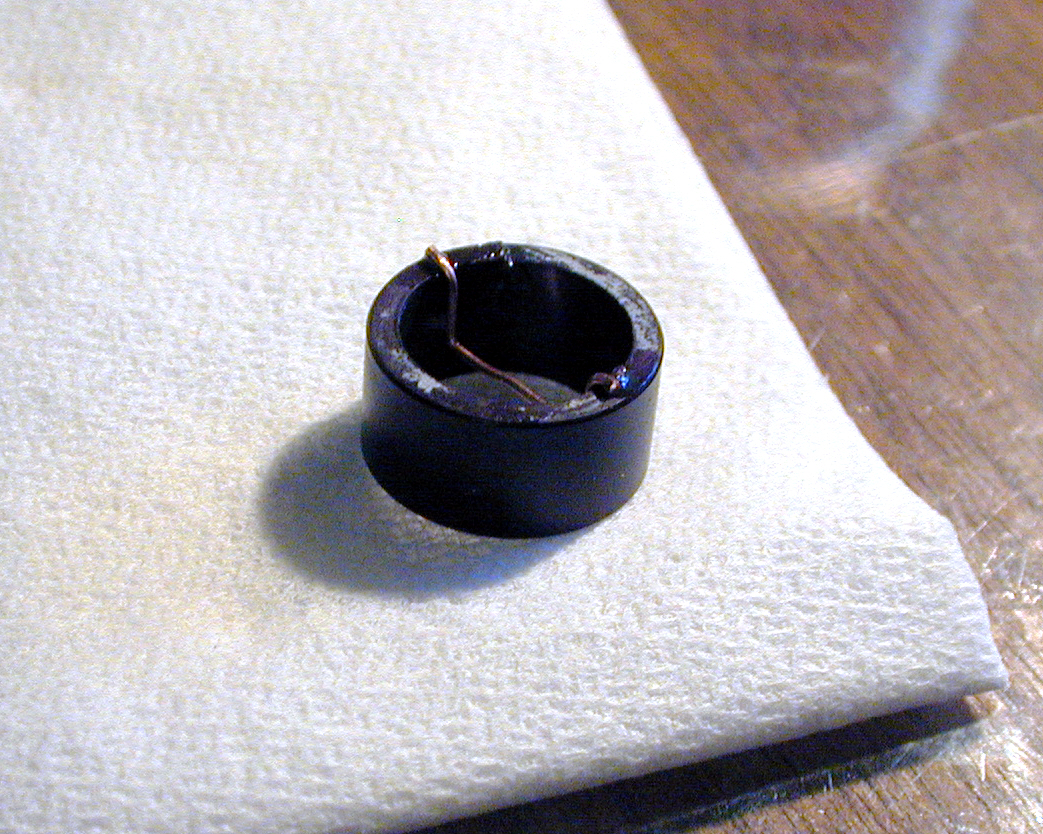
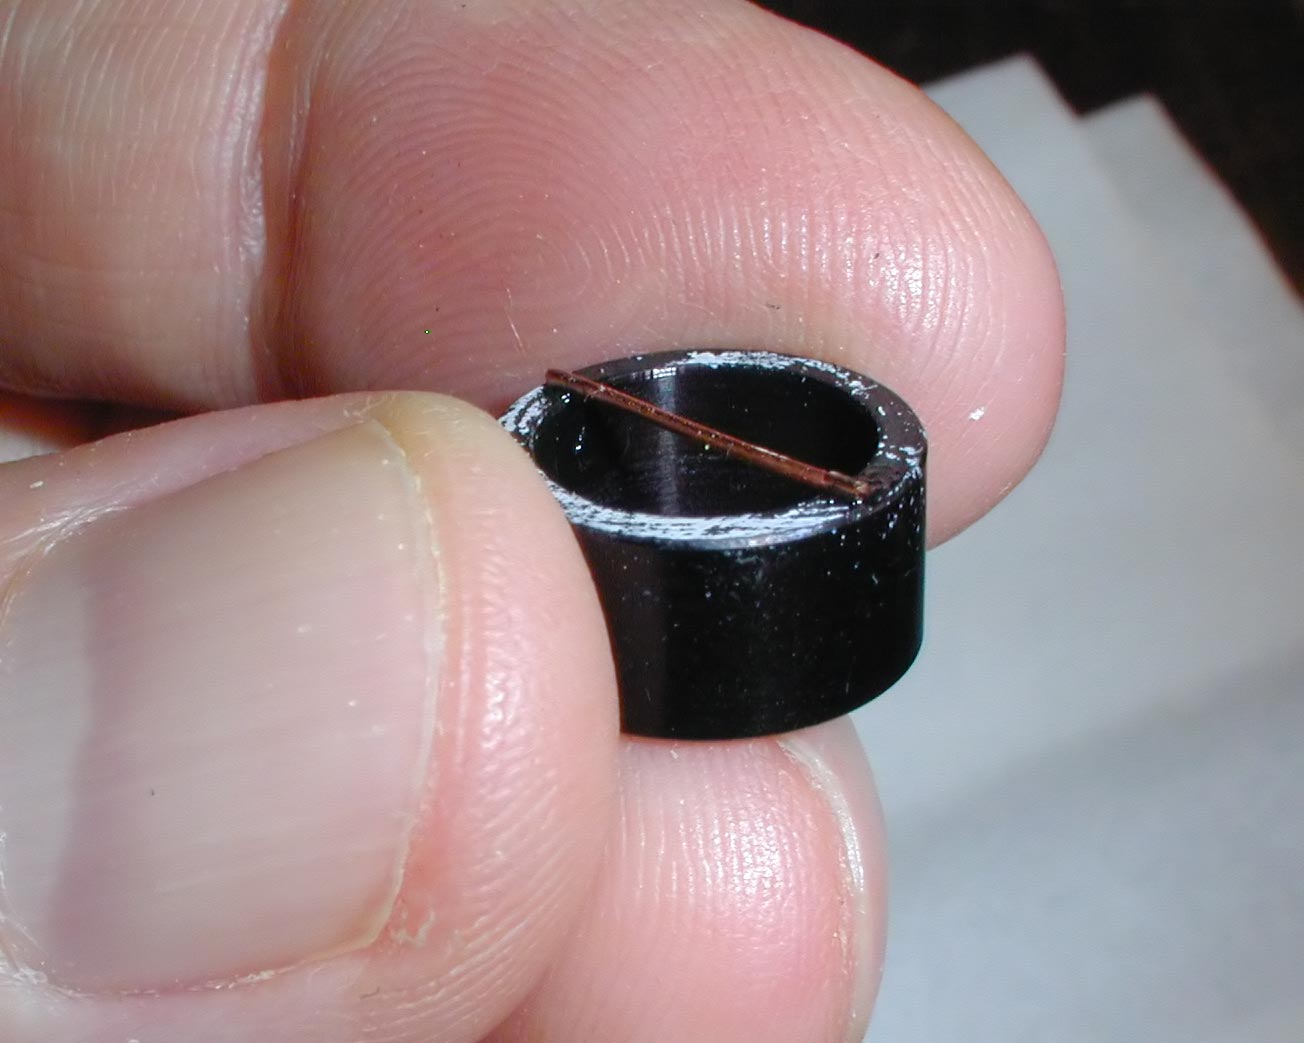
The above two pictures are different ways to attach the wire. By bending the wire into the retaining ring you have more control over the distance from the uppermost objective which is recommended to be 4 to 5 mm. The wire diameter for a 40x is 0.5mm. At Erhard Mathias' website is a chart of the size wire needed to give optimal results. It is here:
http://www.schwaben.de/home/mathias/english.html
There is a German version if desired.
Don't attempt this procedure unless you are confident in your ability to reassemble the objective correctly.
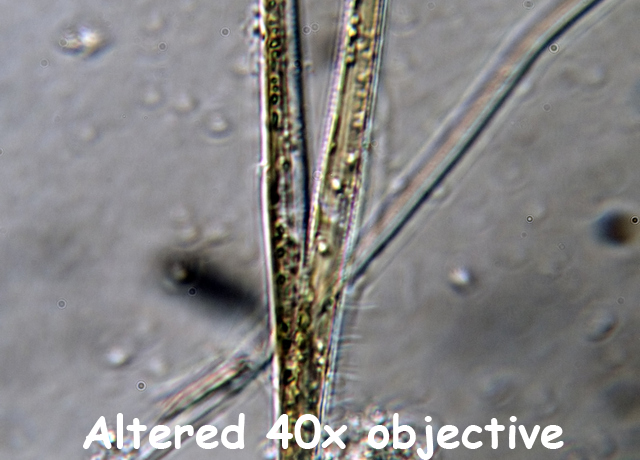
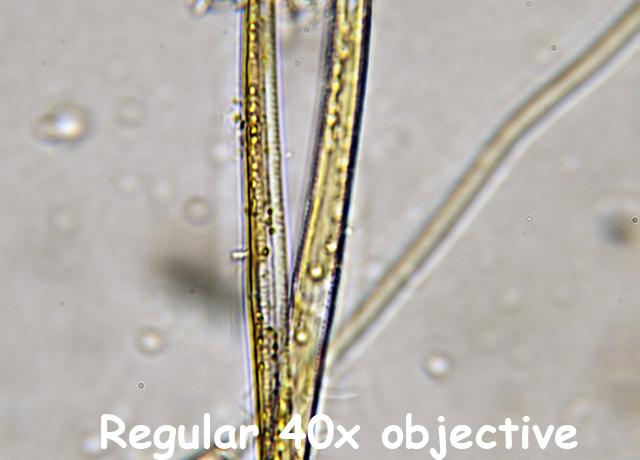
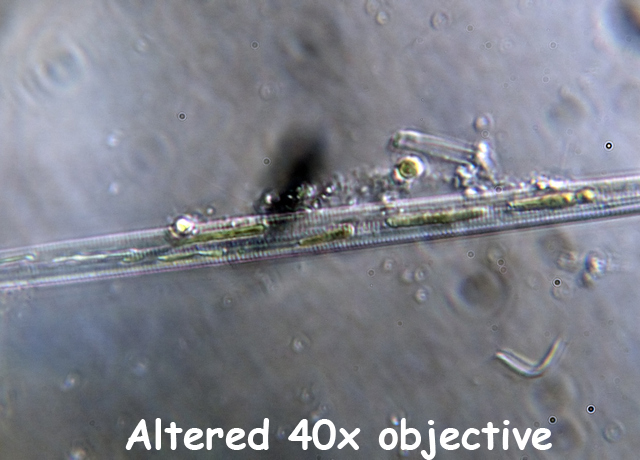
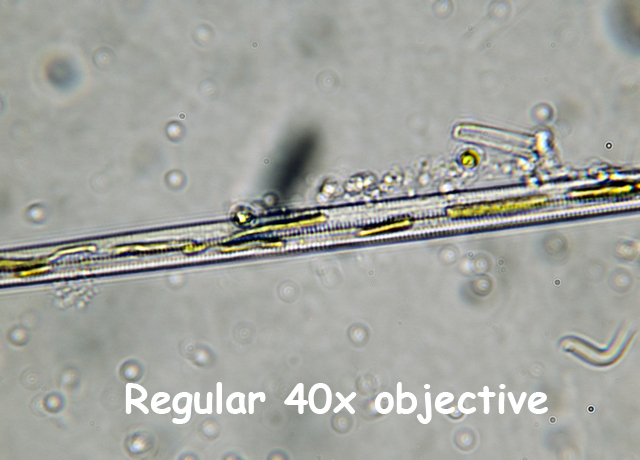
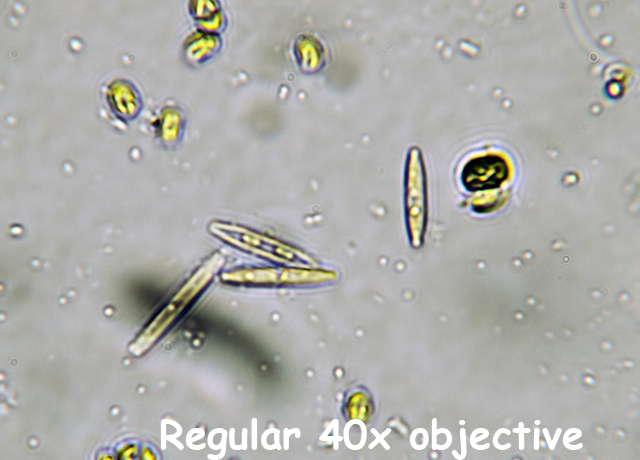
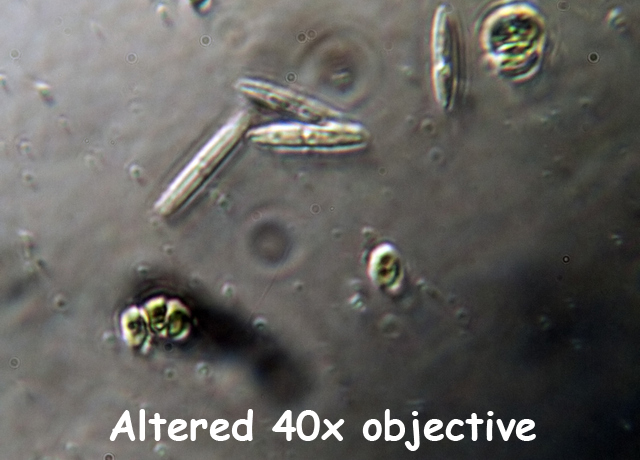
Here are a few comparison pictures with the altered 40x objective and a normal 40x.
|
|
|
|
|
|
|
|
I altered the objective three times before I had a modicum of satisfaction.
I find a definite 3D effect and an increase in contrast with the altered objective.
I will let you decide.
Please visit Erhard Mathias website for more information.
Comments to the author Dan Holloway are welcomed.
Published in the May 2010 edition of Micscape.
Please report any Web problems or offer general comments to theMicscape Editor .
Micscape is the on-line monthly magazine of the Microscopy UK web site atMicroscopy-UK
© Onview.net Ltd, Microscopy-UK, and all contributors 1995 onwards. All rights reserved.
Main site is at www.microscopy-uk.org.uk with full mirror at www.microscopy-uk.net .