In my February article I presented some results from using COL in diatom photography. From that time I received several questions about the method I am using. I feel obliged to apologize for my late response but the truth is that my method is the result of extensive trials and errors and I have only a vague theoretical knowledge of the issues involved. In the following paragraphs I will try to describe the equipment I am using and the processing of the data.
The basic hardware consists of a Zeiss
Photomicroscope III which I aligned according to the instruction
given by Paul James in his Micscape article "Aligning the Zeiss
Photomic's "Headrig"" on which I adapted a Leitz Heine condenser. The
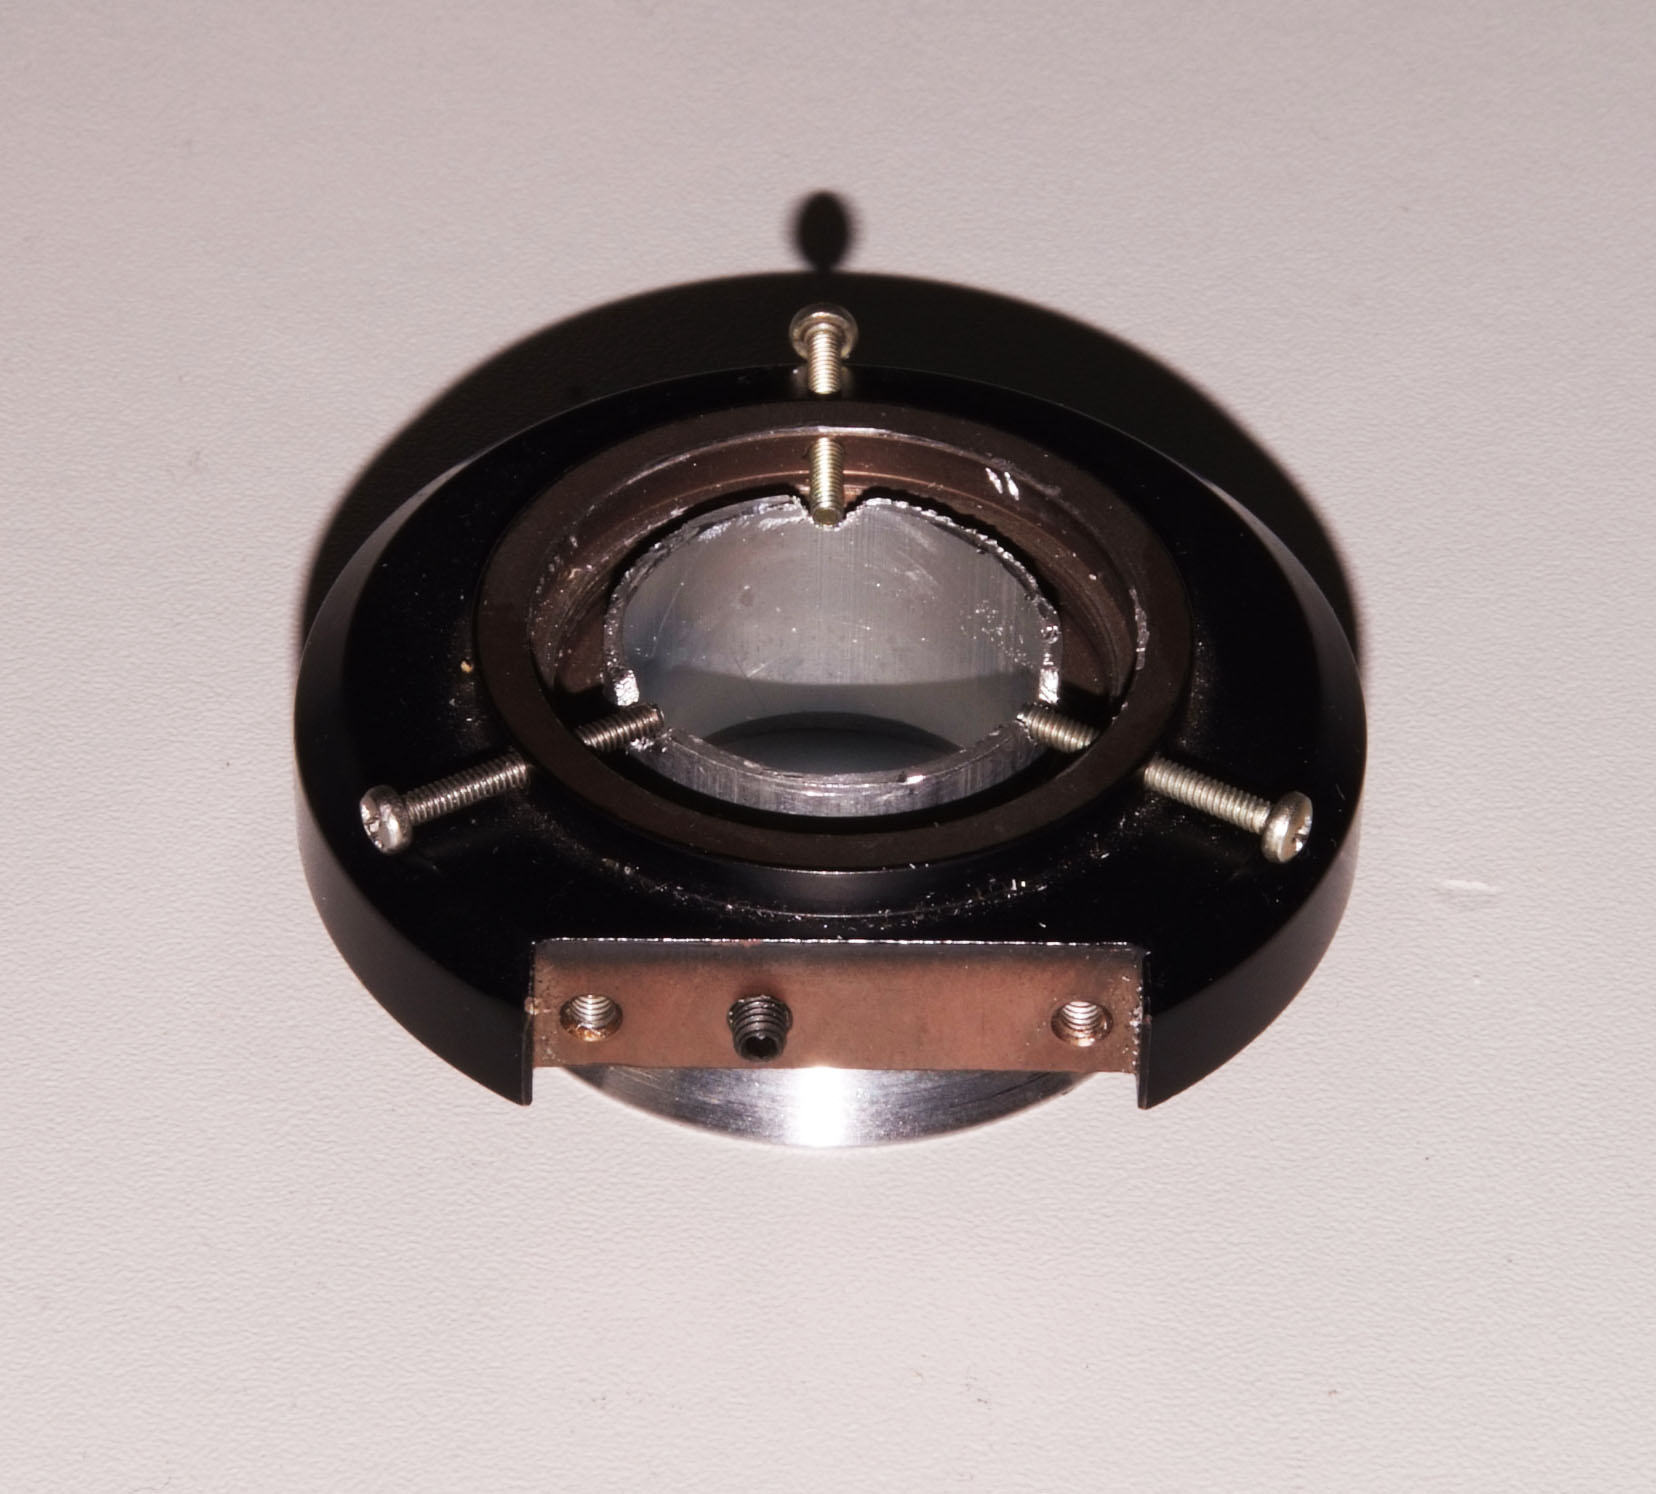
method is shown in the following photographs. The first photograph
shows the base were I fitted the Heine condenser which I took
from a spare Zeiss condenser after removing the lens and the
iris diaphragm.
After removing the central part of the Heine condenser from its base I inserted the cylindrical part into the above dovetail base as it is shown in the next photo.
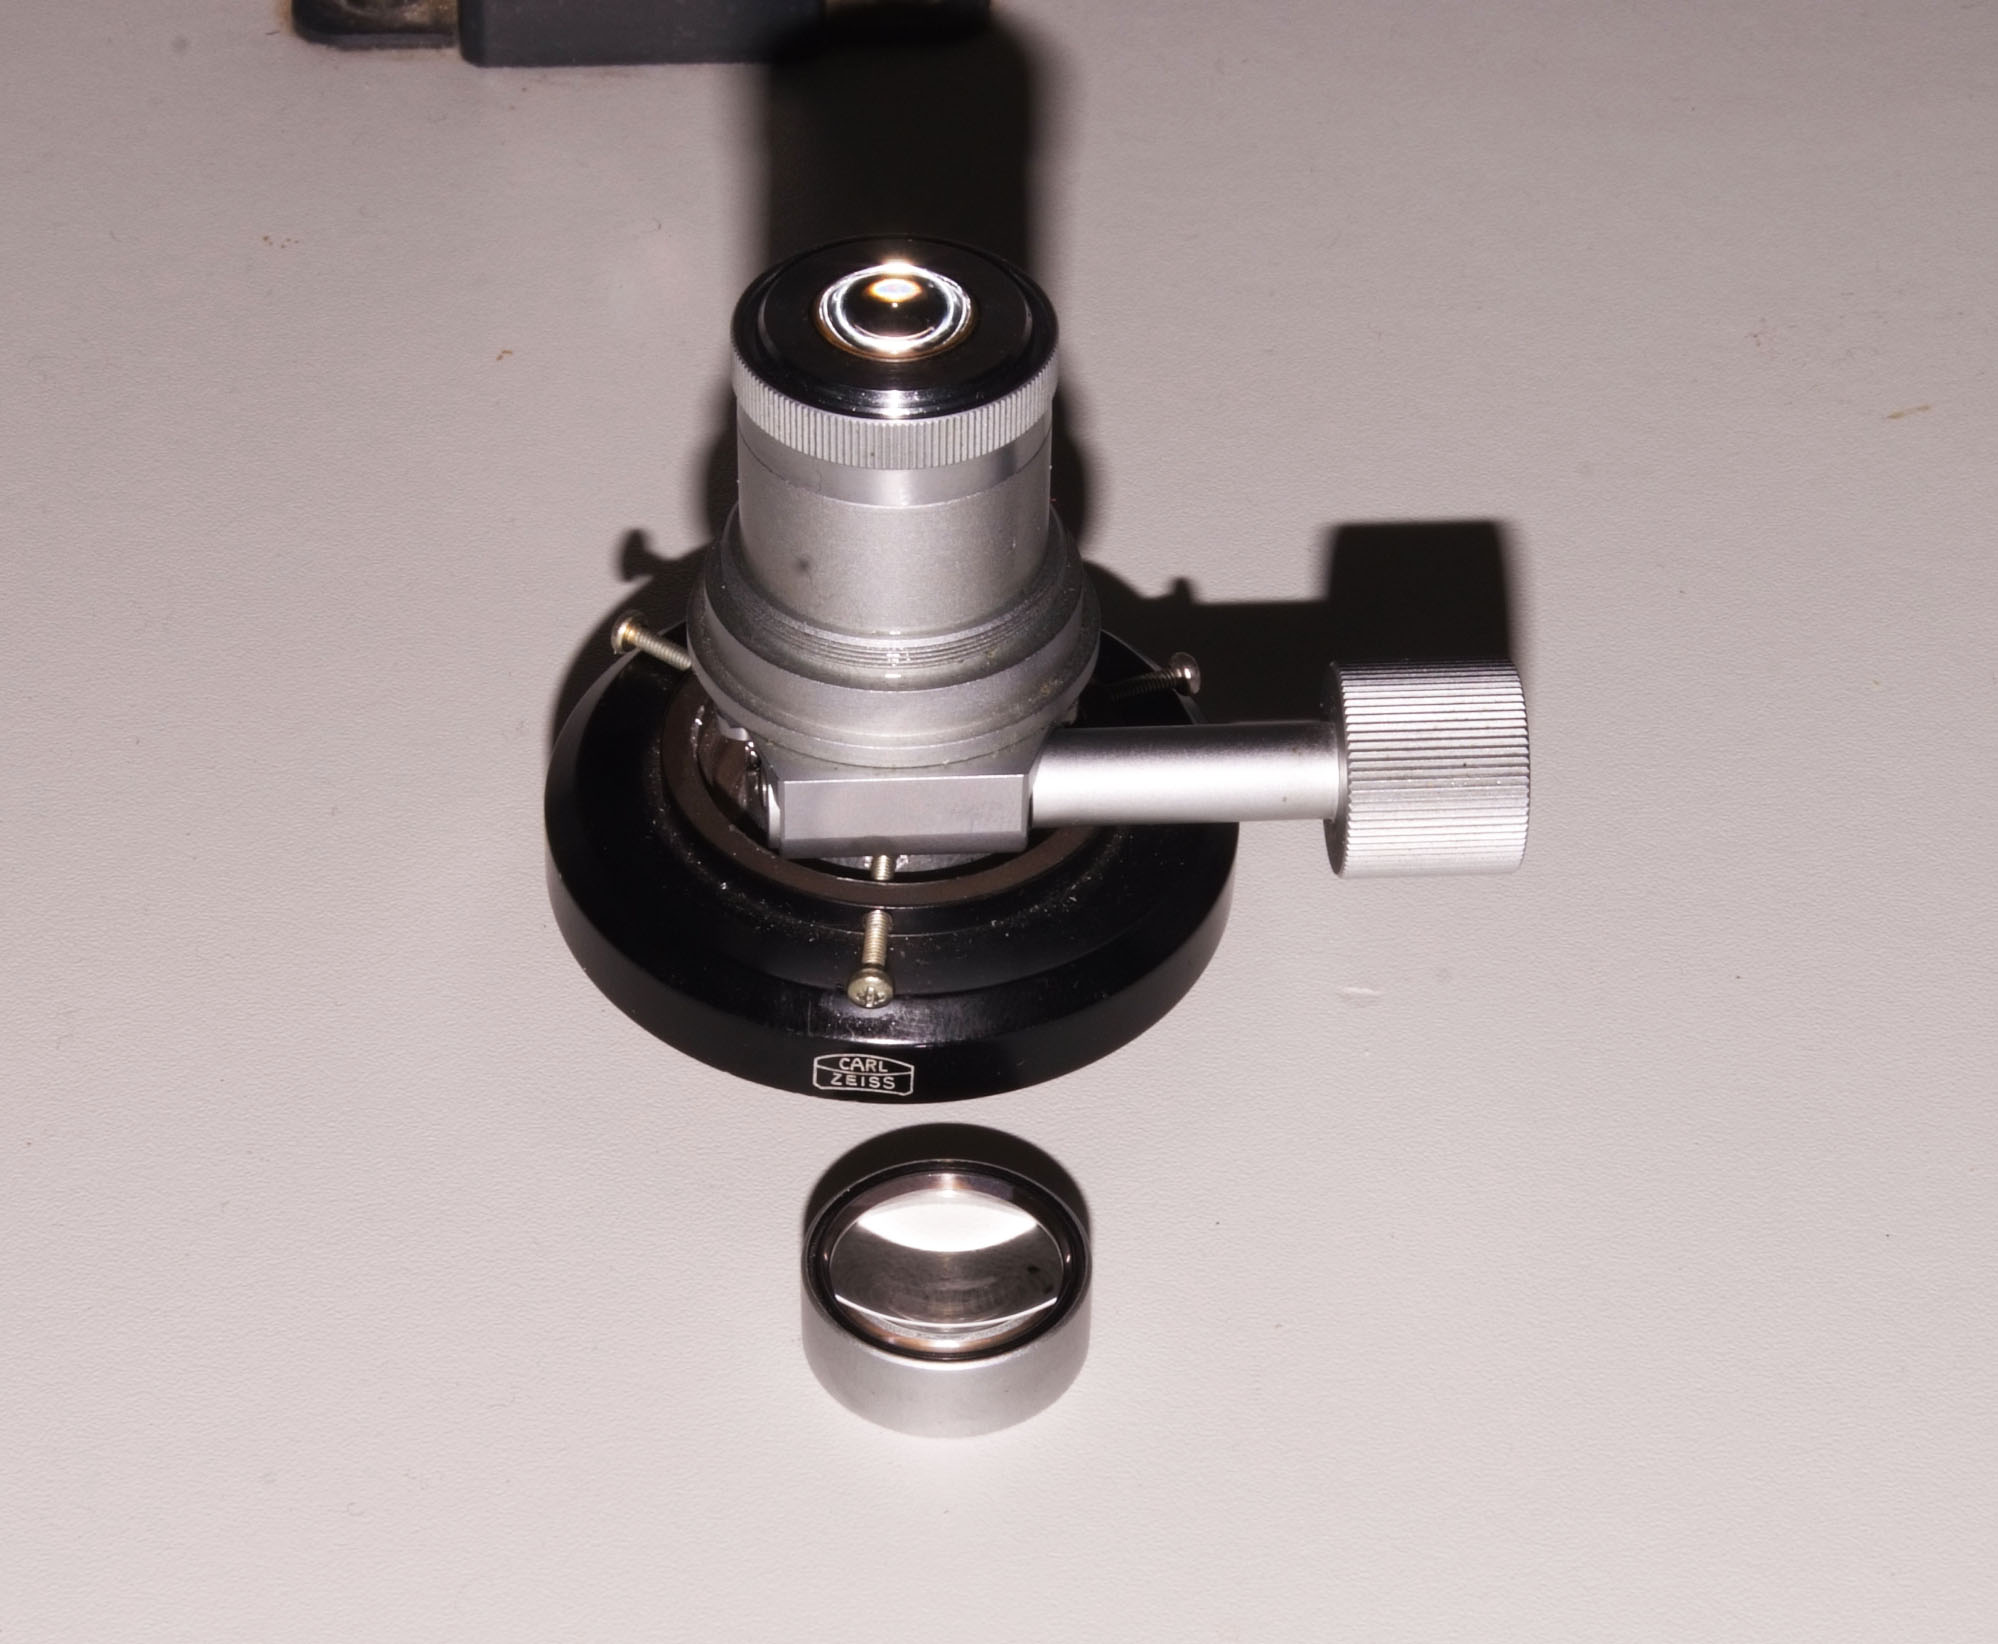
I screwed the lower cap on the bottom part of the Heine condenser body and centered it with the screws.
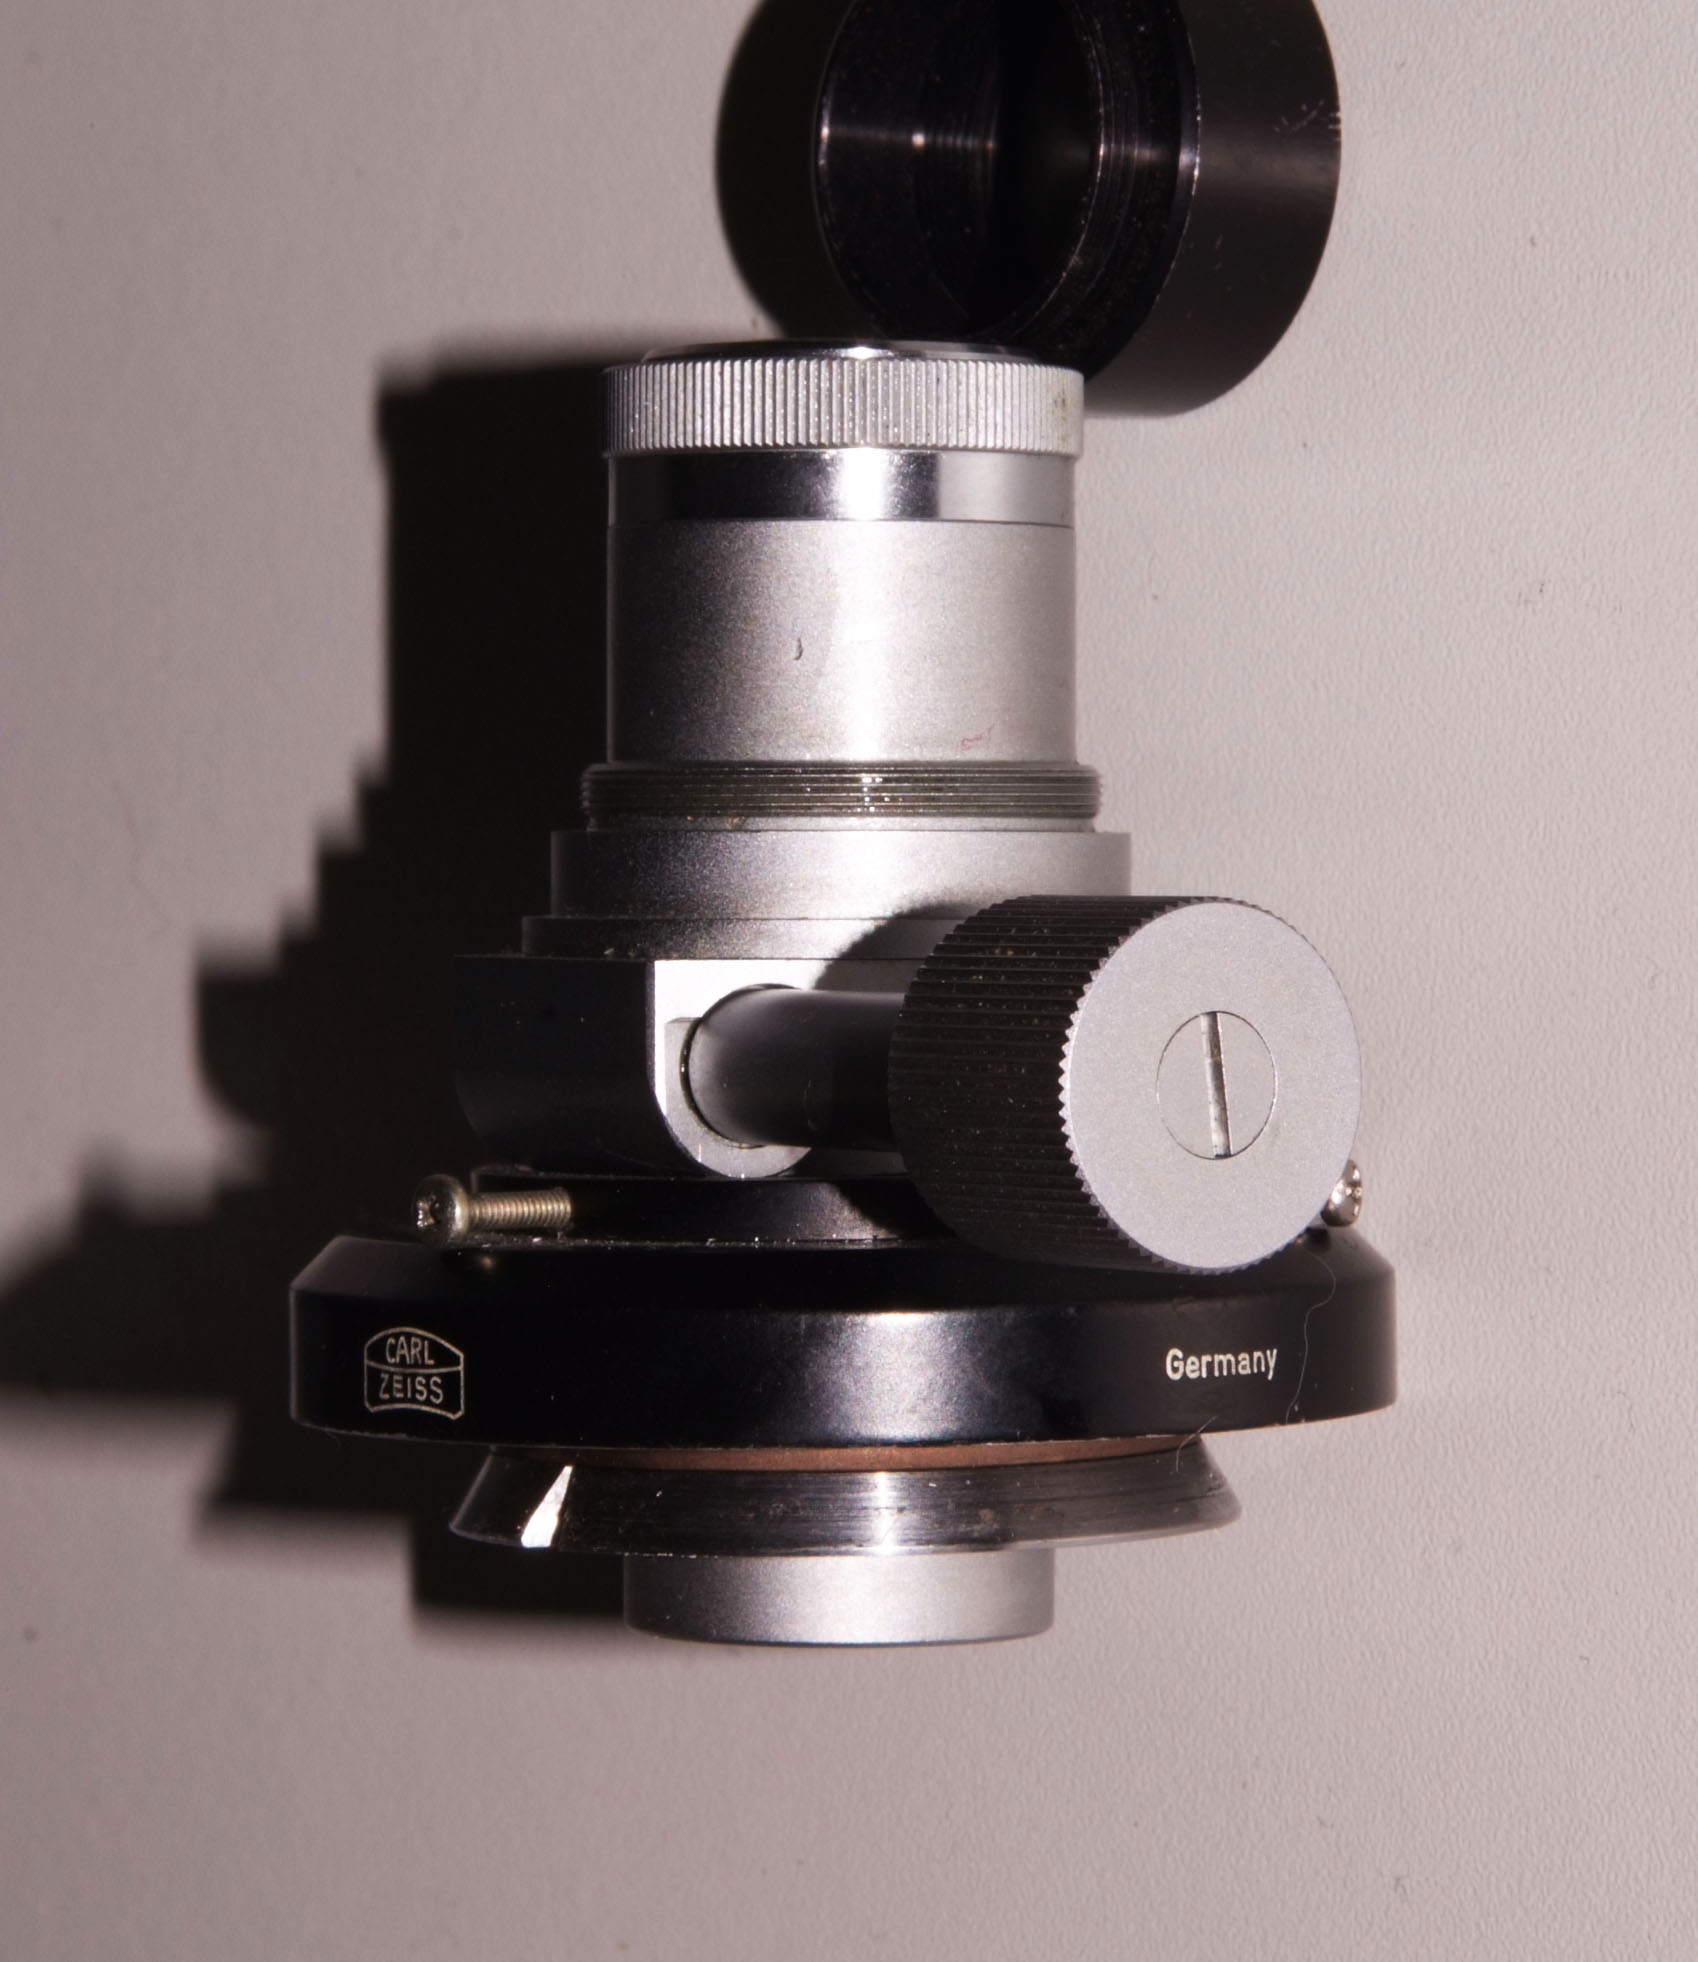
Last I inserted the whole set on a regular Zeiss
condenser holder. Under the Heine condenser you can
see a Risley prism of my own construction which
diverges the light for oblique lighting which I
seldom use.
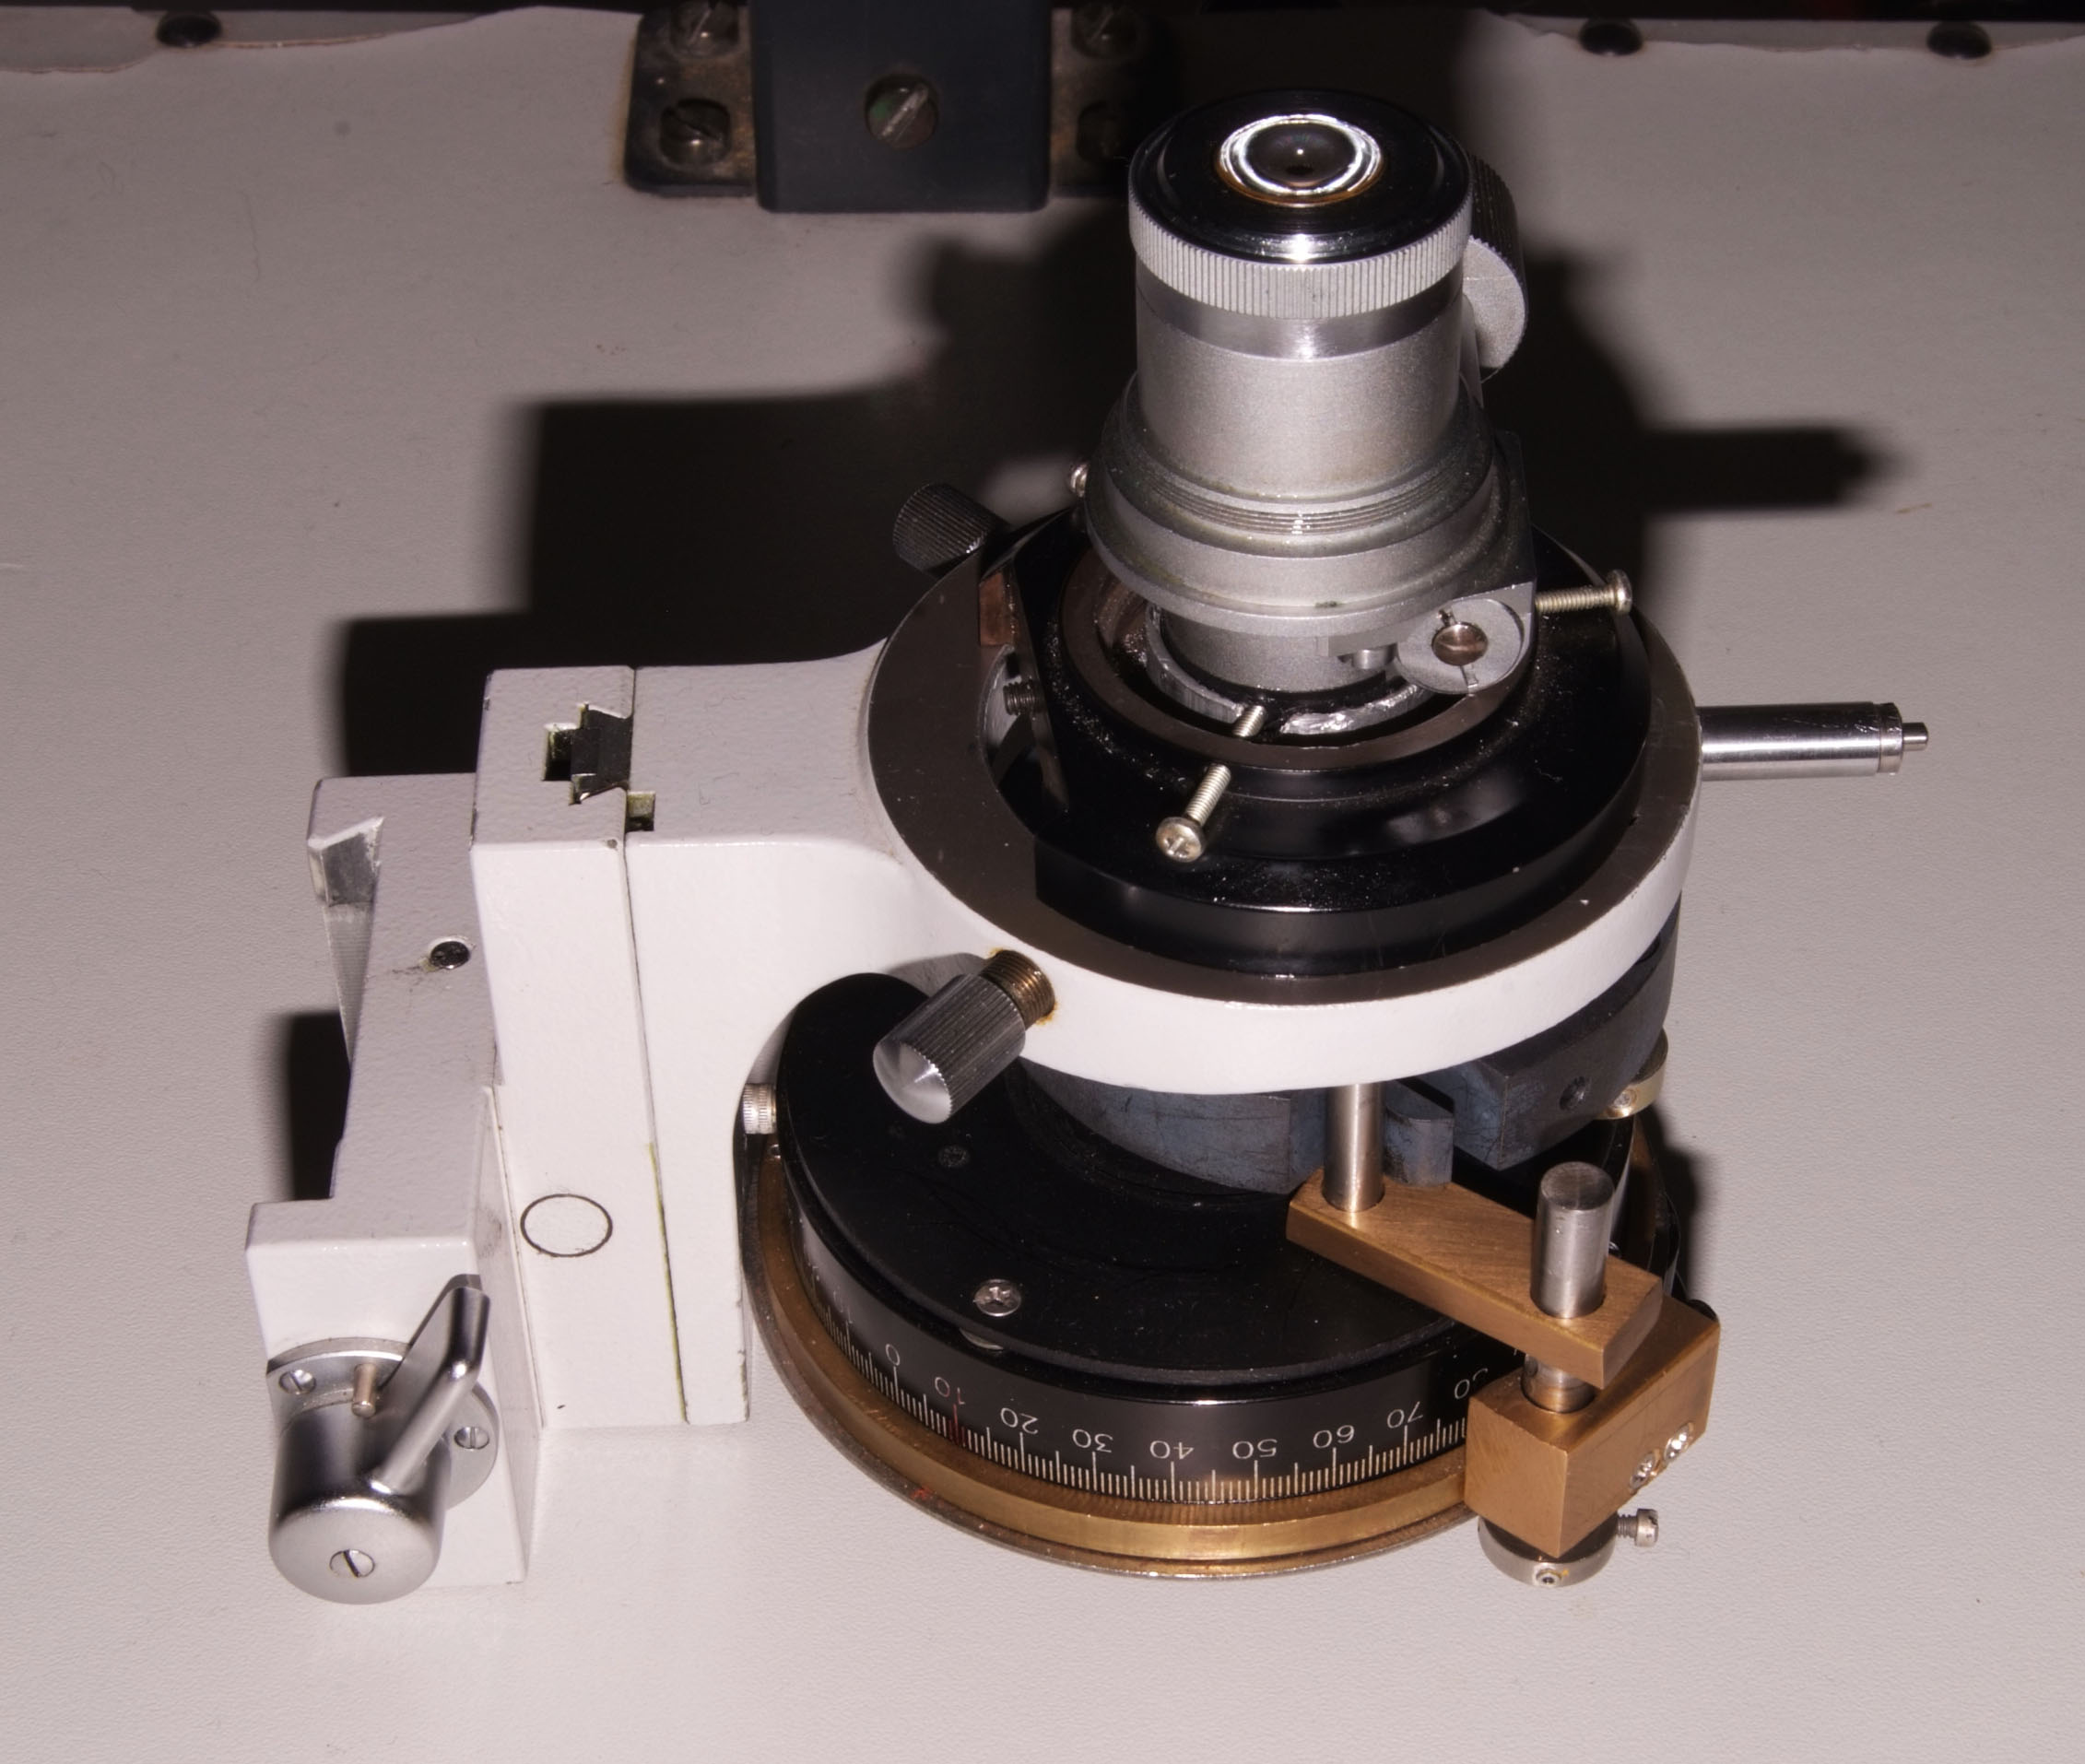
After fixing the condenser holder on the microscope body, it is of paramount importance to align the Heine condenser with the optical axis of the microscope. To achieve this one has to observe the concentric light rings on the back focal plane of the objective lens to disappear symmetrically around the edges of the objective. It is also very important to use a green filter (for example I use the Zeiss Jena v232g) or a combined green and a blue filter to reduce the unnecessary glare. It is very helpful also to oil the condenser under the slide even if a dry objective is used. The lighting facility is a Schott fiber optic 250W illuminator.
The camera I am using is an Omax CMOS
microscope dedicated camera with a 14 Mbits
sensor which is very easy to use and gives very
nice results. Recently I started using the image
stacking of the Helicon focus software
which gives the possibility to process the final
image by retouching and choosing the best
focused detail of each photograph of the stack.
Finally I process the photographs with the help
of the Adobe Photoshop to remove the unwanted
elements of the
background and at the same time to improve the
contrast of the subject. The steps are the
following:
1. use the magic lasso to select the subject
2.save the selection with the save selection
function in the selection menu
3.in the edit menu use the copy and the
paste function
4. activate the background layer and use the
load selection function and then the invert
button to select the background of the image
5.go to the edit menu and copy then paste the
selected background
6.use the Gaussian blur filter at 120 radius or
more to blur the background
7.go to image-adjustments and use the invert
function or press ctrl and I. The background
becomes dark.
8. then if you like you can choose from image
adjustments the photo filter function to give a
particular tone to the background. Finally
activate the layer with the darkened background
and using the opacity button reduce it to an
acceptable level.
9.
activate the subject layer and use the curves or
the brightness/contrast function from the image
adjustment menu to improve the quality of the
subject picture.
10. use the merge function in the layer menu and
get your final picture
11. I am using extensively the healing brush
tool to remove unwanted elements from the
background.
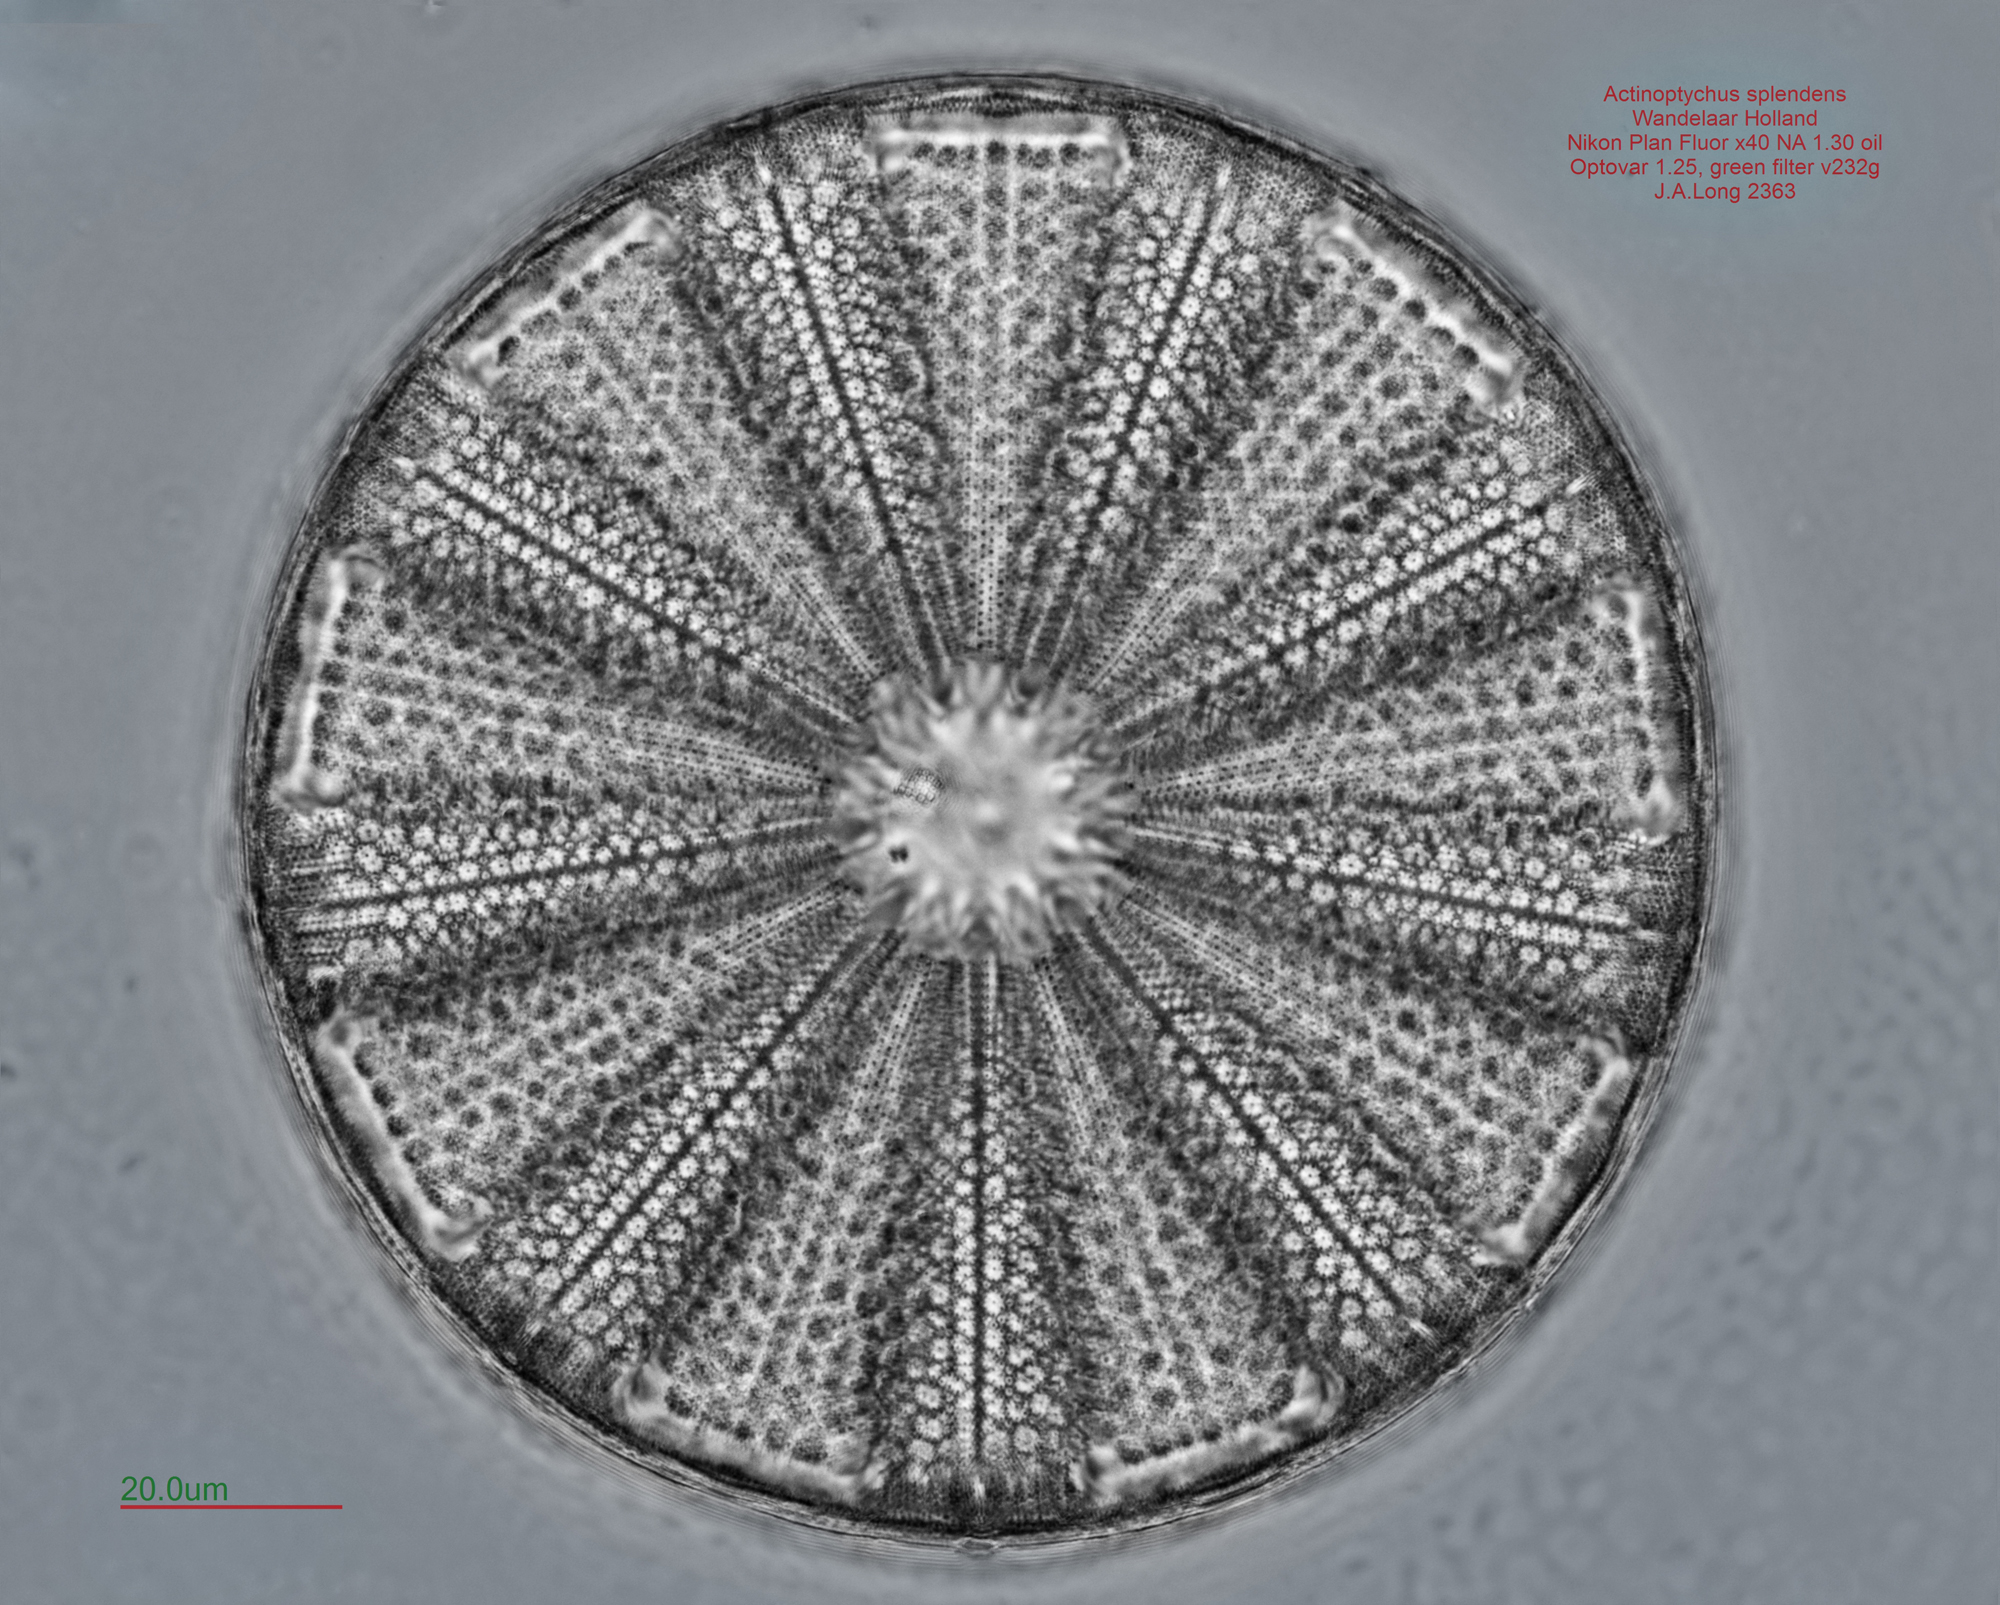
One can appreciate the results in the following
photographs. It is an Actinoptychus splendens
specimen and the final image was composed from
13 photographs.
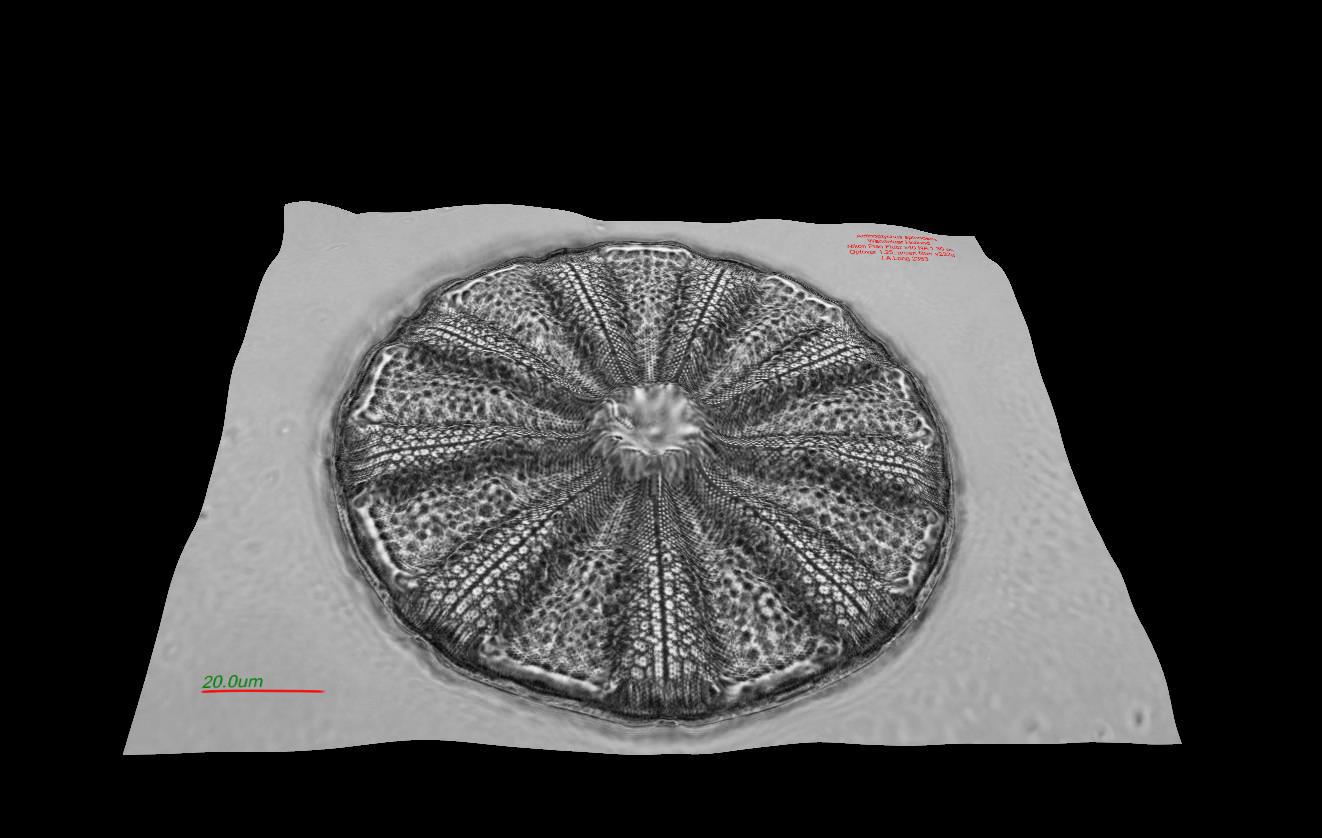
And its three dimensional representation:
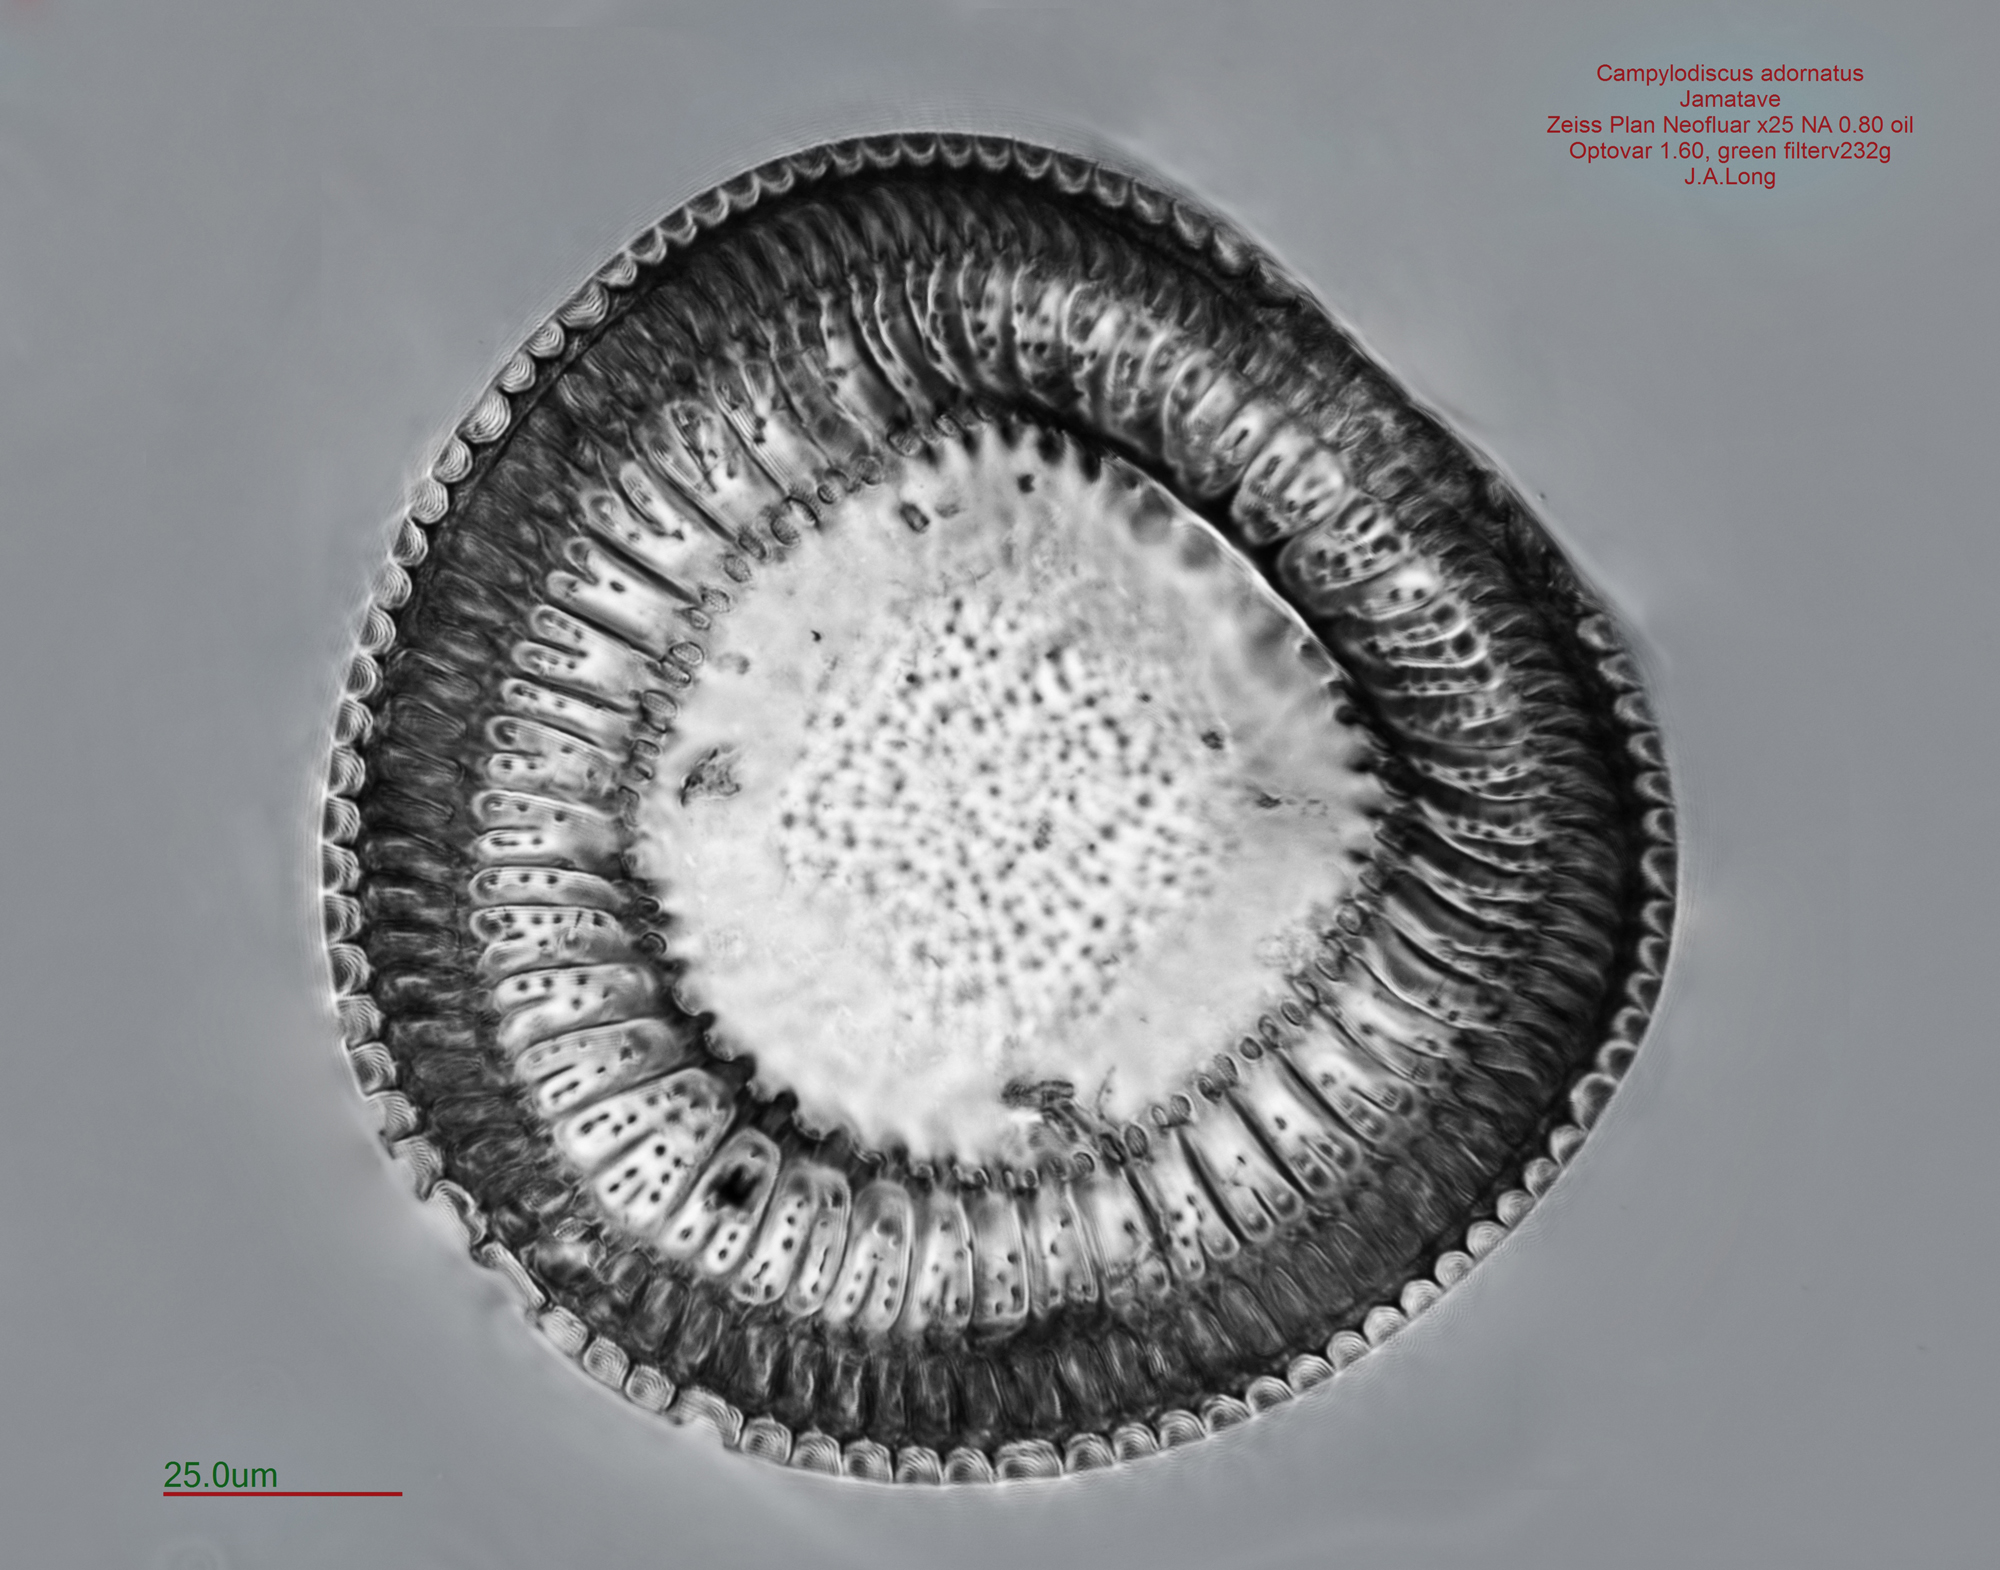
Or again with a difficult subject
(Campylodiscus adornatus) composed
from 127 photographs:
And its three dimensional
representation:
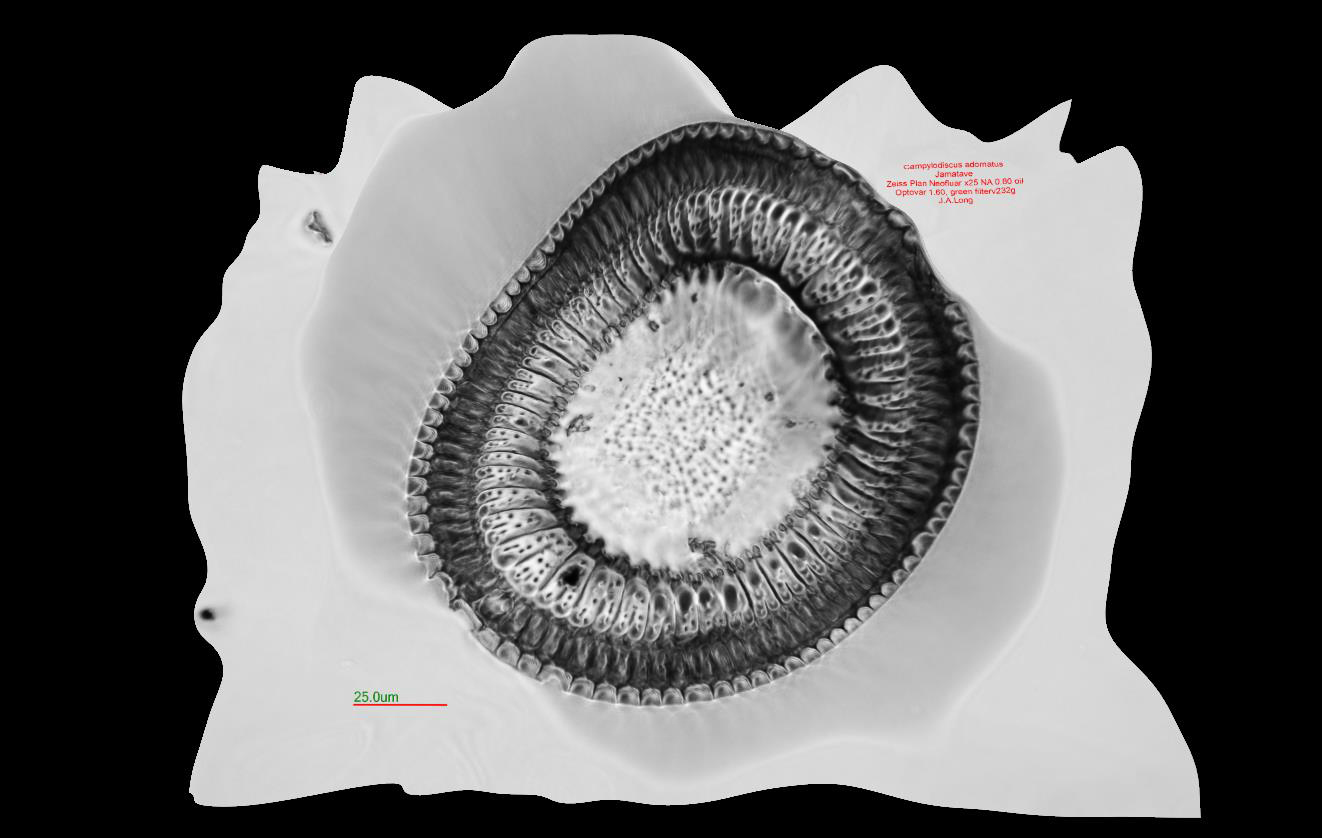
The above results is another
indication that in the light
gathering capabilities of the light
microscope there is a lot of
information that it is usually lost
because we do not know how to
extract them or we do not have the
proper means to do it.