 |
A CHEAP AND PRECISE SLICER FOR
TEACHING BOTANY |
|
|
| |
A CHEAP AND PRECISE SLICER FOR
TEACHING BOTANY |
|
|
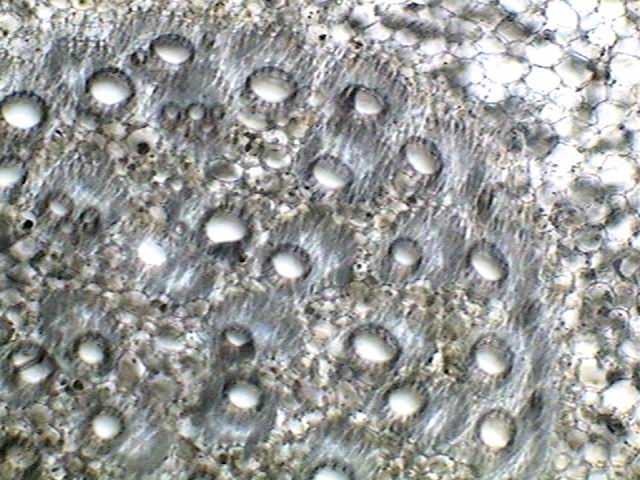
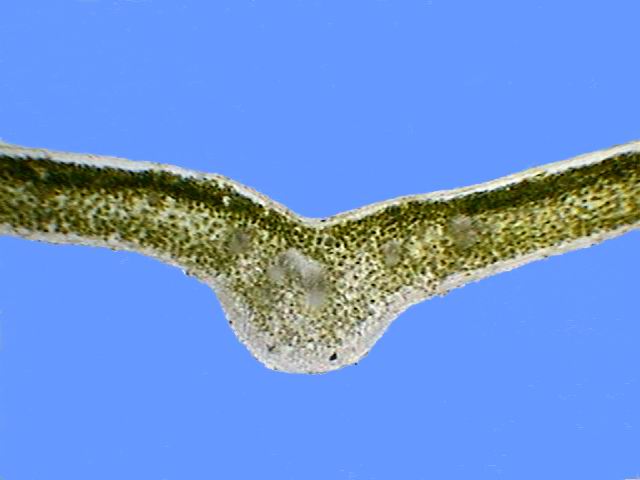
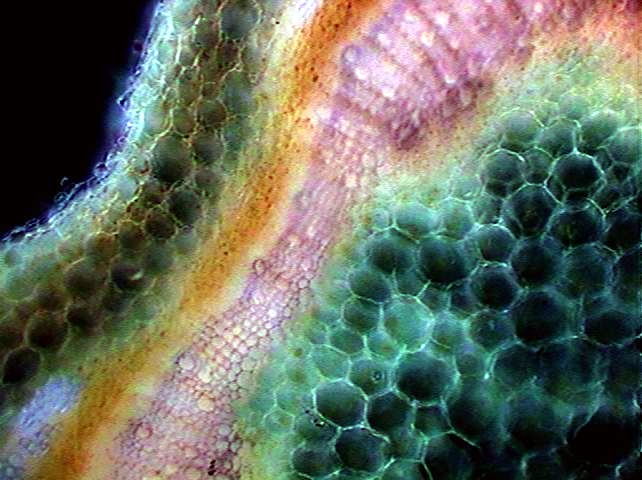
Cross section of
basil stem. 10x
objective. Rheinberg filter with opaque
black 10 mm center and peripheral ring with alternate red and blue
quadrants.
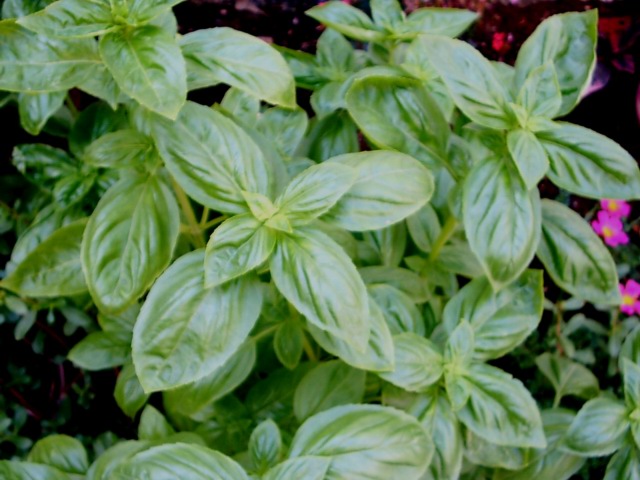
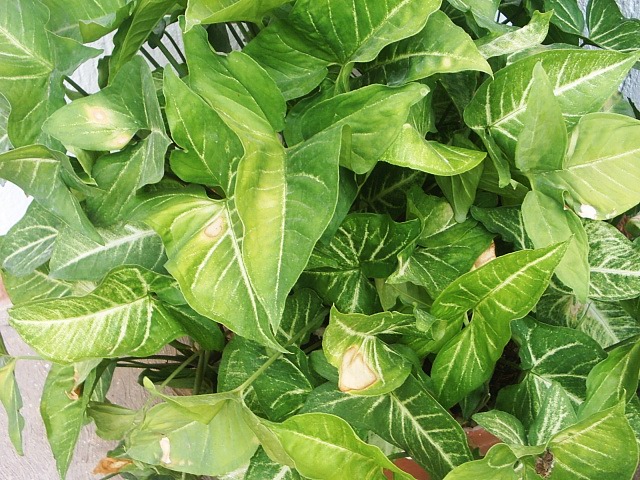
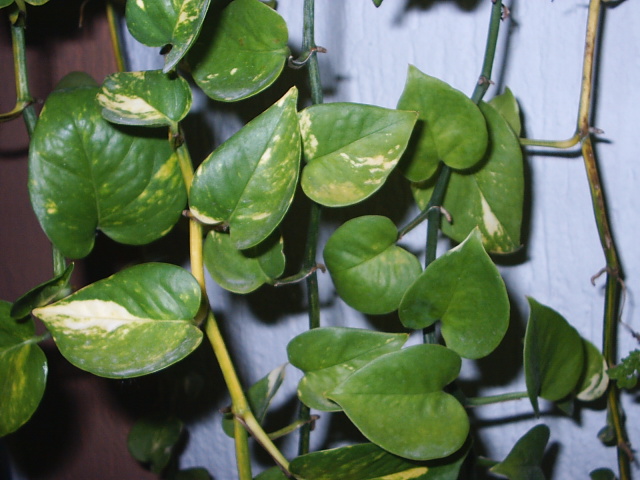
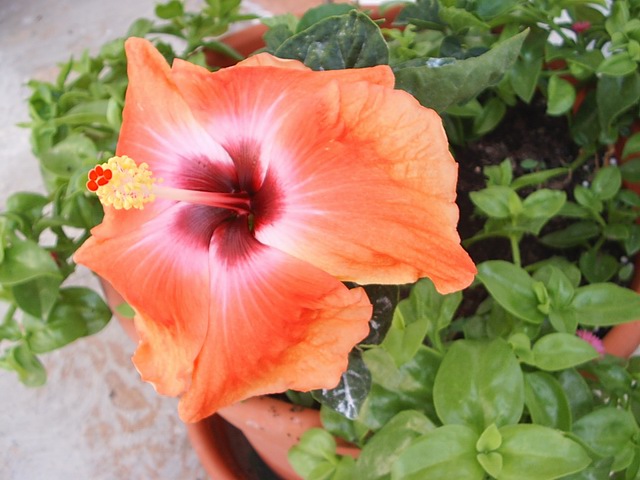
I've put pictures of the plants used for this article in the Gallery at
the end.
|
INTRODUCTION After my last
article I searched
the Web for "double edged razor blades". It was a surprise to me that
10
pages
(at least 200 articles) were offered for my search. Many technicians,
in
several
branches of science, do use or want to use these antiquities. There are
even
collectors that have spent decades collecting blades. The most
interesting
thing to me is
the fact that you can buy the blades….in the southern hemisphere…and
that a
few producers in the north sell a limited quantity. Apart from
Gillette,
there are
BIC, Schick, and America Safety Razors; all four have production
plants in
As a
consequence successes are less than failures. A new design
So I have
finished
making 3 additions and 1 major modification (with an additional option)
to the
little instrument. 2)
I
buy a paper clamp (see fig 1) 32 mm wide (40 mm could be better). 3)
I
get a tray of 9 x 20 x 2.5 cm (also from the supermarket) to be filled
up with
water. 4)
In
my later attempts I have changed to “Scotch” adhesive tape to
separate the
blades. The tape has a thickness of nearly 50 microns. I put one piece
along each
of the lateral sides of one of the razor blades.
When I want
to make a section I put the blades together and clamp them with the
jaws of the
clip just over the slits so they are well fastened. Submerge the edges
in the
water, or put some drops over one blade before closing the slicer.
Water goes
up by capillarity between the blades.
With the
other hand I place the cutting area of the blades in position over the
material. Pressing the instrument down and ahead with a diagonal
trajectory I
cut slowly until both edges indent the cutting surface. This is
important
because this ensures that the section is completely separated from the
cut
material. A plastic strip 10 cm long supports dozens of attempts. Now I
remove the clip and, best under water, manually or with the aid of the
point of
a needle or a scalpel I open the razor blades. To cut
another section, I rebuild the razor blades sandwich and press it with
the clamp.
You can
mount your sections temporarily in water, or in 50% glycerol in water.
The latter has a very good refractive index and lasts several hours
with minimal
replenishment. You can even use a little Vaseline on the coverslip
borders as
is customary for wet mounts. After the
drawing or photographic session comes to an end, the sections can be
recovered,
washed in distilled water, and submitted to a more classical and
permanent
mounting technique.
To learn to
make permanent mounts the classical style, see these web
references: A magnificent presentation of plant histology images from sections made with professional methods is presented in http://www.mhhe.com/biosci/pae/botany/histology/html/ptmodov.htm A very good
techical paper in two parts covering state of the art techniques for
making and mounting botanical sections is presented by Jim Battersby in
the 2004 February and March editions of Micscape
Magazine. In a companion
article I
gather the technical tips for the slicer design and many
illustrations of the performance of the slicer. PROS 1)
Doesn’t
need tissues support (Elder
pith, polystyrene, carrot,
potato, paraffin wax) which is by itself a huge achievement. Think on
this
because it is an outstanding feature. Most of the amateurs'
discussions on
the Web
are over the support for tissues to be cut with the Ranvier style
microtomes. 2)
Section
quality is sufficient for a
detailed
anatomical study of
stems, petioles, ovaries of many flowers, leafs, and so on.
Leaves are dealt with easily with the new configuration. They
are
difficult materials for the traditional hand microtomes, not to speak
of the
essays discussing how to make free-hand sections of them. The problem
is, that for a
section
laying on its cut side its width must be thinner than the thickness of
the
foliar lamina. The new configuration ensures this. Of course if you
work with
such thin sections (both in height and width) you can expect some
mis-manipulations
leading to a twisted lamina, but you always have enough spare material
to study
the leaf anatomy in cross section.
3)
Very
cheap. Five instruments require
two boxes
of razor blades (5 razors a box). With a cost (now at Cancún) of
0.28 dollars
(0.056 dollars/ slicer). 4)
Easy
construction by careful
experienced
amateurs. Not
more than 10 minutes needed to make and put to work a new slicer using
the half
razor blade separator, or more or less 20 minutes for the Scotch tape
version. 5)
Easy
to use. The learning curve is
very quick. Any
user can start to do a good job in a matter of minutes. 6)
Safe
enough to be used under adult
supervision
even by secondary school students.
CONS 1)
Not
safe enough to be built by very
young scholars
or amateurs, without adult supervision. Of
course no one microtome is safe and all professional or even those
amateurs'
commercial ones are MORE dangerous, and only appropriate for use by
technically
trained adults. 2)
Sections
must be made one by one. You need to put together all parts, to make
the section very carefully, to split open the instrument, and to pass
the
sections on to its further destiny. And repeat all of this for any one
section….But
are you very pressed? Did you need a lot of serial sections in a
limited time?
Don’t try to make several subsequent
sections without taking out the first one. The
thickness of the first section opens the blades and every new section
is wider
than the previous one. 3)
Air
bubbles. It is easy to trap air
bubbles in
the cut exposed cells or vessels, if you cut dry in the air. Cutting
under
water mostly obviates this. If there's some persistent bubbles, put the
sections
in a glass capsule (a little Petri dish is best) in more or less 10 ml
of 50%
glycerin and submit them to the microwave oven. In a 700W domestic
one, at
100% (Full) 10 or 12 seconds, get
rid of them. (Make proportional estimates for 400, 600, or 1000W
ovens). Additionally
the microwave generated heat fixes the plant tissues and clarifies the
sections. A word of warning: the Euphorbiacea and many other plants can have lacticiferous channels full of latex that flows out like milk over the cut surface. Cutting under water and removing after some seconds the just made section, generally washes out the latex.
With this new configuration and
including the easy to build and cheap contrast discs, and one or two
dyes
easily found in drugstores, the double razor blade slicer merits
incorporation into not only the amateurs' laboratories, but also to the
secondary
or even more advanced school laboratories.
GALLERY
Plant
pictures taken at 1280 x 960 pxs with a Samsung Digimax 201 camera and
reduced to 320 x 240 **I prefer to
say “contrast discs” because it is shorter than “stops, diaphragms, and
filters”. After all they are discs, or are mounted on discs, to be put
in the
filter tray under the condenser of the microscope. |
Please report any Web problems or offer general comments to the Micscape Editor.
Micscape is the on-line monthly
magazine of the Microscopy
UK web
site at Microscopy-UK